
 (+3 rating, 5 votes)
feat_8038
Two advantages of pistol-mounted optics (PMO) are the ability to keep both eyes open throughout the shooting process and the ability to focus on what you are trying to hit (threat, target focus).
Those can also be two of the components that require extra work when transitioning from iron sights to the optics.
We will start with a bit of history and then proceed to work on both components.
First Ones
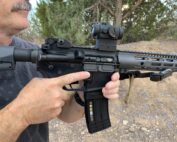
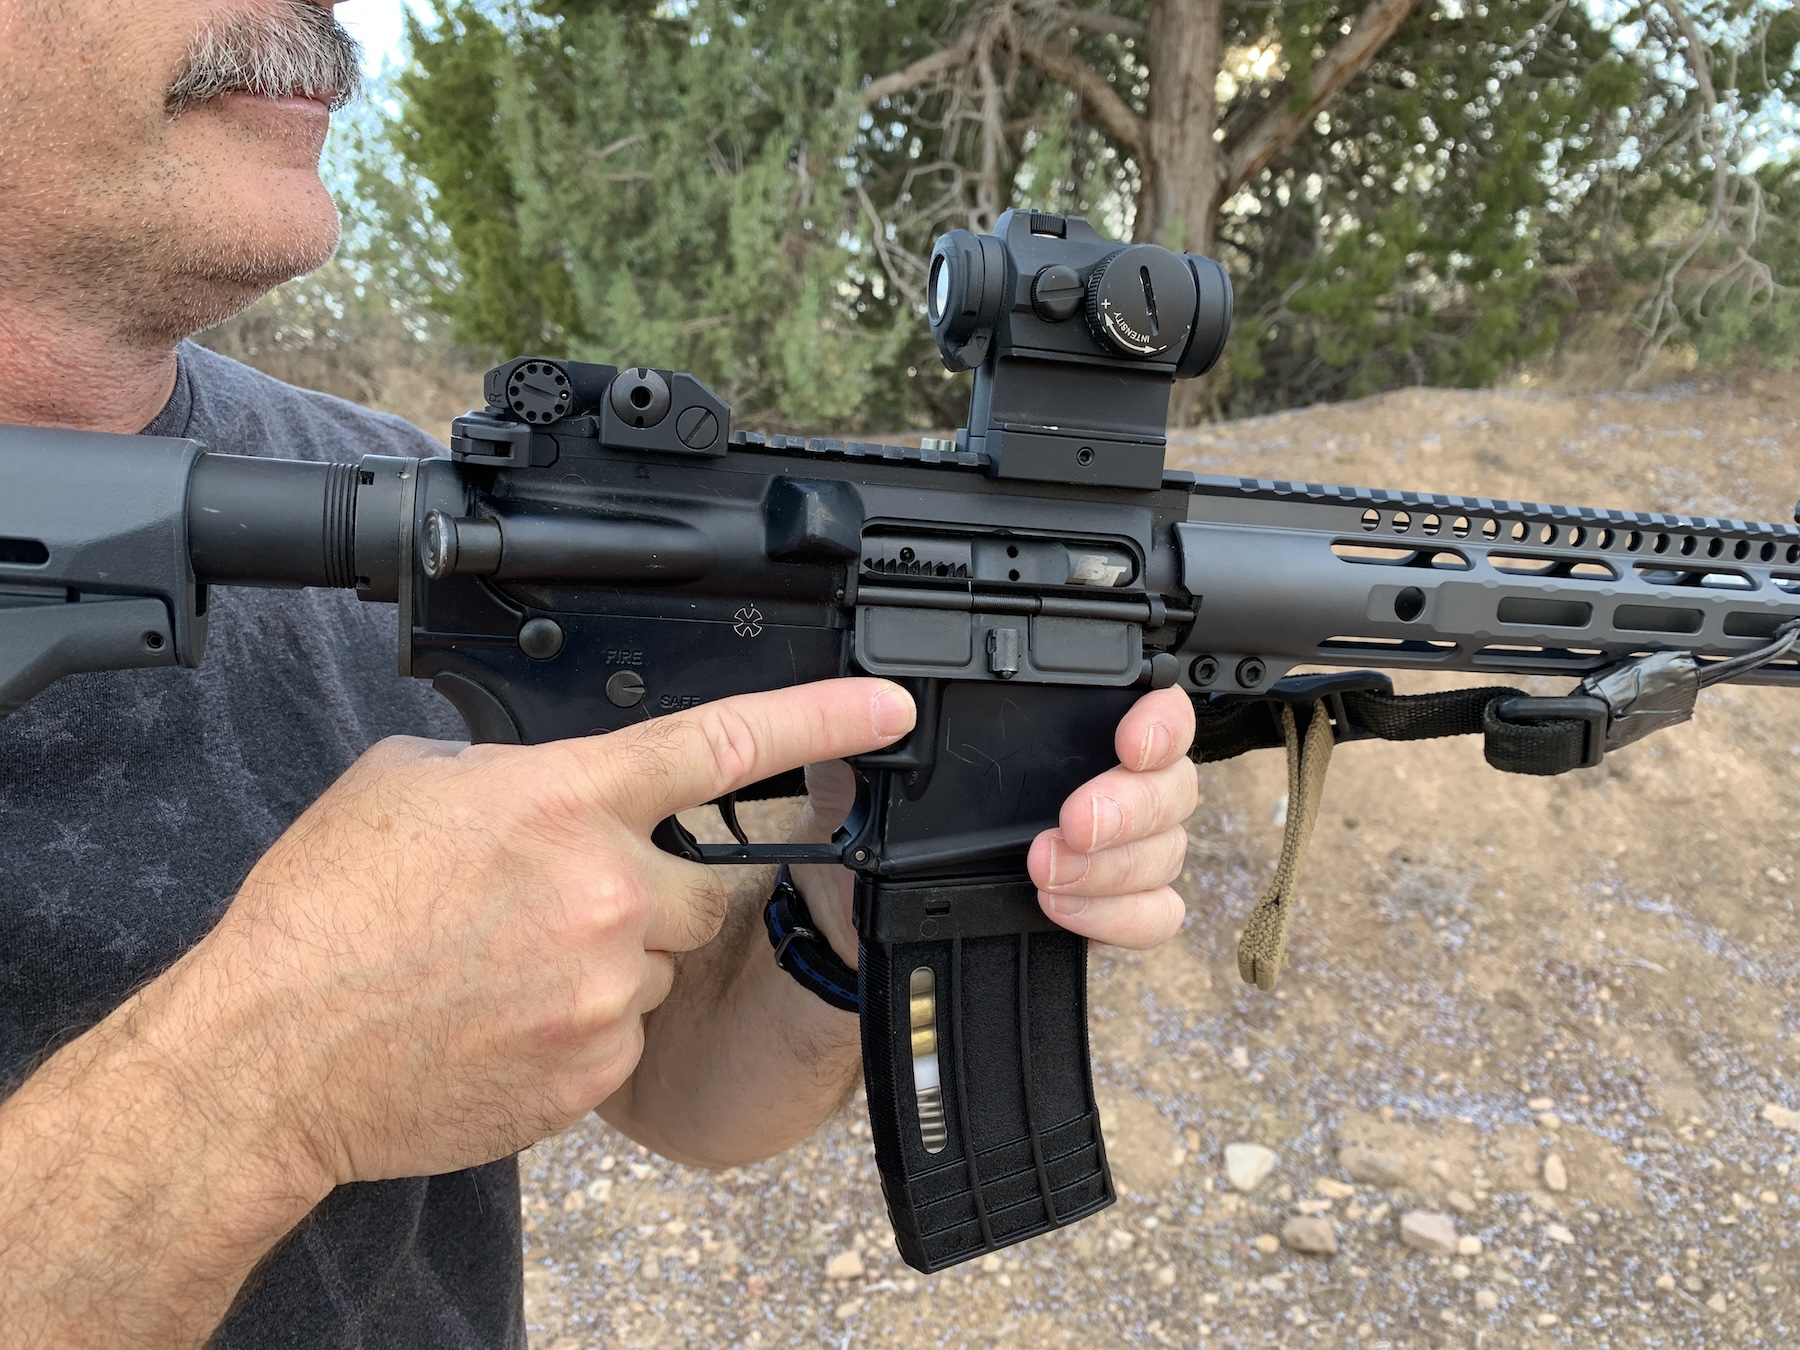
The original occluded sight – a SinglePoint – on a replica GAU-5 carbine (courtesy of J. Riedy).
The idea of working with an occluded optic is not new. During the Vietnam War, the Army and Air Force raided the North Viet Namese POW camp at Son Tay. In the lead-up to that operation, the Special Forces soldiers identified the need for an optic, given the parameters of the hit. Those parameters led them to the Sing Point, which was an occluded carbine optic.
Going forward, Glyn Bindon of Trijicon identified the improvements that came with shooting with both eyes open while using either a one-power (1x) or low-w variable power optic. Essentially, it took the user from using monocular vision, with a narrow field of view, to having binocular vision, with a much wider FOV. Bindon found that with both eyes open, the brain (generally) receives both images and combines them. This has been taught with their fixed, low-power optics, such as the ACOG.
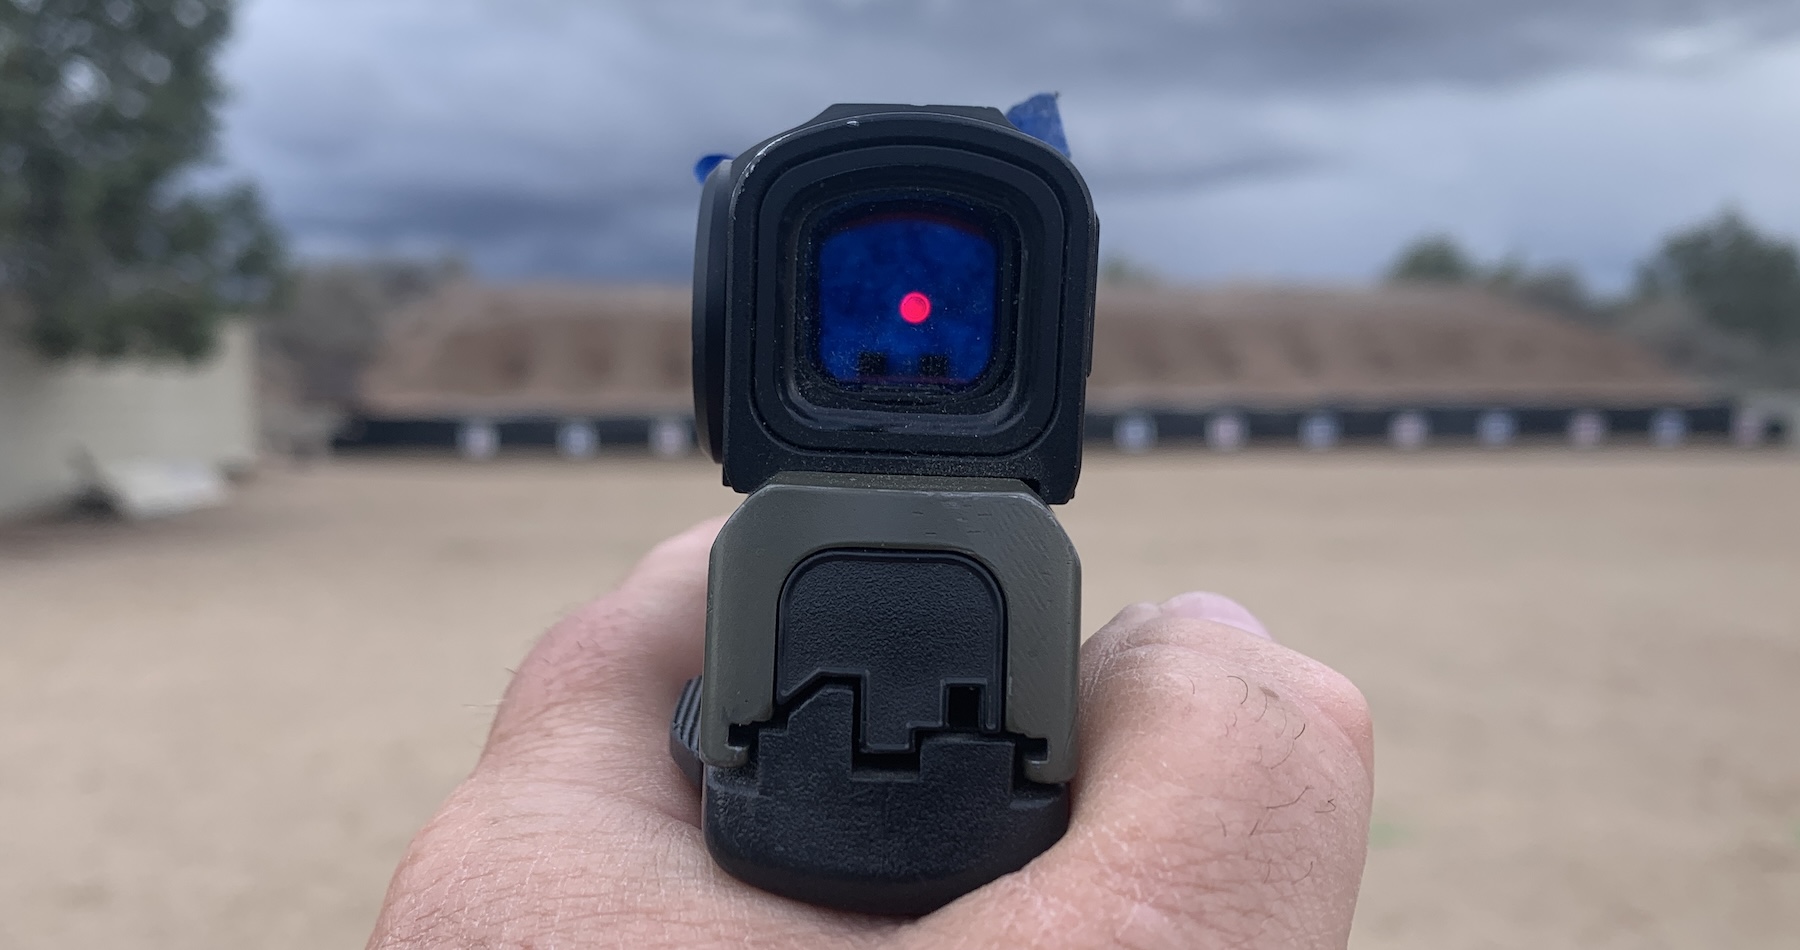
This is what an occluded optic looks like if you are dot focused.
With the fielding of the Aimpoint M-68 Close Combat Optic, closing the forward cap to block the bright desert sunlight was taught. The soldier could work the aiming problem with one seeing the dot and the other seeing down range, and that worked well.
As PMOs became more popular, several trainers and shooters advocated for occluding the optic’s downrange lens.
Painter’s Tape
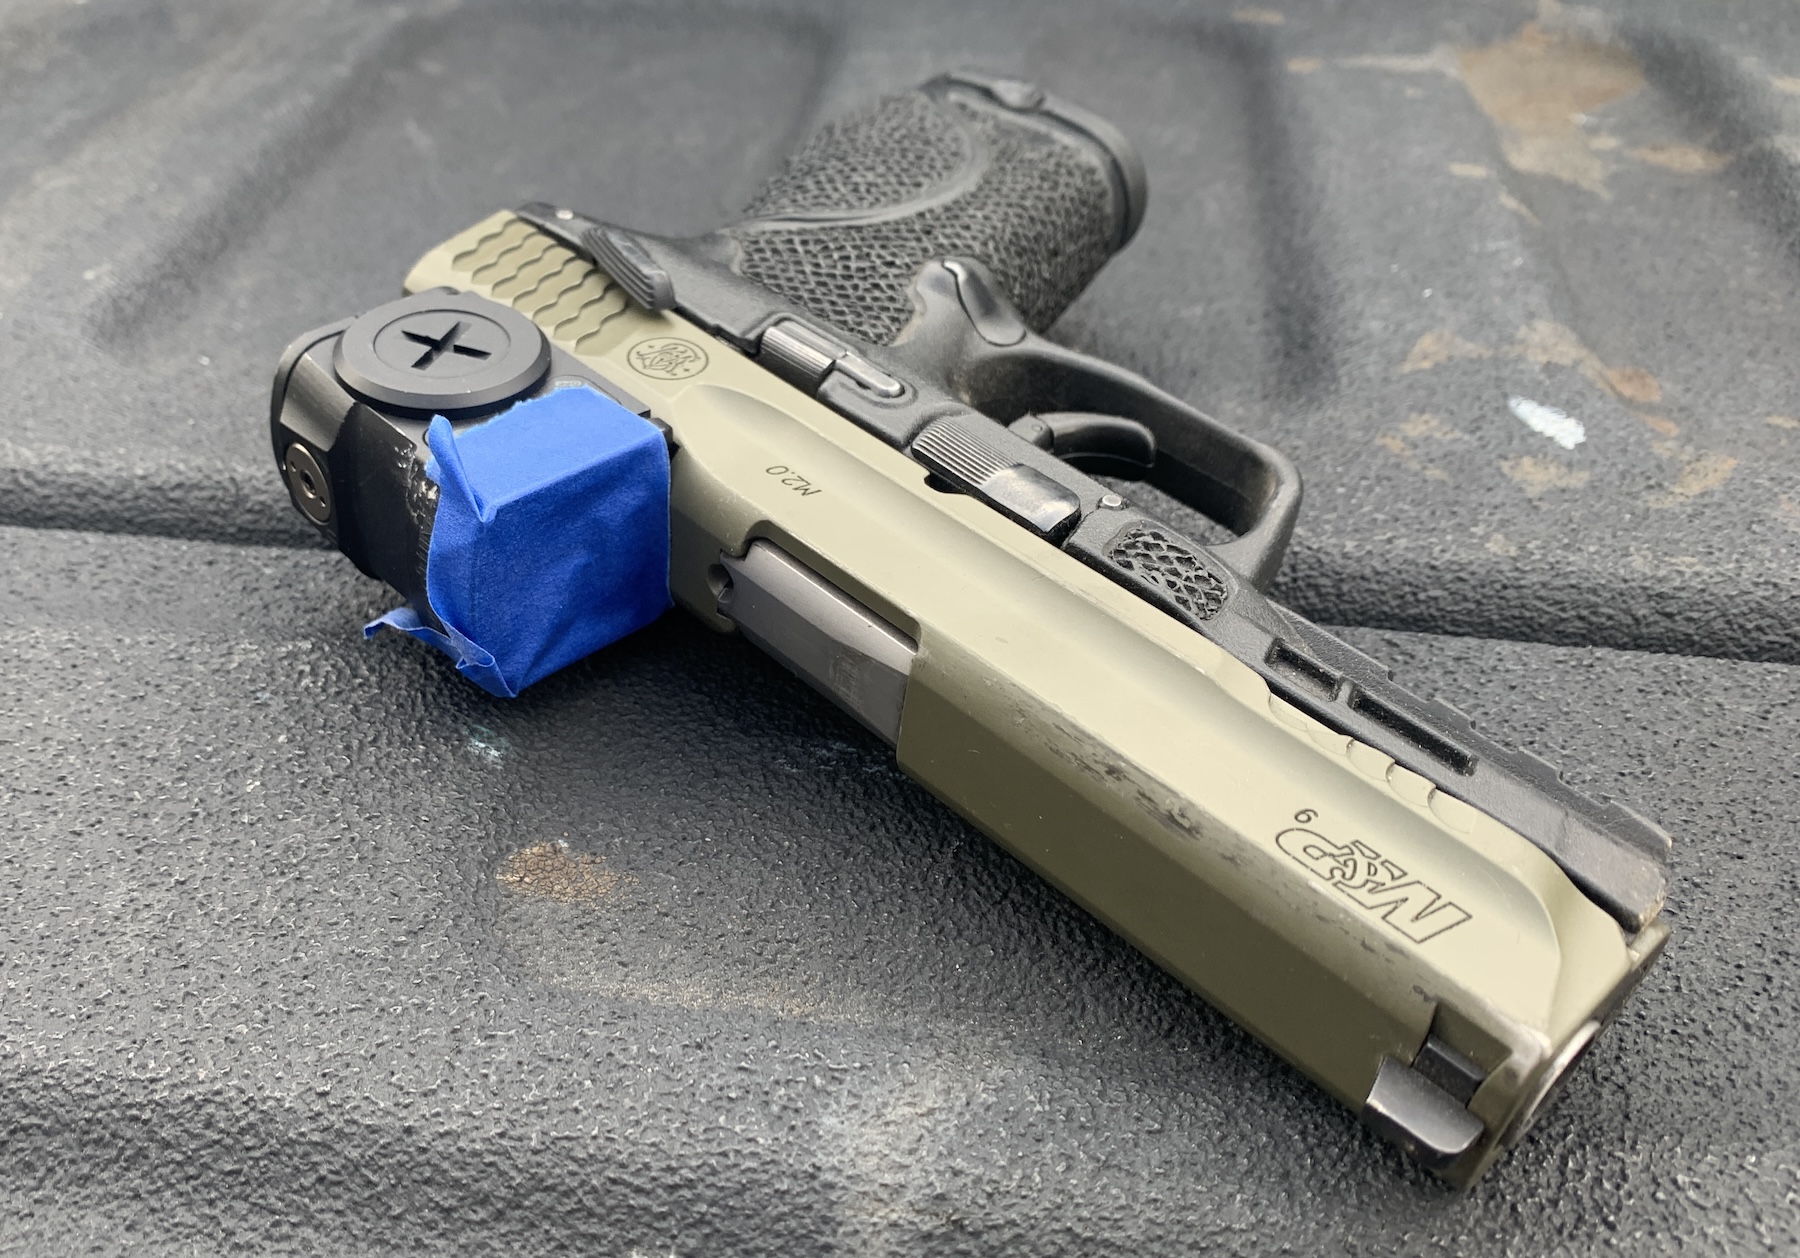
To do this, you tape over the downrange lens. Blue painter’s tape is commonly used because it doesn’t leave residue on the lens and is readily available.
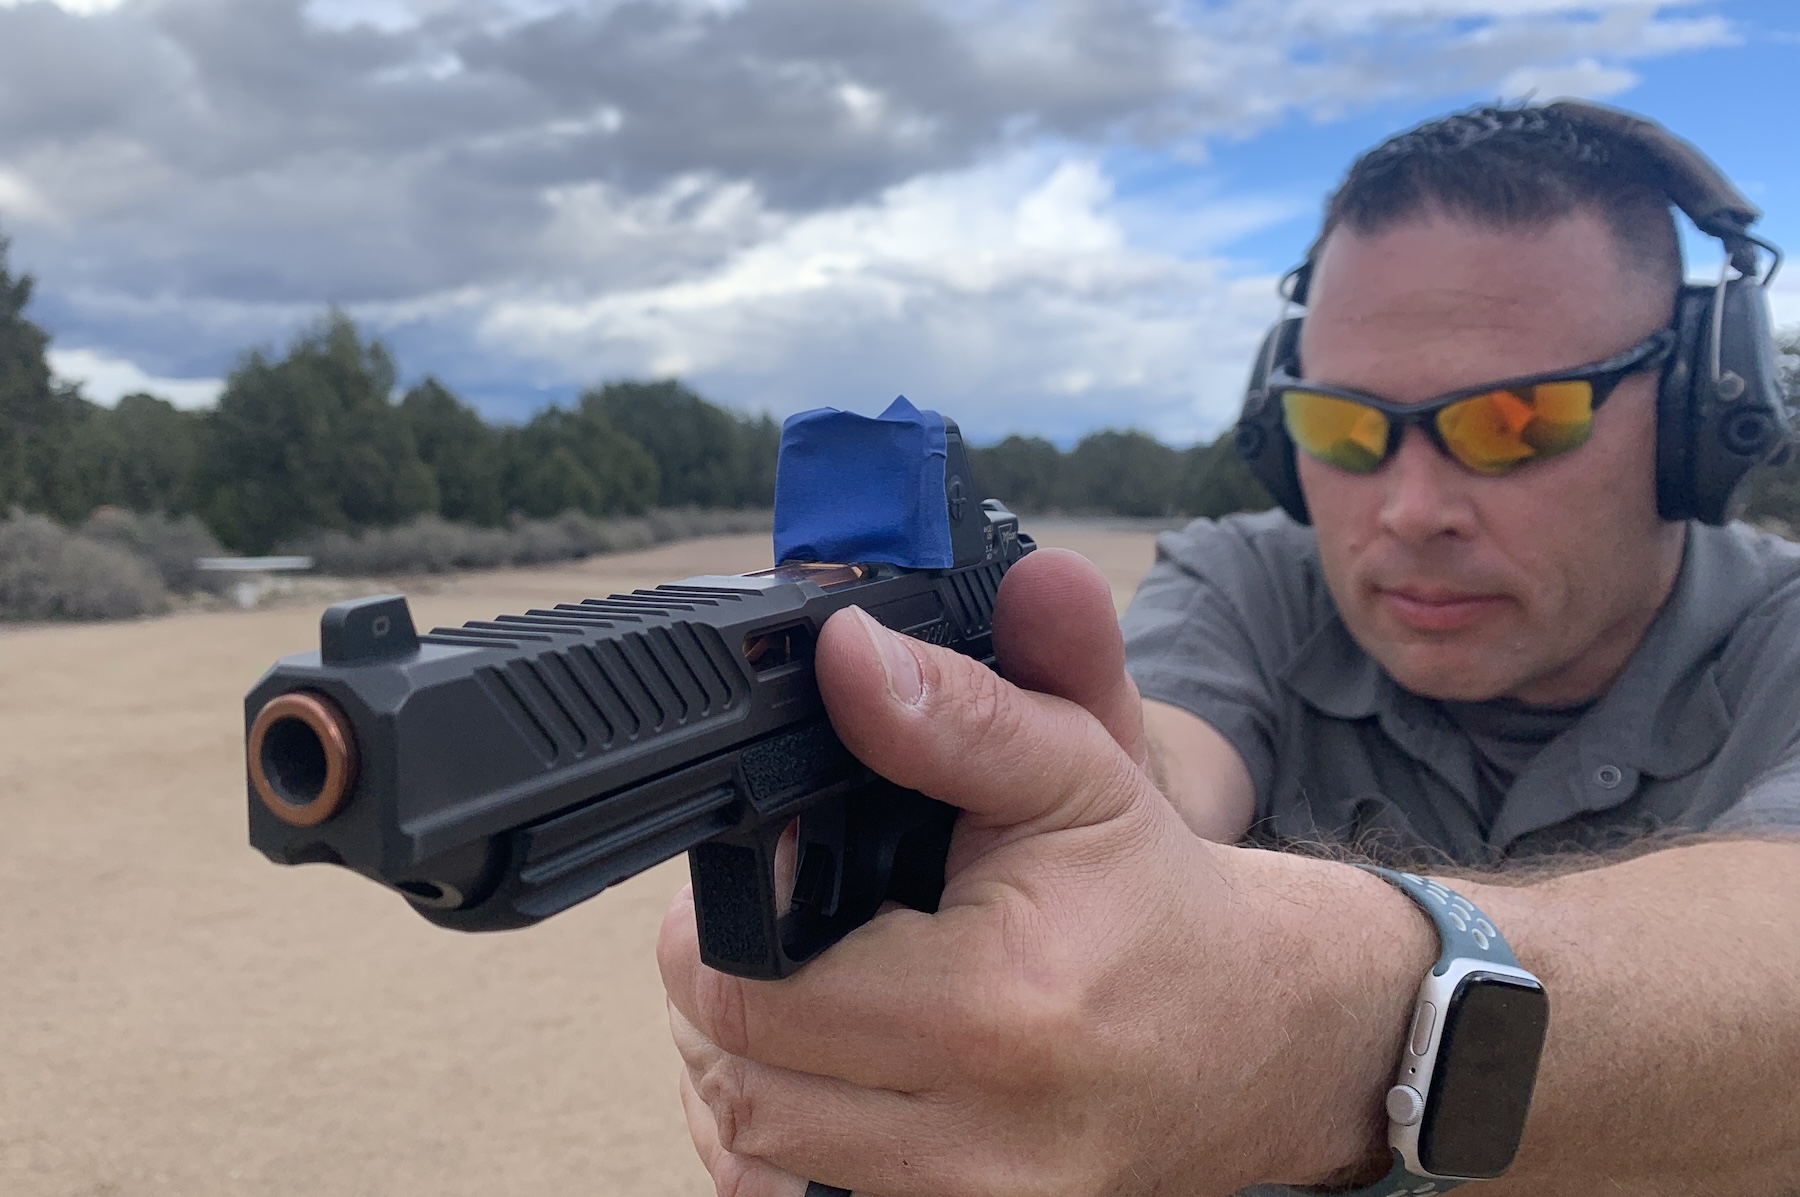
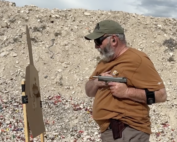
Gunsite instructor James Quisner practicing his presentation with an occluded optic.
One federal agent told me his organization uses a different color because they felt it made the dot easier to see. I don’t see the benefit because when you are working with both eyes open and your visual attention is on your target, the tape fades out.
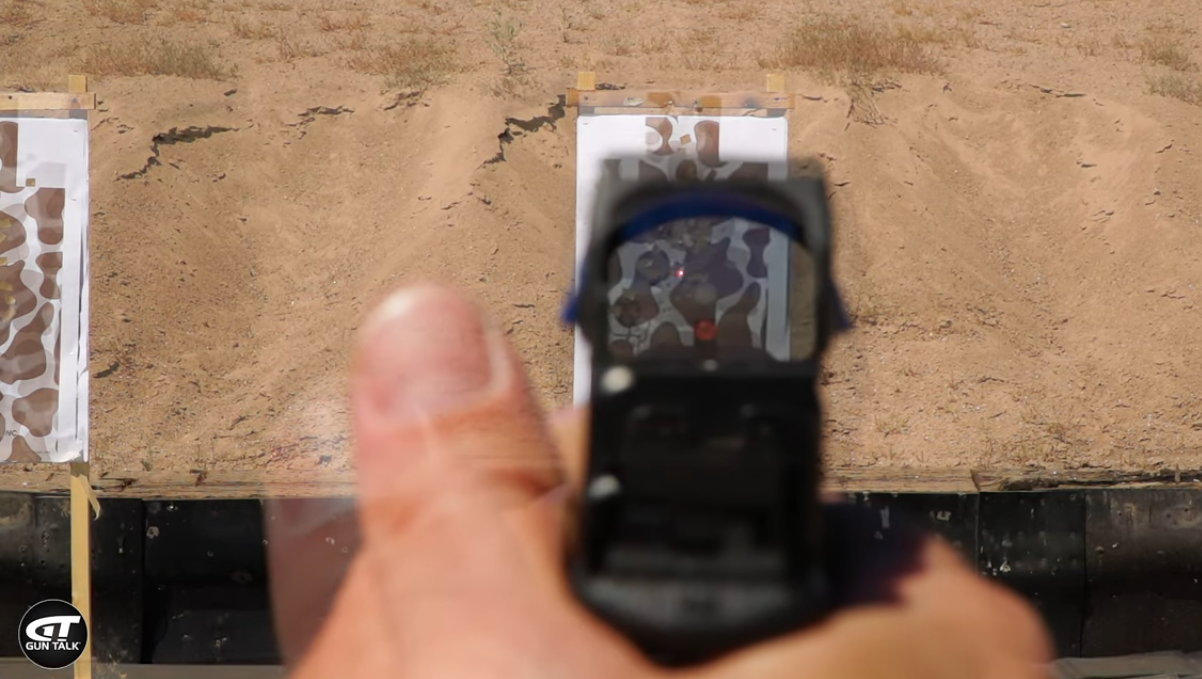
What an occluded optic looks like when you’re threat-focused (screen capture of GunTalk video from a class I taught).
There are a few companies that have 3D printing snap-on optics covers, should you want to use them.
Utilizing It
With the optic occluded, you work your dry practice and live fire as you would without the tape.
While you can use molded or printed lens covers, painter’s tape works just fine.
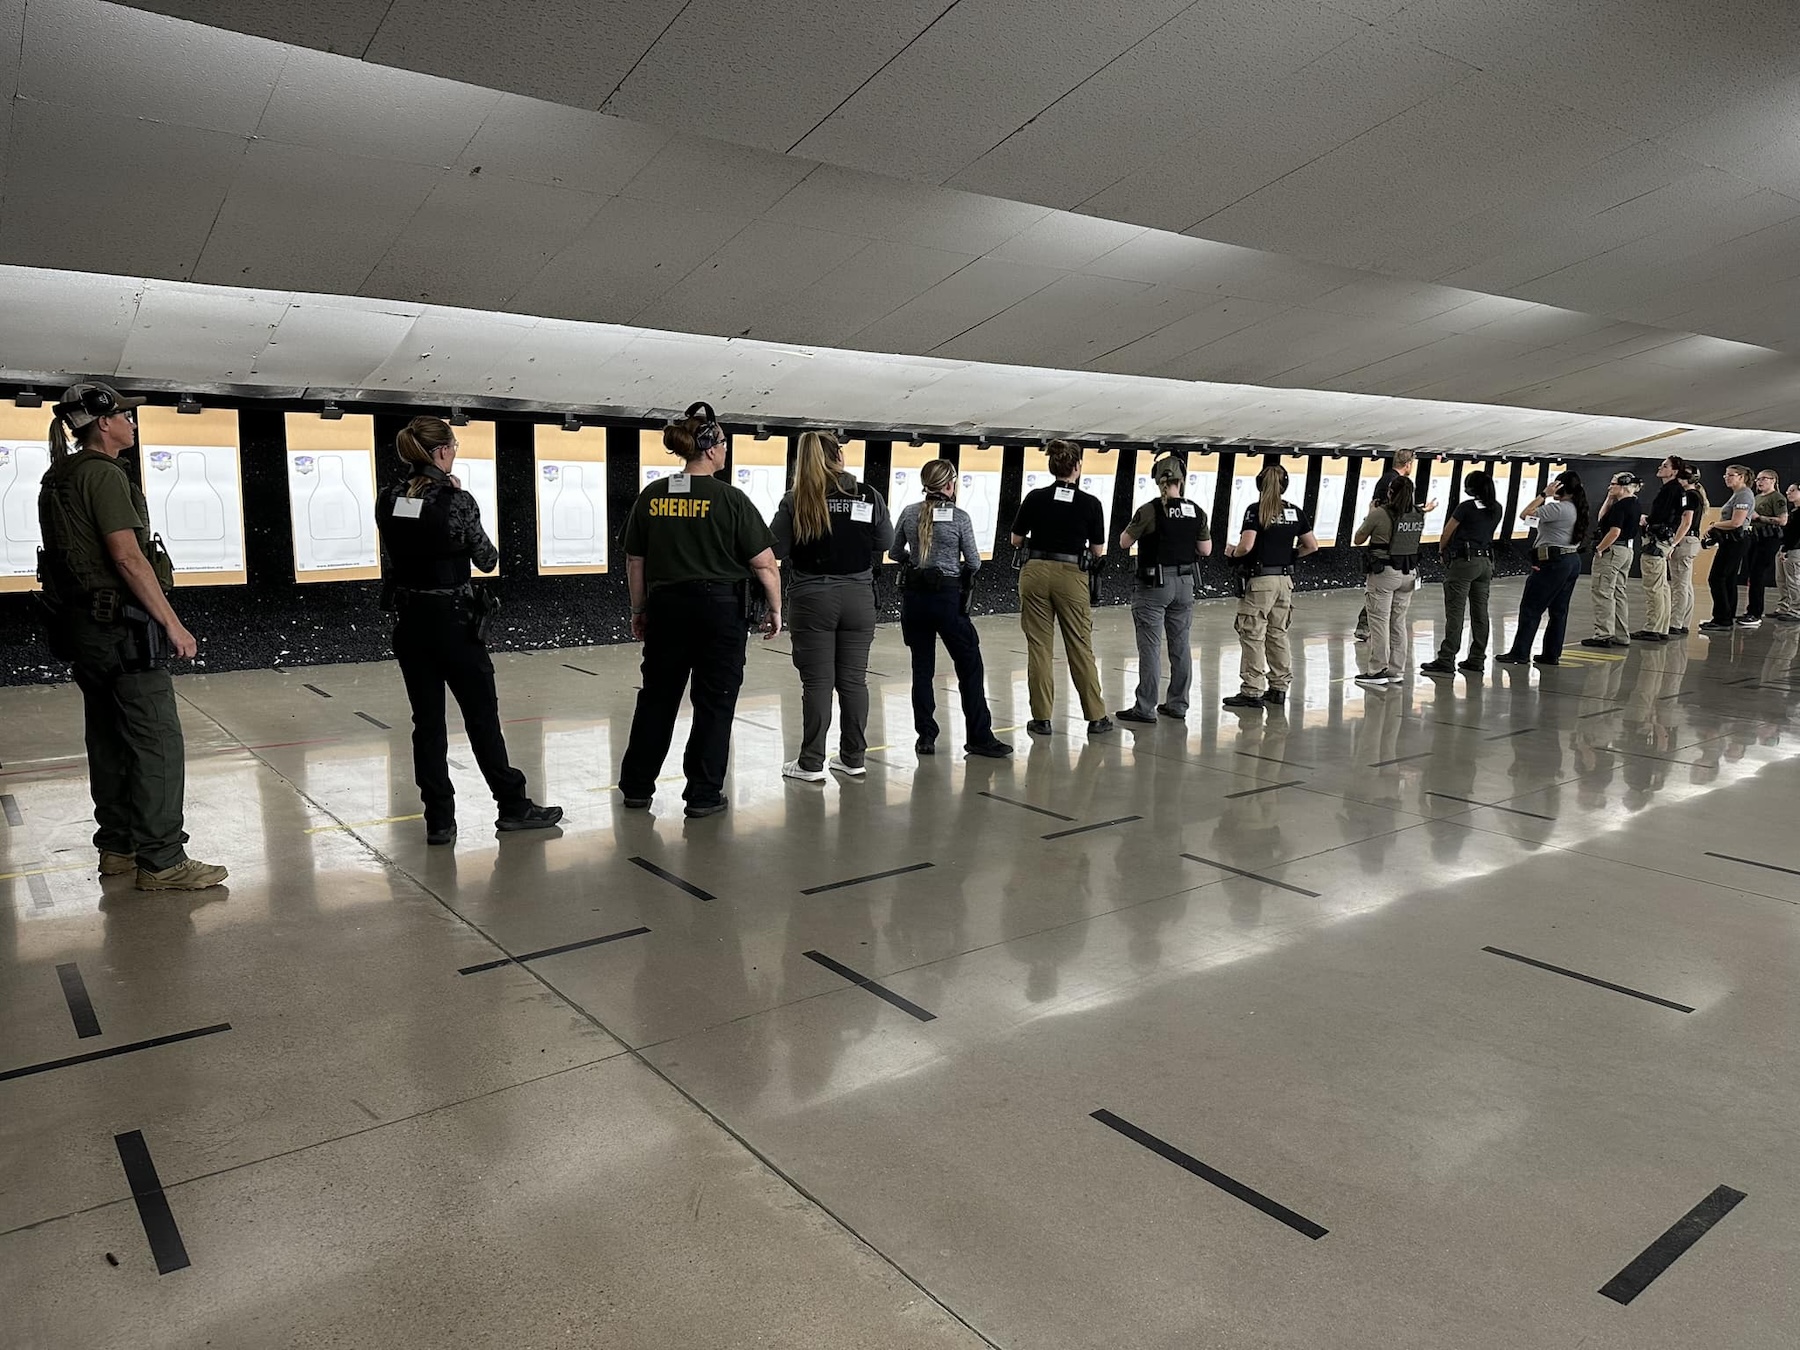
Start with the presentation, done incrementally. While looking at your target, bring the pistol’s optic into your eye-target line. The dominant eye sees the dot, and the non-dominant eye sees the target. As mentioned, in theory, the brain combines those two images into one. Once there, you can work into a variety of shooting drills. You can start with singles from a ready, through qualification courses, and into any other drill.
However, it is not always that simple.
Phorea
Freddie Blish—a retired USMC Lt Col—ran the military sales and training side of Aimpoint for several years (disclosure: he was my boss there, and we teach together at Gunsite). During carbine classes, Freddie had told me that between 10% and 12% of the population suffered from an issue known as a Phorea. Essentially, there is a glitch in the wiring between the optic nerves and the brain. It can manifest itself by shooting a group that prints wide to one side or the other.
In working on a book about pistol-mounted optics with Mike Ochsner, I learned those dealing with various degrees of phorea could be as high as 40%. As a result, painters’ tape – the most common way to occlude the dot – may not work. So, how do you help those get both eyes open and shift their visual attention, focus?
Alternatives
Using words written on the back of a target to help show if the shooters are focused on the target – not the dot. “A” way.
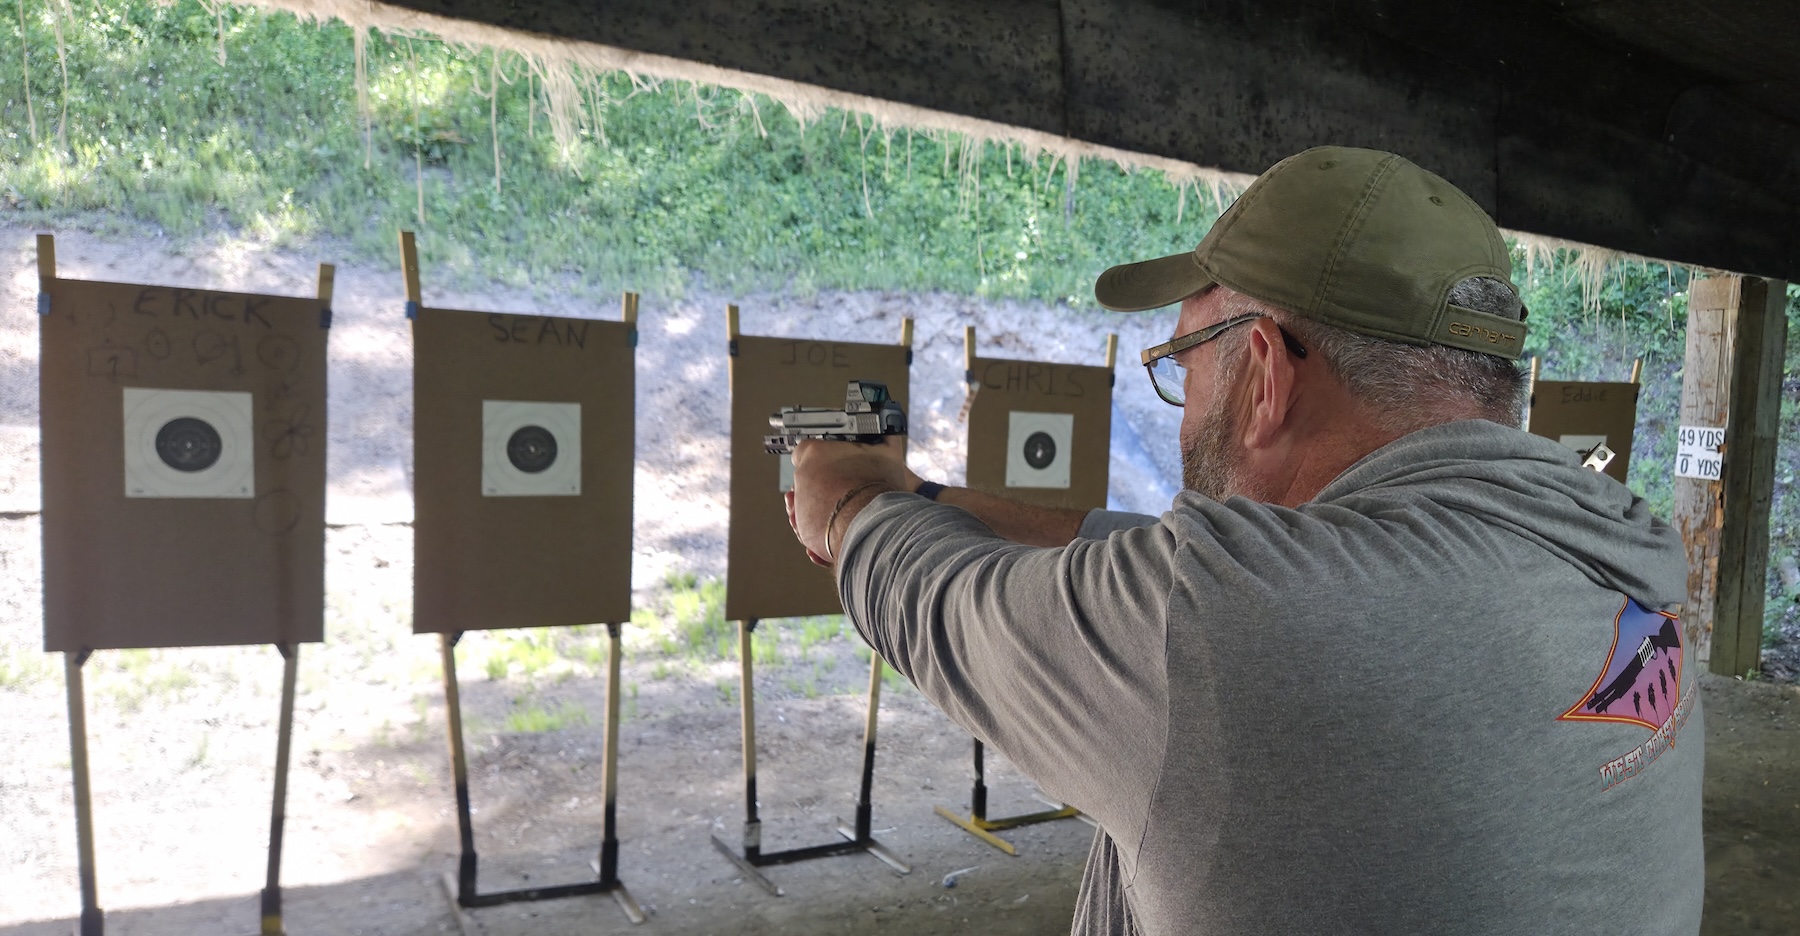
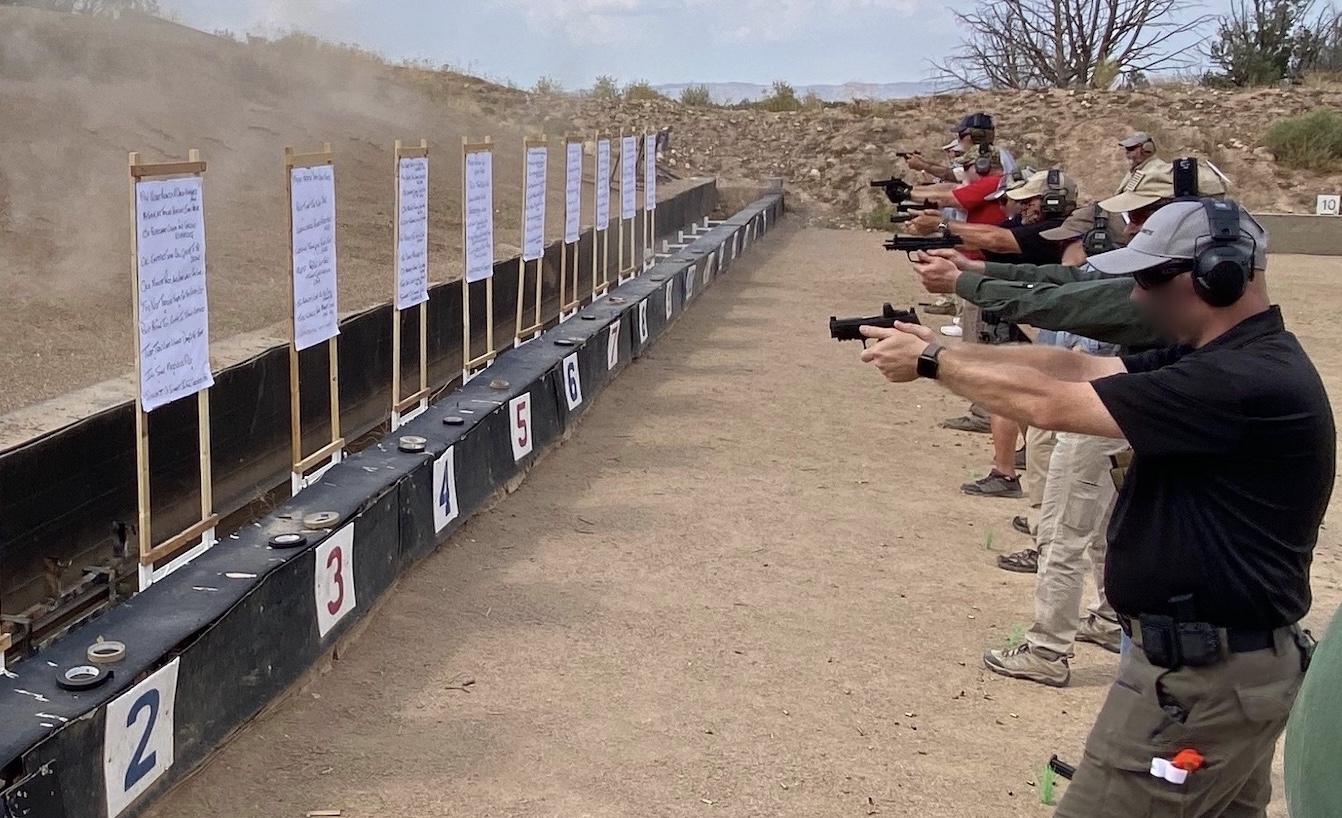
The first method I saw involved writing a paragraph-length missive on the back of a target. A poem or a quote was the most common. I found a poem with a number of “O”s in it that I have used. By shifting their visual attention from the front sight to the target, the shooter reads what is written there. They shoot when they come across the letter(s) that were specified. Because this is done at a pretty close distance (1-3 yards), one can easily see the impact their trigger press and minimal offset have.
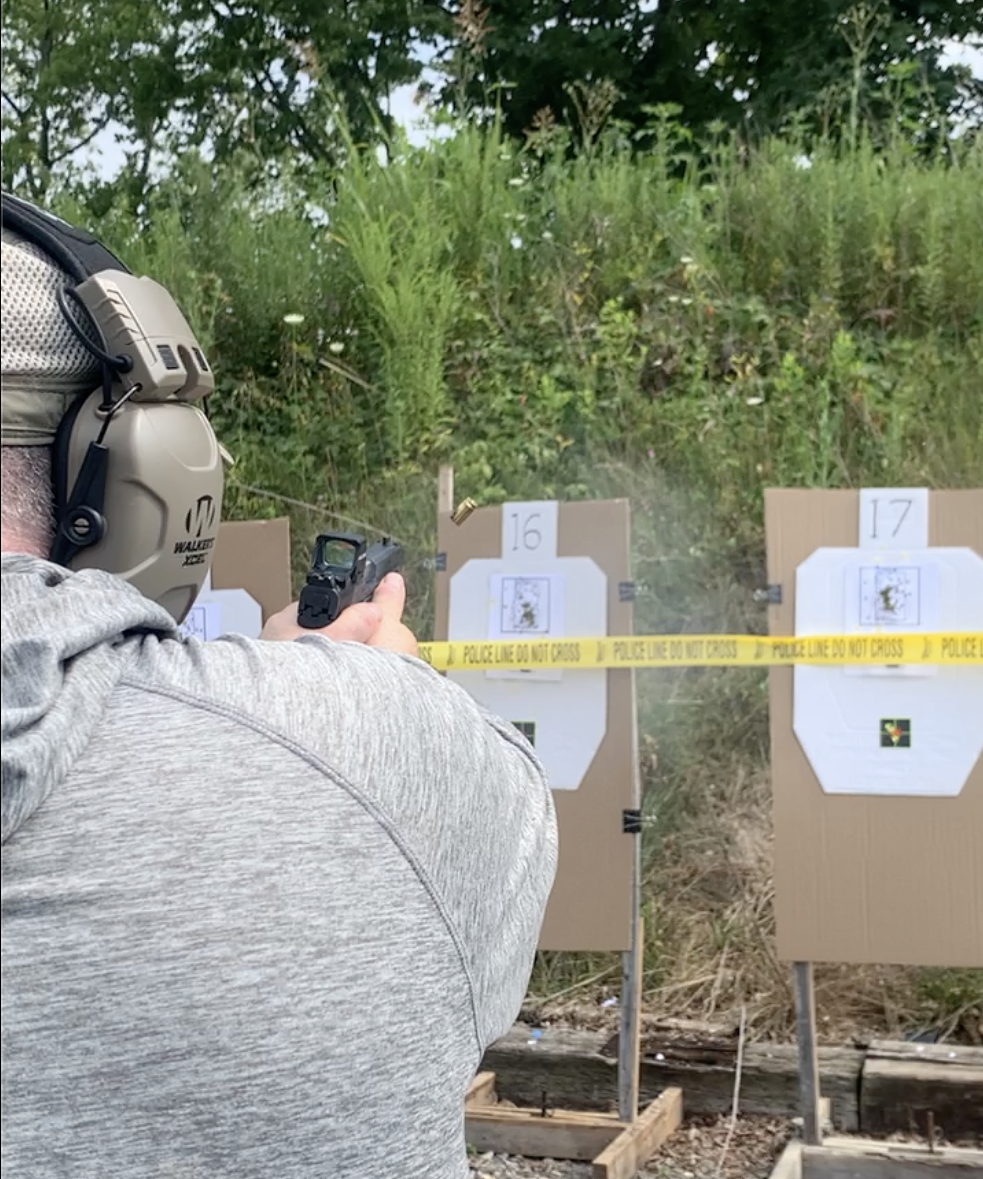
Dave Spaulding accomplishes this with crime scene tape.
Noted trainer Dave Spaulding, formerly with Handgun Combatives, has stretched POLICE – CRIME SCENE tape across the target. During a class last year, Dave would call out letters, and the students would shoot them.
You can also with words printed on your targets. This gives you a look at the shooter’s trigger press and their understanding of off-set.
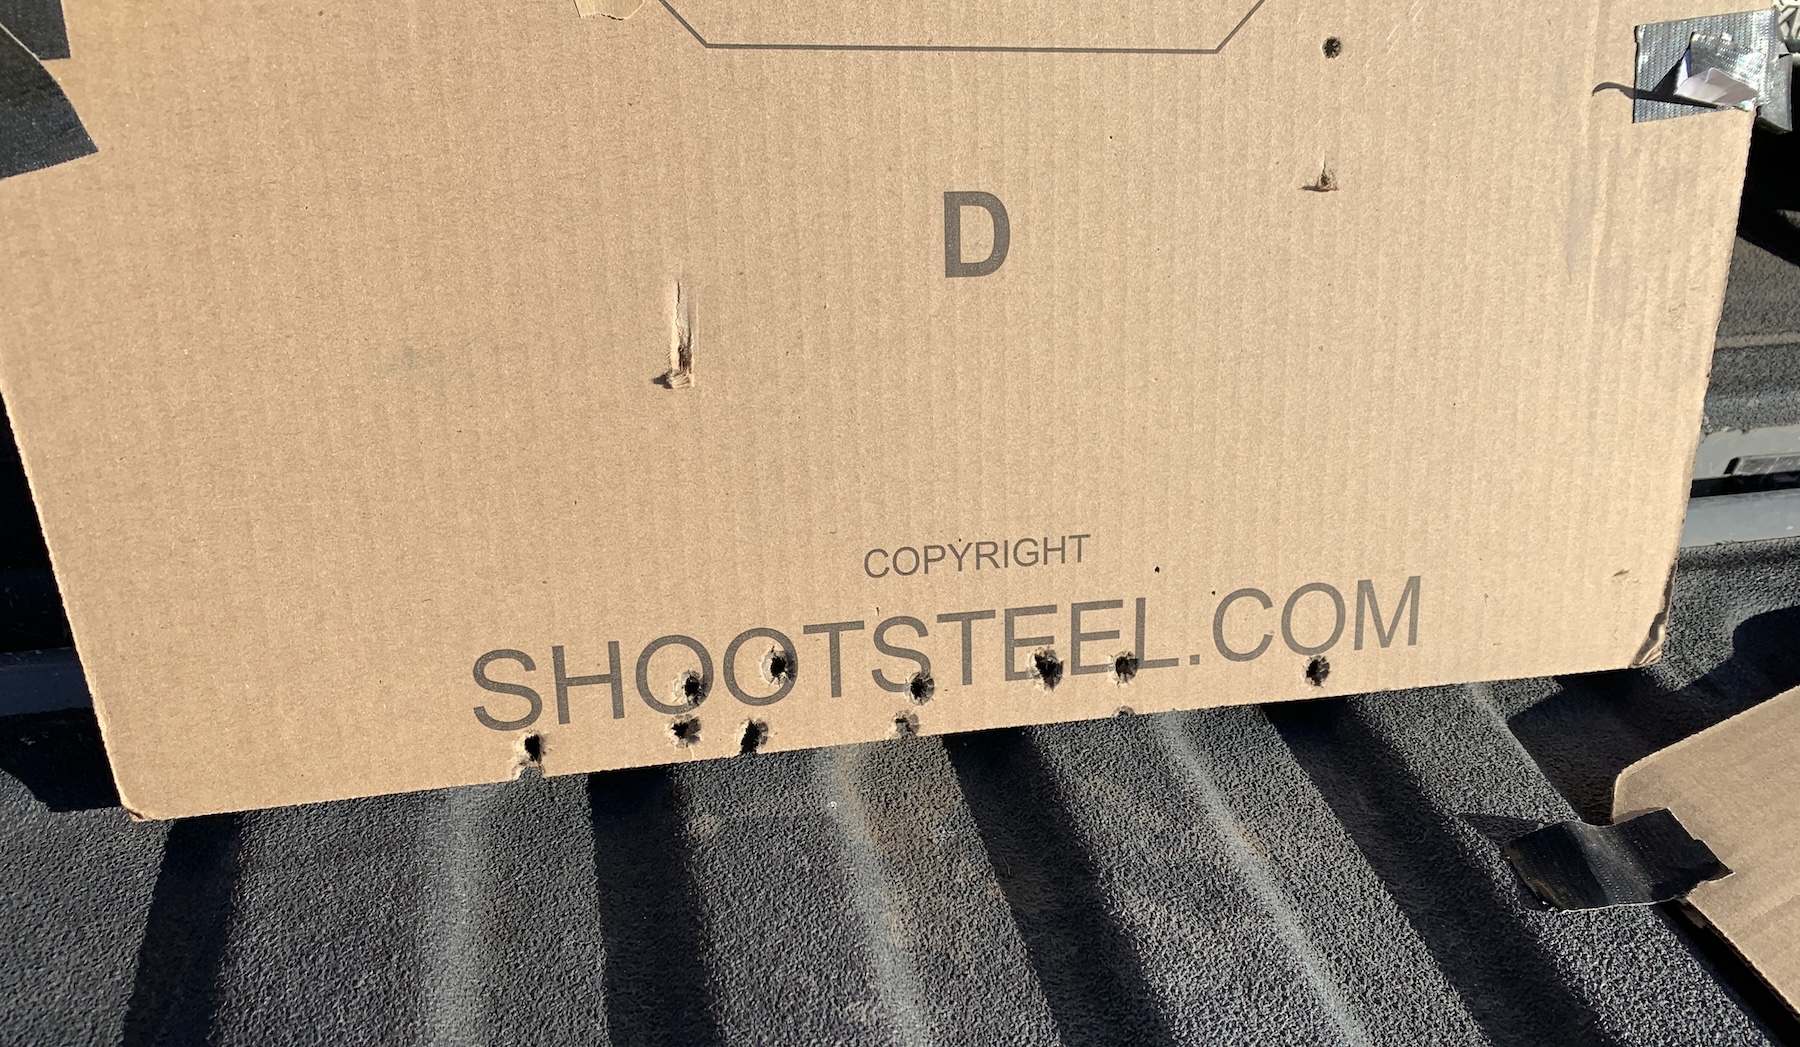
Another option is to use the wording at the bottom of the target, as long as it is large enough to be read at 1-3 yards. When I used this during an optics block this past weekend, I had the students find one letter that repeated, then another letter that repeated, and finally, every vowel in the three words on the target.
Final Thoughts
There are definite benefits to pistol-mounted optics. However, some work is required to take advantage of them. Along that line, there are benefits to occluding one’s optic. However, if one method does not work for you or your students, you will need to find another way to get them there.
Resources: