IRay_feature9213
Night vision is cool. No doubt about it. It is just a few weeks past the 40th anniversary of my first use of night vision. That was in basic training, and the night vision scope on an M16A1 rifle was about as long as the barrel. The quality of the image was poor, too, in hindsight, especially with everything we have now.
As good as today’s night vision is, there are times when it cannot work. This includes very smokey environments, in the fog, and with vegetation you can’t see through.
How do you, your teammates, and your agency address those concerns?
For those of you with four-legged problems to deal with, what can you do?
Thermal
One answer is thermal imaging.
My first experience with thermal, with infrared imagery, was a while back – the turn of the century, if you must know. Some of my narcotics task force partners specialized in marijuana cultivation cases, including indoor grows. One very effective tool was a handheld forward-looking infrared (FLIR) scope – because it ruled out bad information as much as it confirmed good information. That was also the era in which defense attorneys convinced the courts to start tightening down on using thermal as an investigative tool.
Several companies are developing Enhanced Night Vision Goggles (ENVG) that combine a traditional night vision monocular with thermal viewing capability. While the positives are significant, there are definite concerns, including weight and battery life.
InfiRay Outdoor
Earlier this year, InfiRay Outdoor contacted us and asked if we were interested in looking at one of their RICO Micro thermal imagers. Uhm, easy answer. Yes, please.
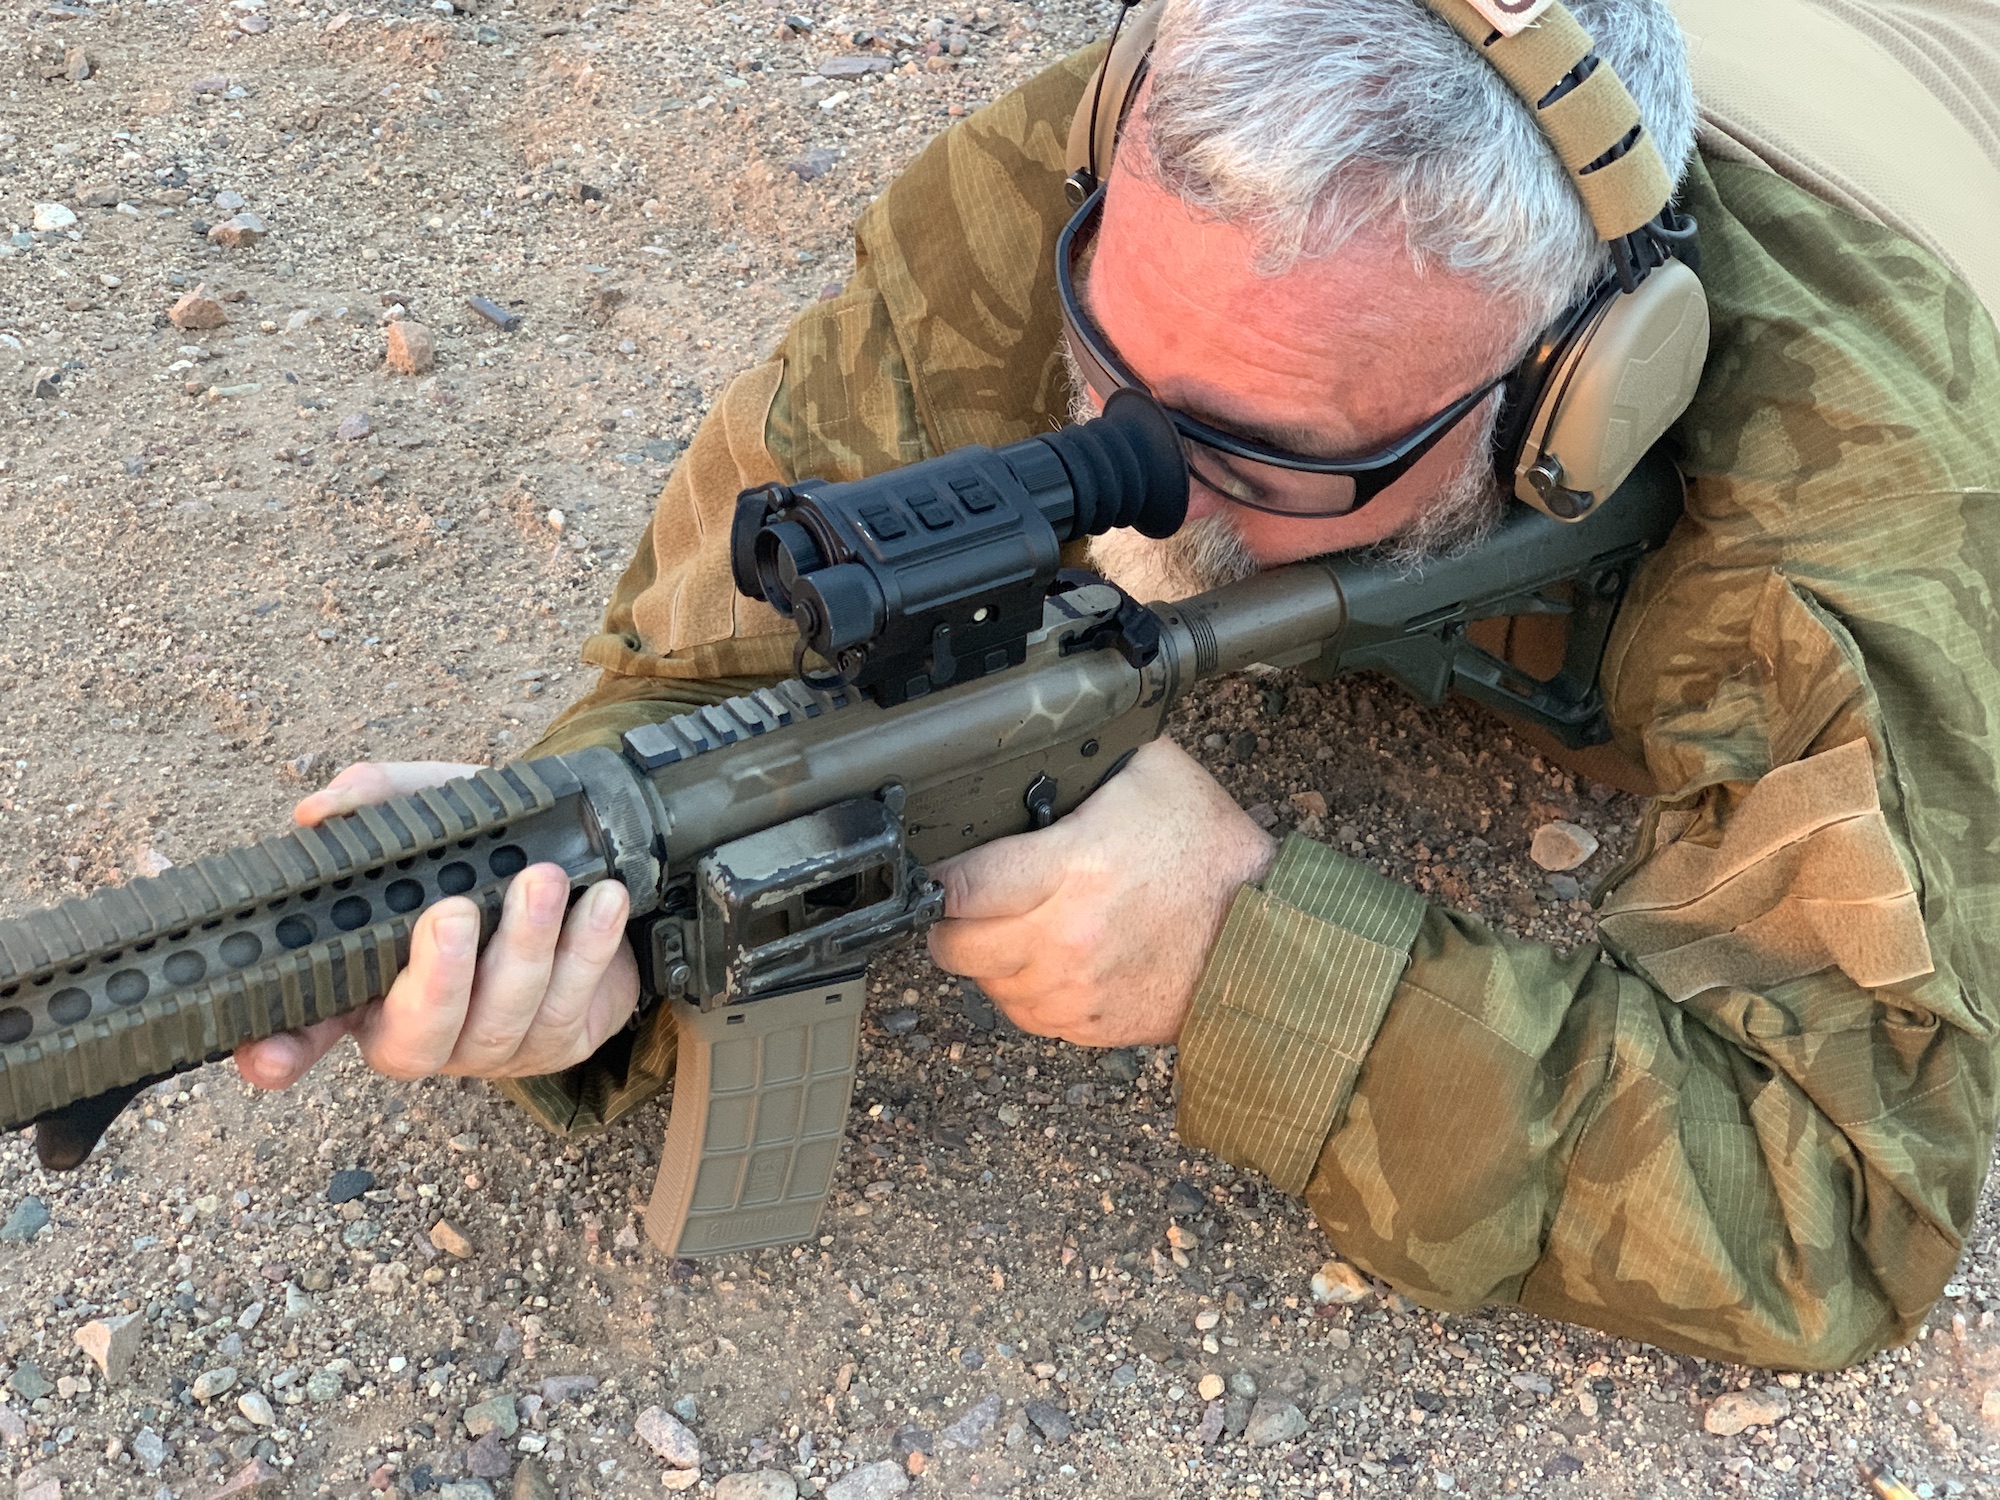
A short time later, a loaner optic arrived – the RL25. This model is further identified as the Rico Micro 384 2x 25mm, a multi-functional thermal weapon sight.
Everything came in a padded carrying case. Aside from the optic, there were a larger eyecup & shield, replacement battery cap, rechargeable batteries, battery charger & cord, manual, and Allen wrenches.
Mounting
The assembled optic includes a mount that fits a 1913 standard rail, aka – the Picatinny Rail. The base attaches to the rail with two bolts and nuts. The nuts are captured and cannot be inadvertently removed from the bolts. That’s a good thing. I prefer a throw lever, like those from LaRue Tactical, that I have used on many optics, lights, and IR designators. It may just be a preference, but if one moves the RL25 on and off a rifle during a trip, I have concerns about a reasonable return to zero.
iRay does offer a QD mount with two throw levers for this optic.
As a result, I would dedicate the RL25 to one upper receiver and leave it there. This would not be uncommon as I already have one upper dedicated to daytime depredation work with a Schmidt & Bender 1.1-4x optic.
Operation
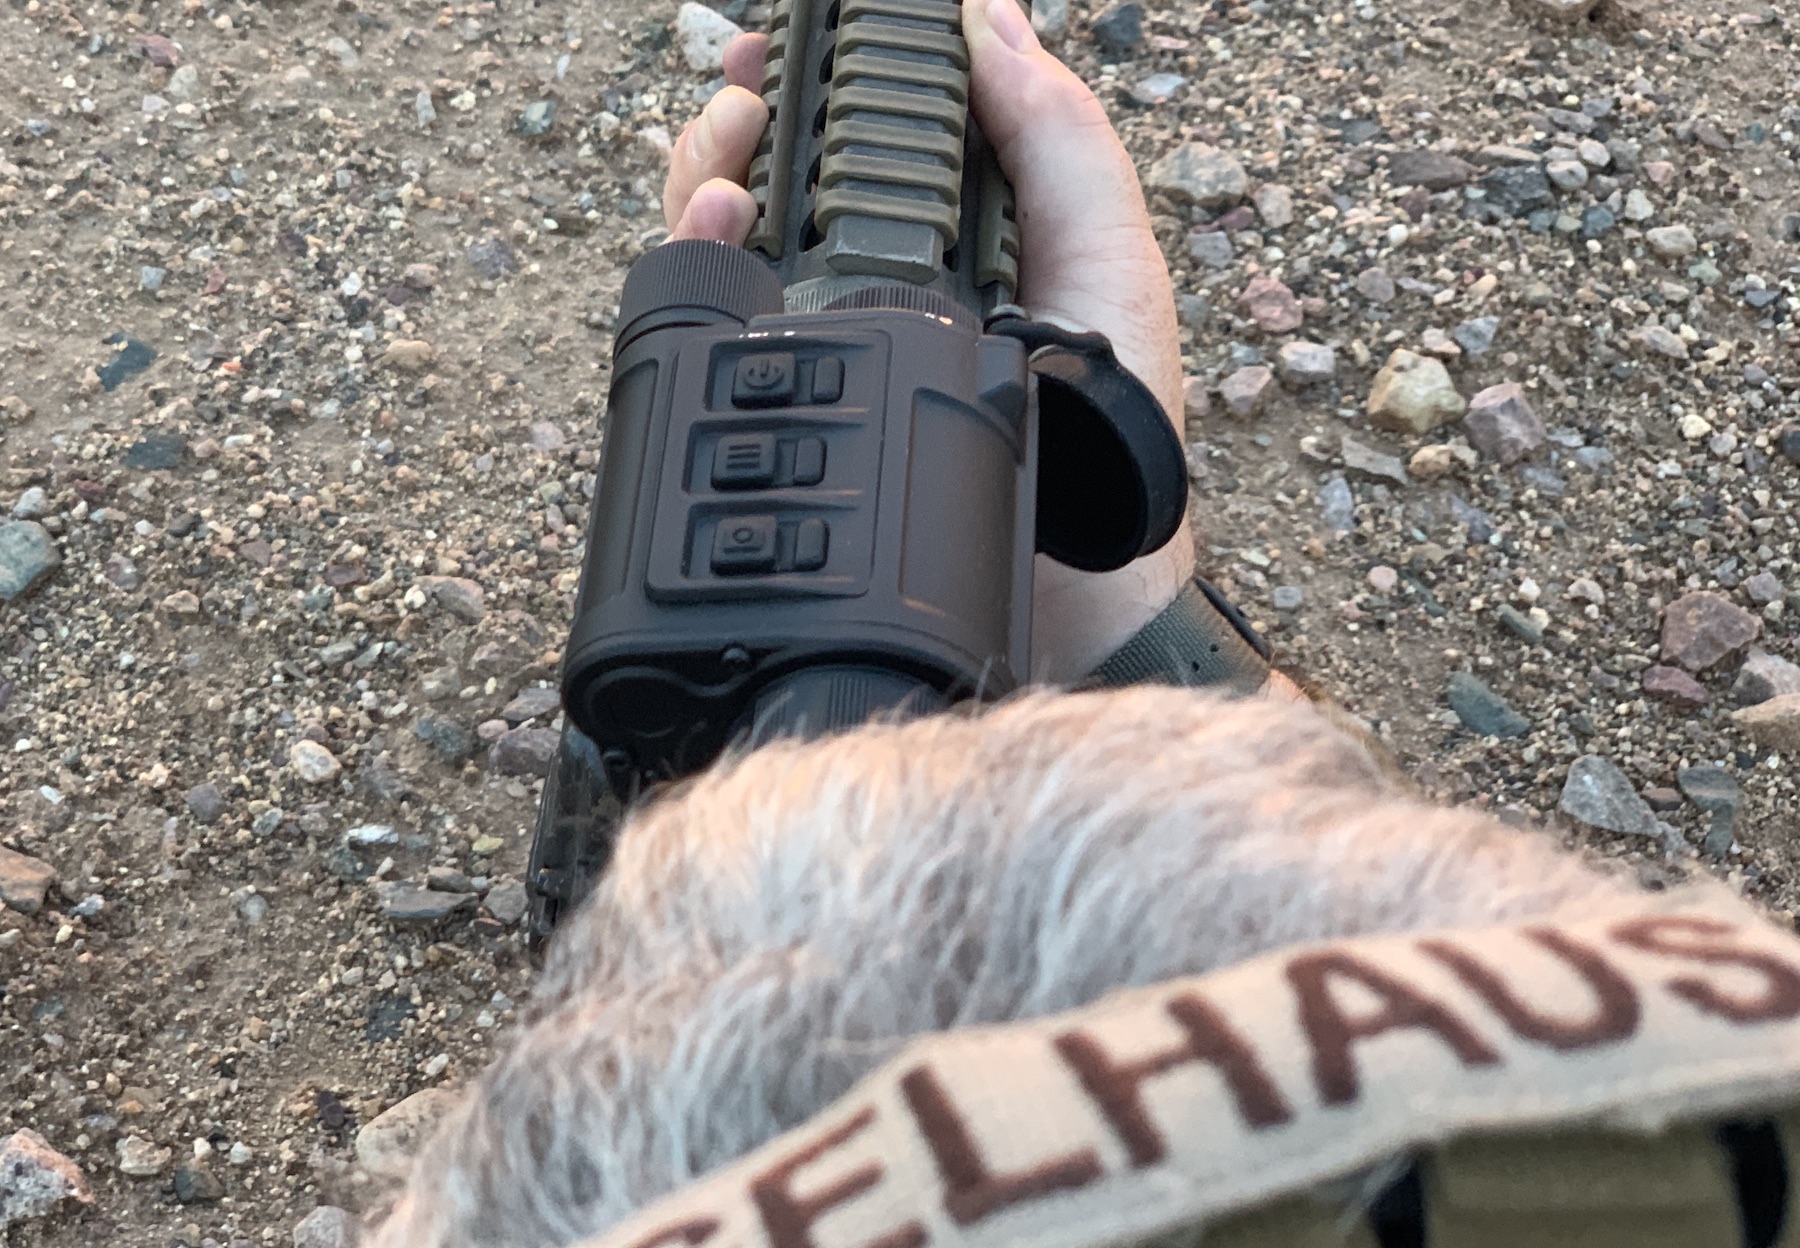
The top of the optic has three distinct buttons. Thoughtfully, each one has a visual representation of its purpose molded into it. The forwardmost button is for power. Press and hold to power on; when you are done, press and hold to power off. Powering up takes about 2-4 seconds, while shutting it down can take about 15-20 seconds. The middle button controls the optic’s zoom-in and -out capability. The rearmost button allows you to still both still photos and video.
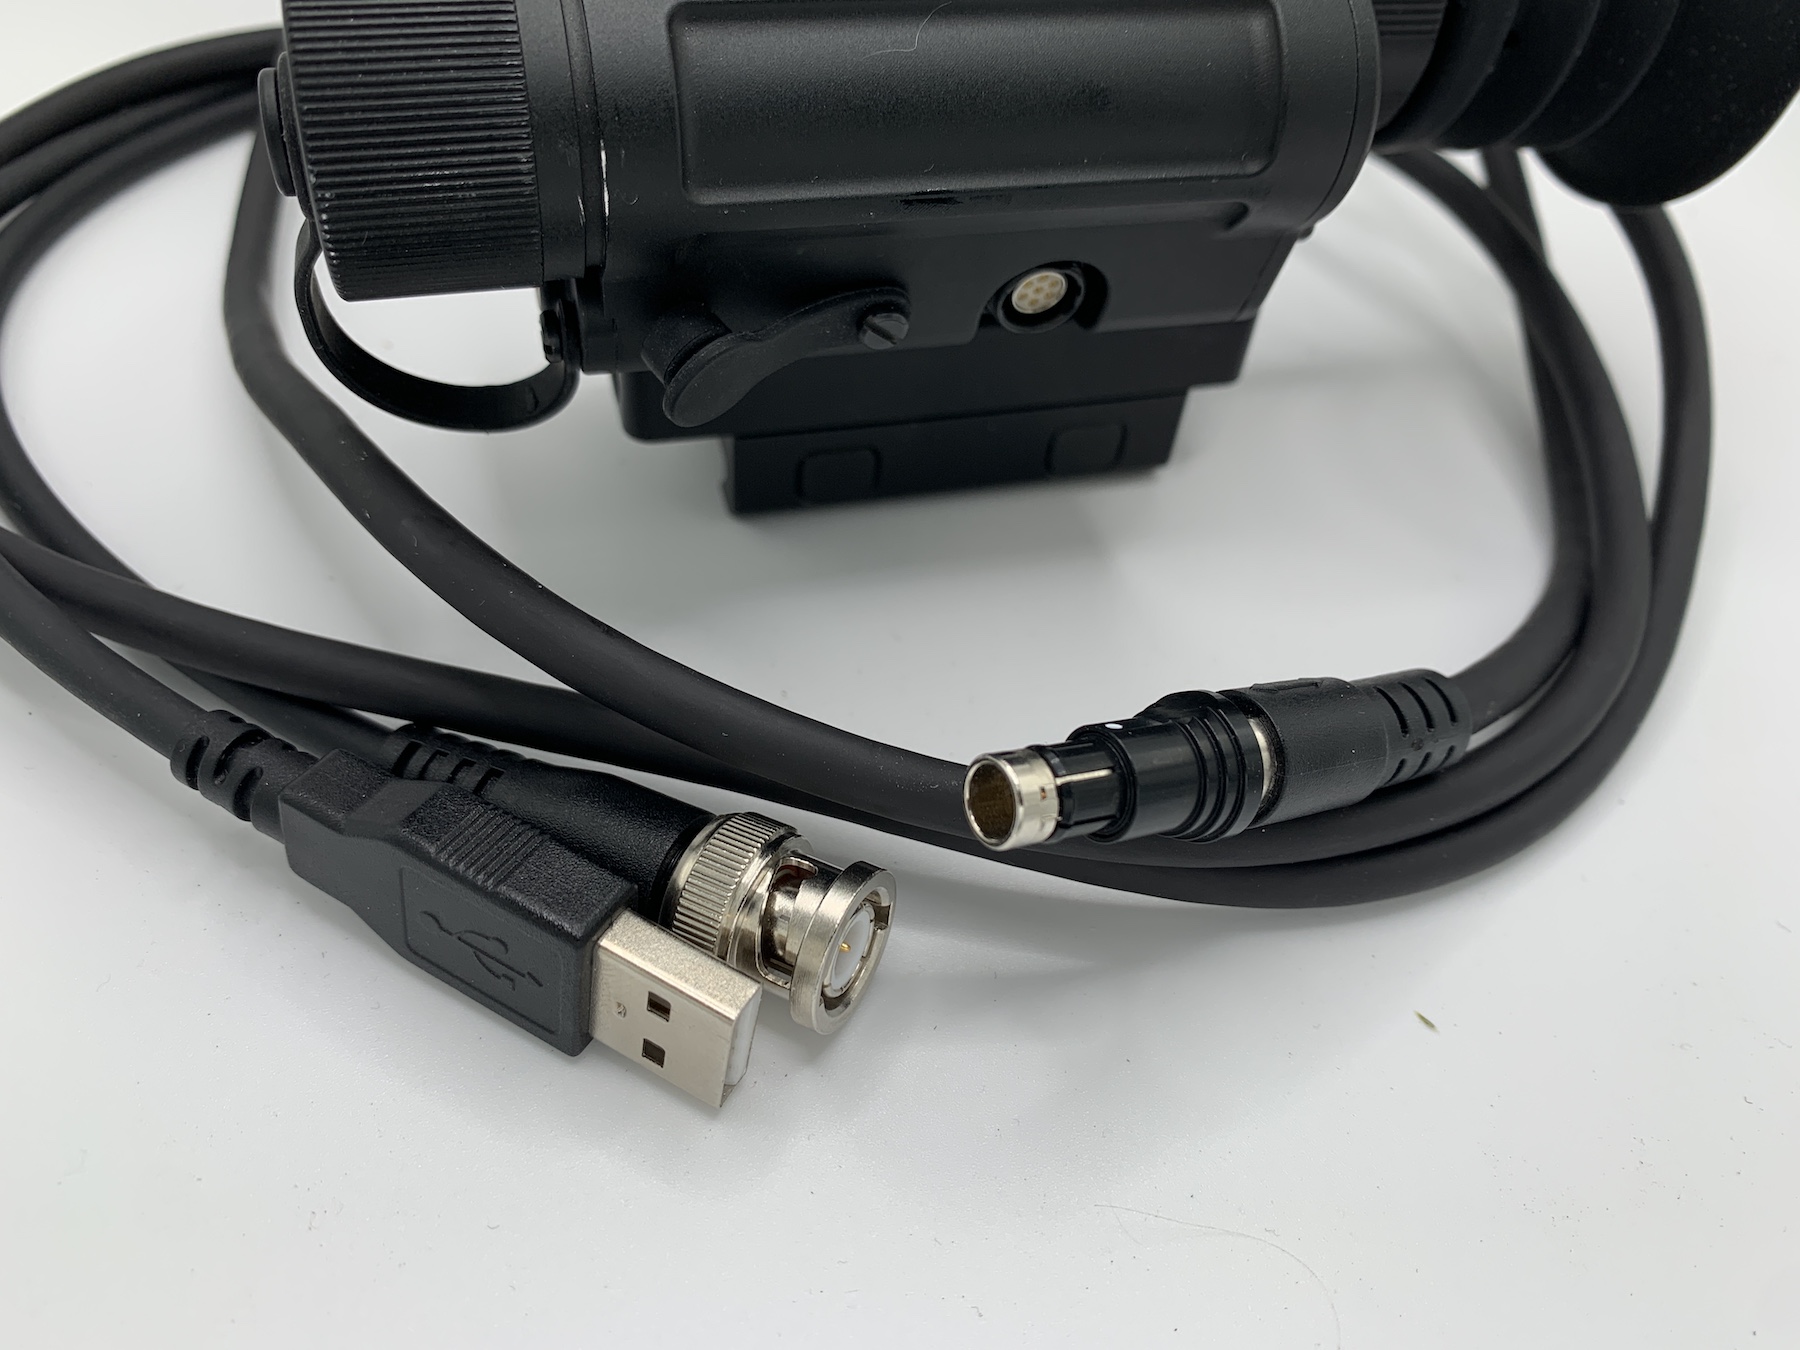
To download the images, they have included a split cable. One end is dedicated to connection on the optic itself. The other end has a BNC video plug and a male USB connector. Once you have plugged the cable into the optic, you can connect it to your TV or computer to download or view. It is an intuitive and easy-to-use system.
Zeroing
So, how do you zero one of these?
If you know where to start, it is not a difficult process. Unfortunately, that might not be readily apparent. Recently, I have spent time looking around the internet for various targets.
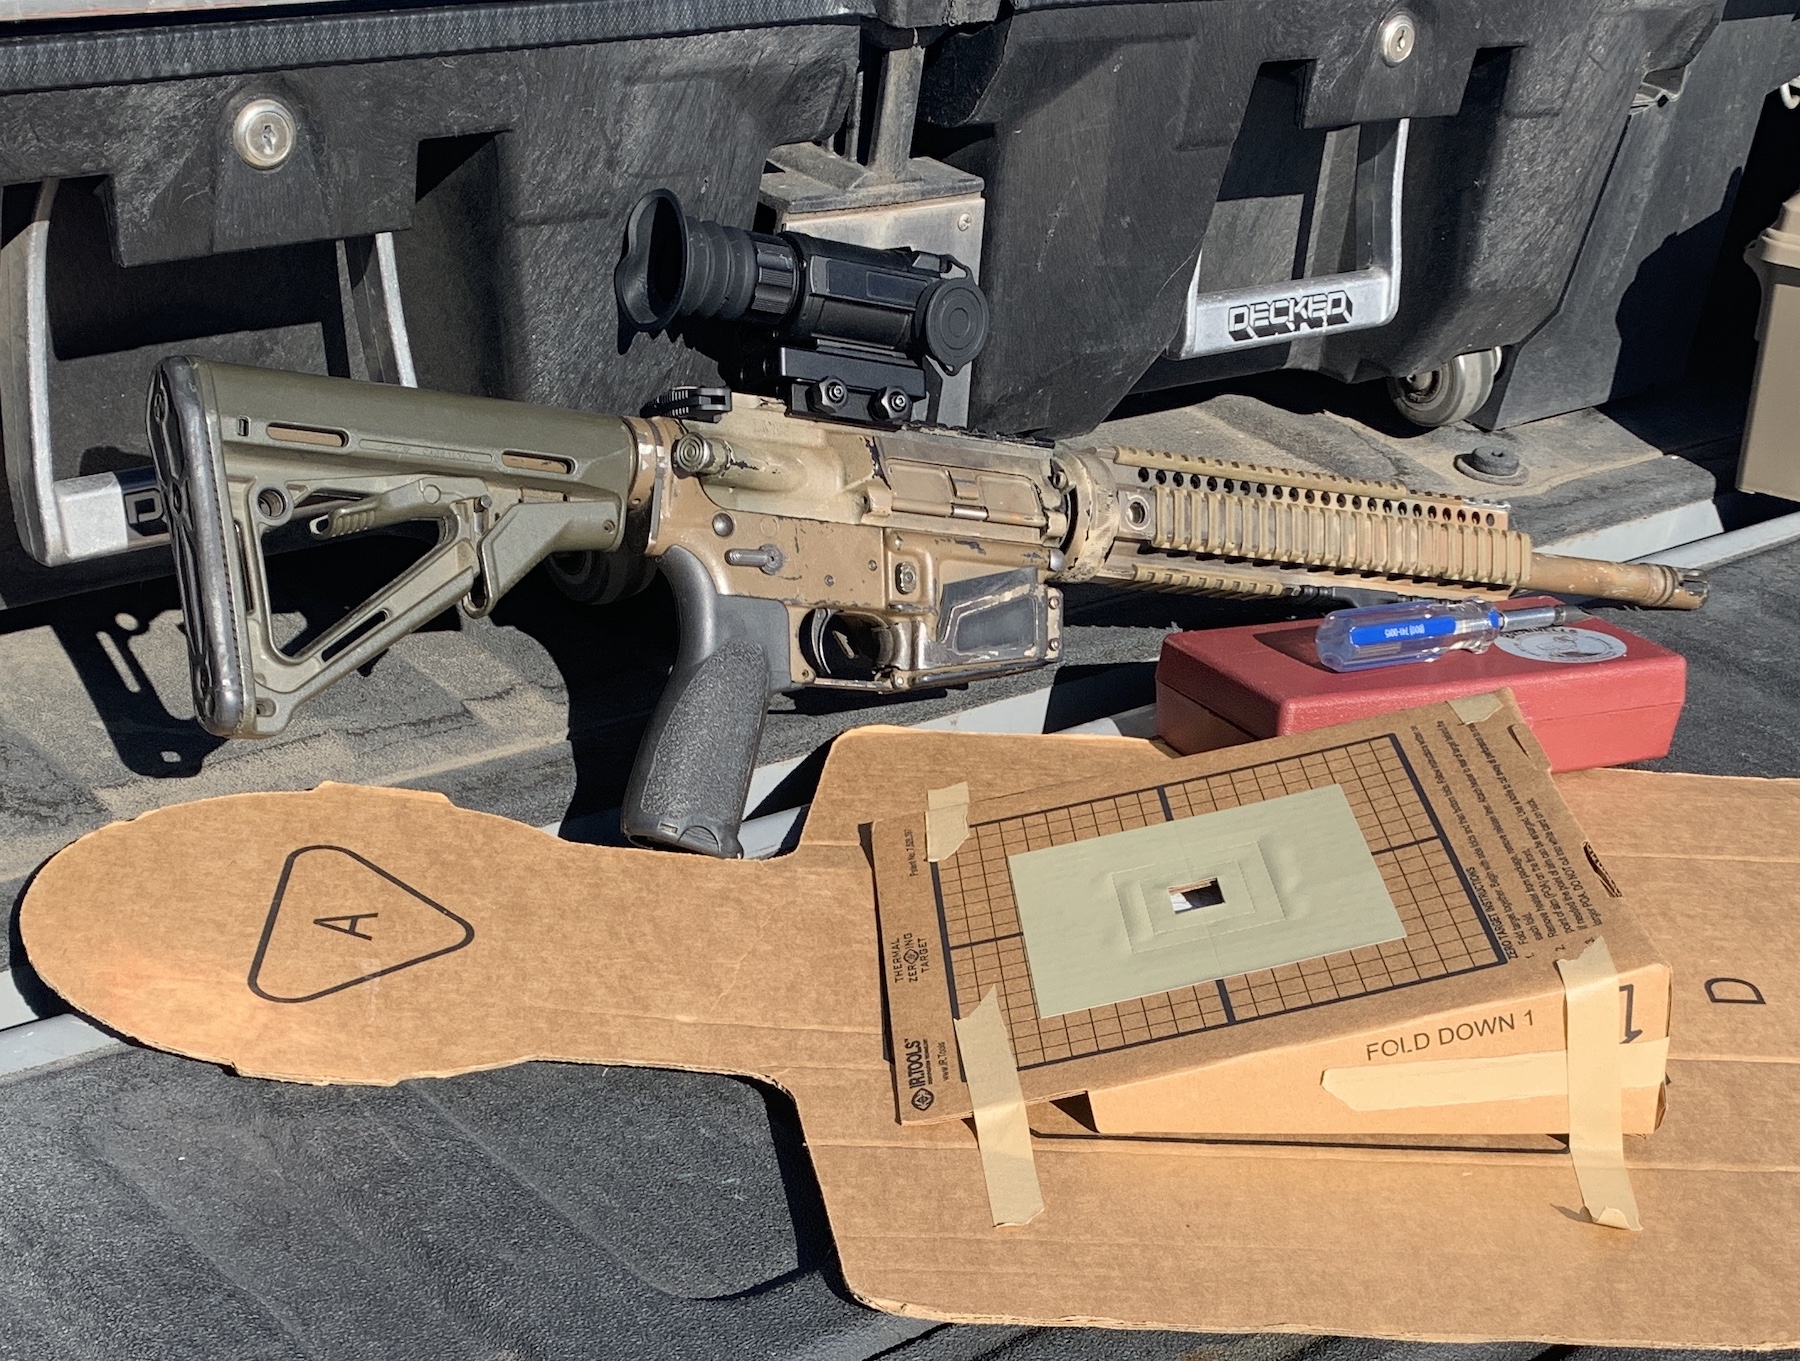
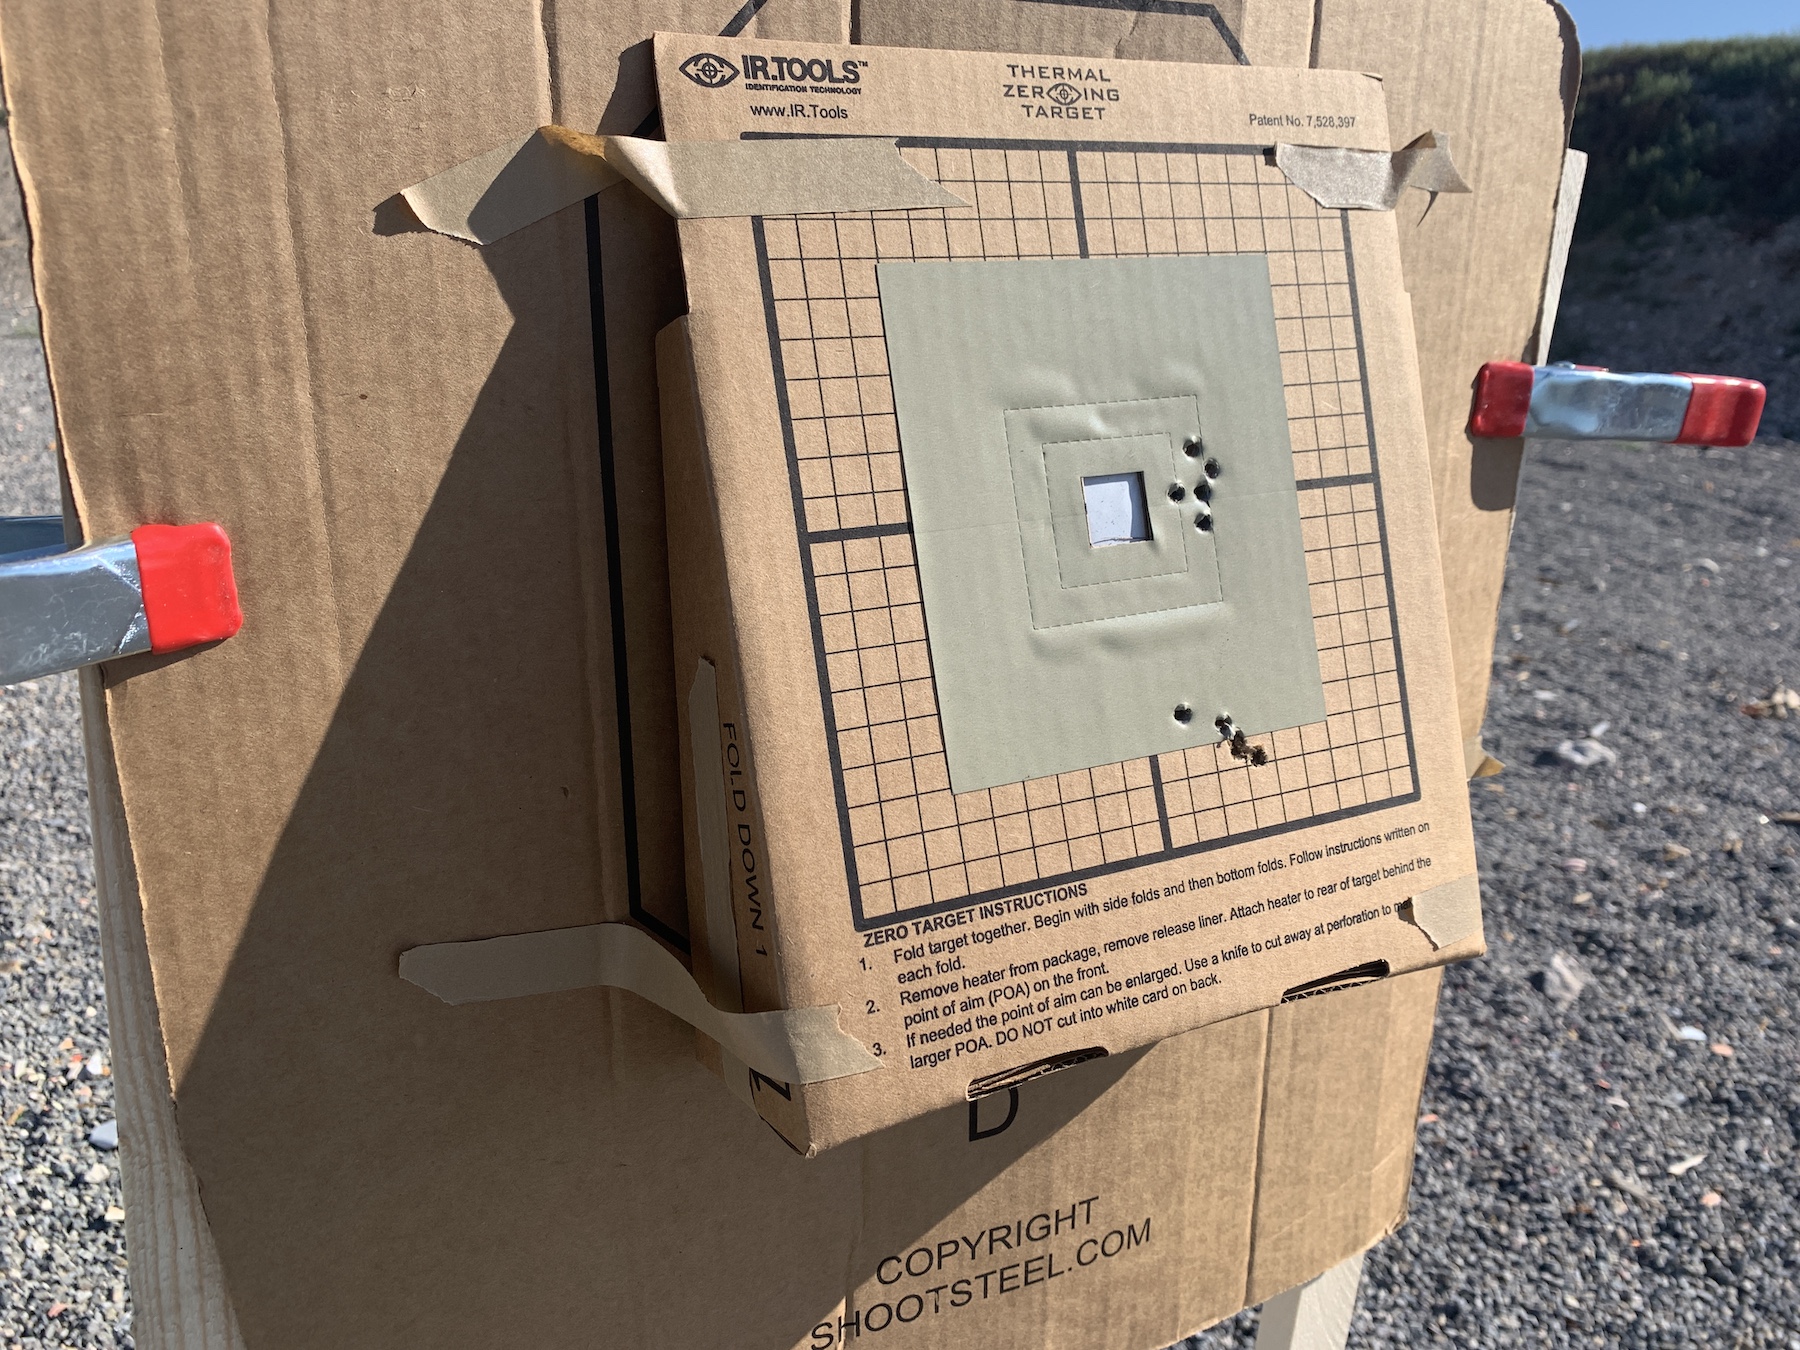
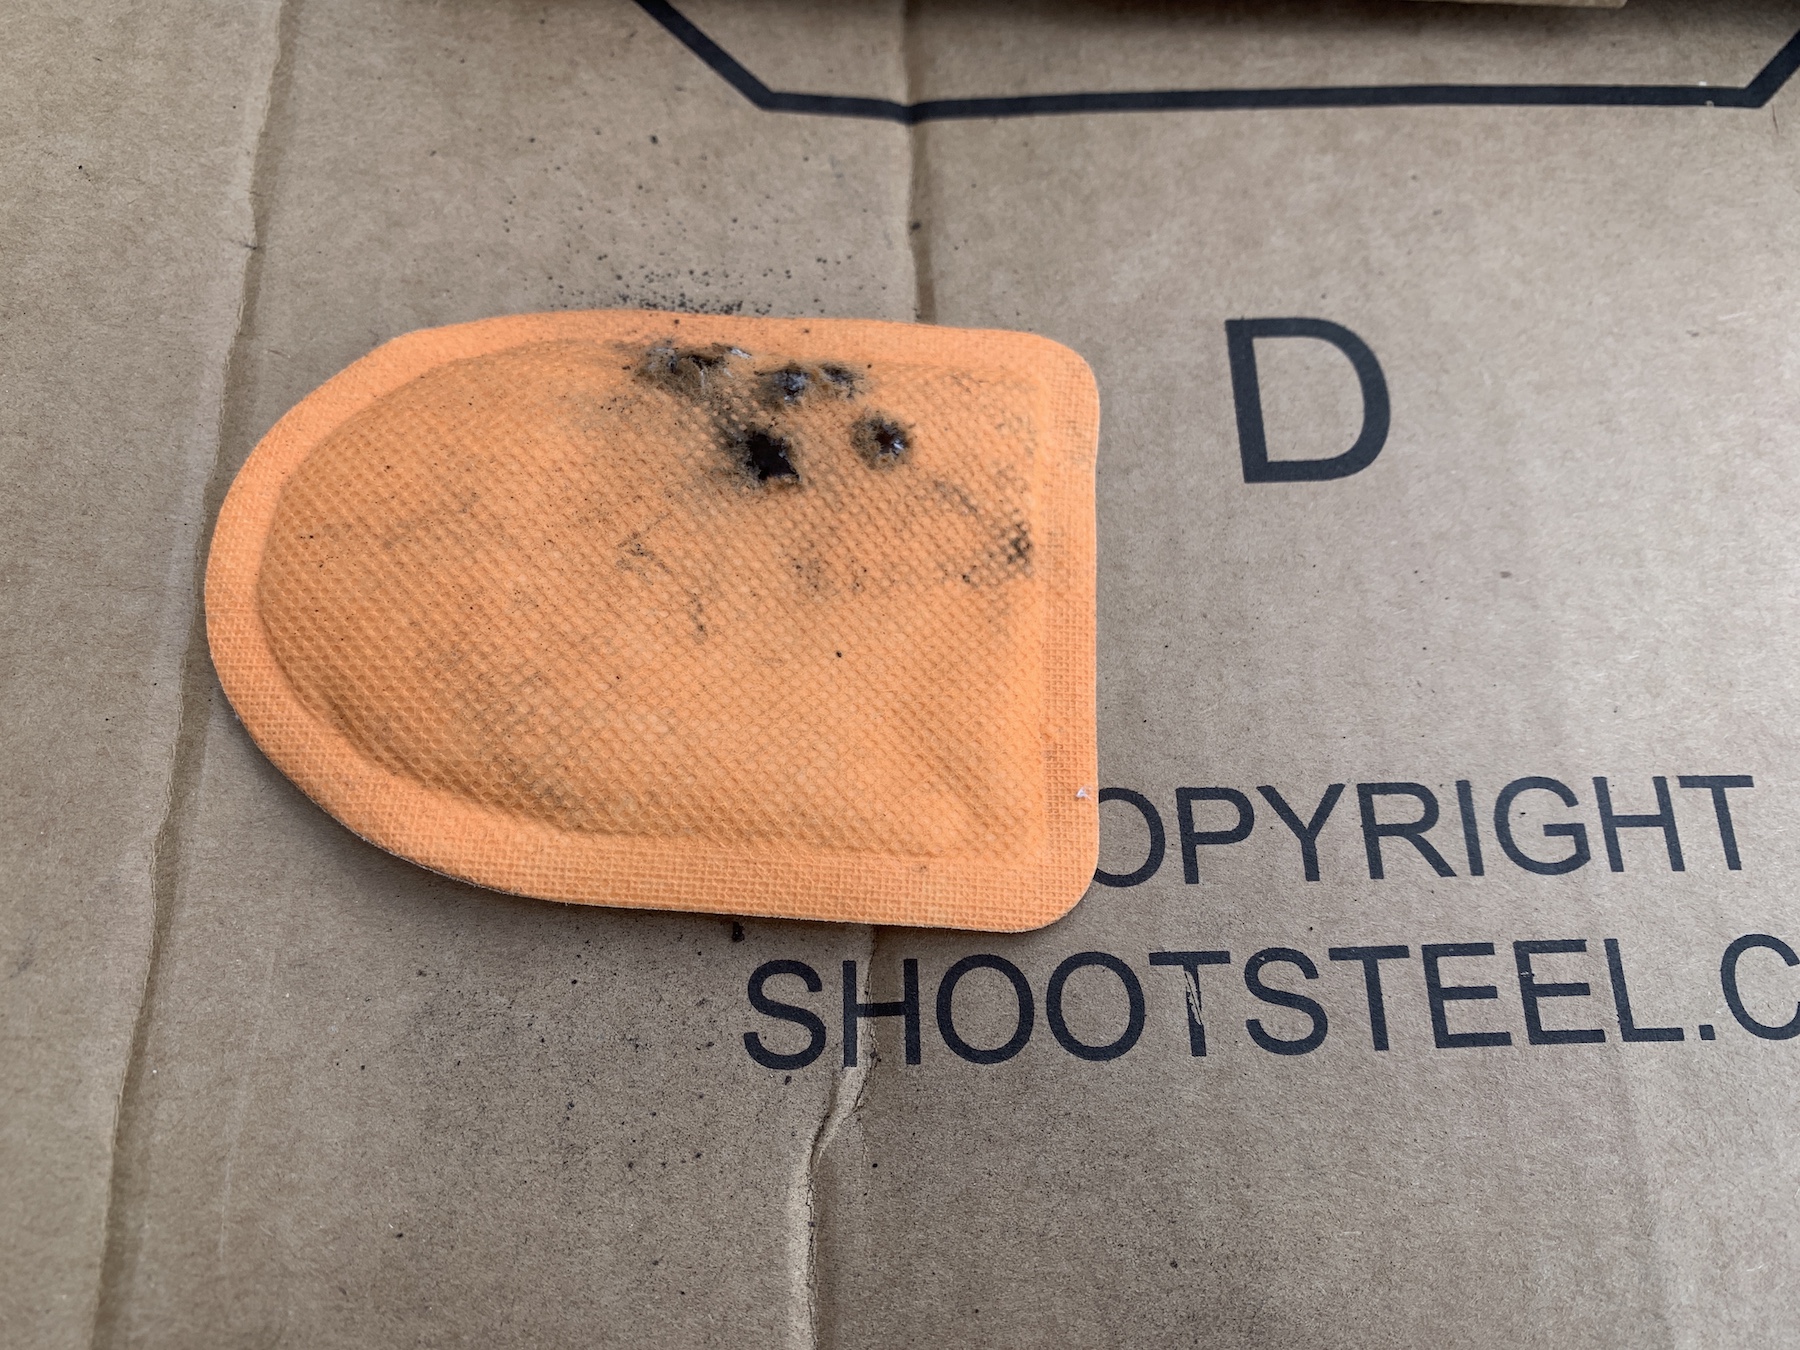
During those searches, I came across an IR/Thermal centric zeroing target offered by LEtargets.com. It consists of a foldable cardboard housing and mount. As you can see in the photo, there is a small, white aiming square in the center of it. That area inside the cardboard holds a small chemically activated heat pack – like you would use in your boots or a hand warmer pouch during the winter. Activate the heat pack, which comes with the zero target, and insert it. Then, secure the assembly to a backer or target frame.
I took the thermal optic and rifle to a local range early in the morning to work through the zeroing process.
Practical Application
I want to tell you I was able to harvest all manner of critters. Especially those that fall into the depredation category. Unfortunately, I cannot. Those I saw in the afternoon did not require me to use a thermal optic. And where I was at night, nothing came in close enough for me to identify them.
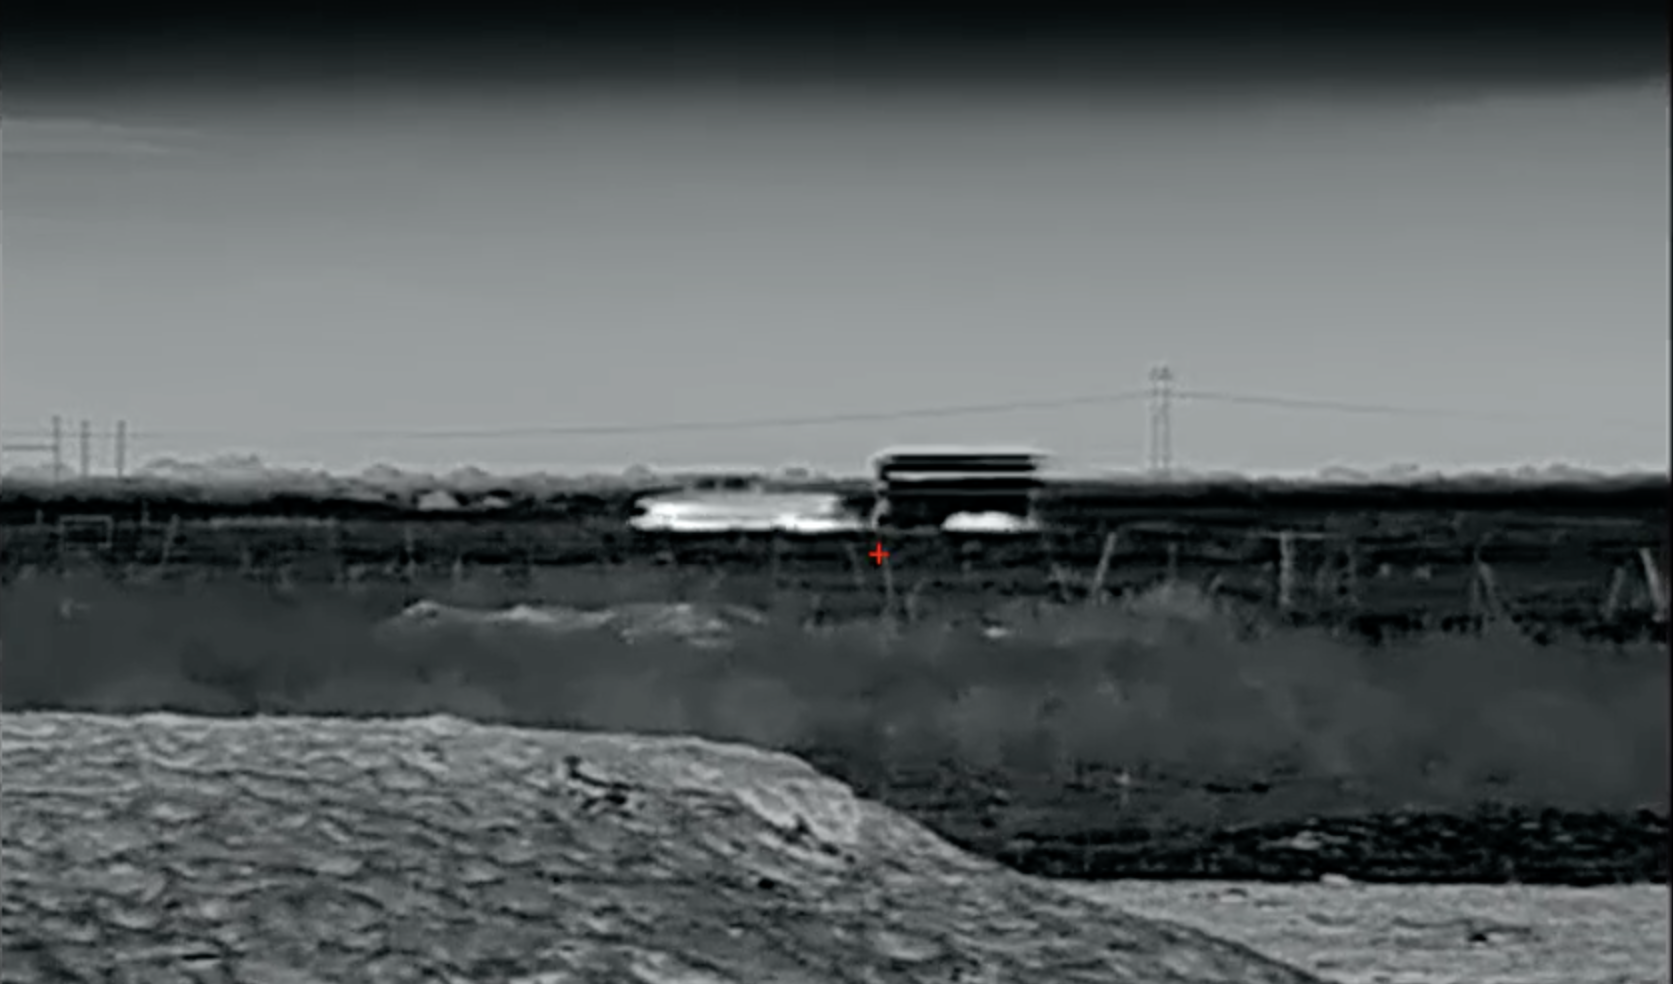
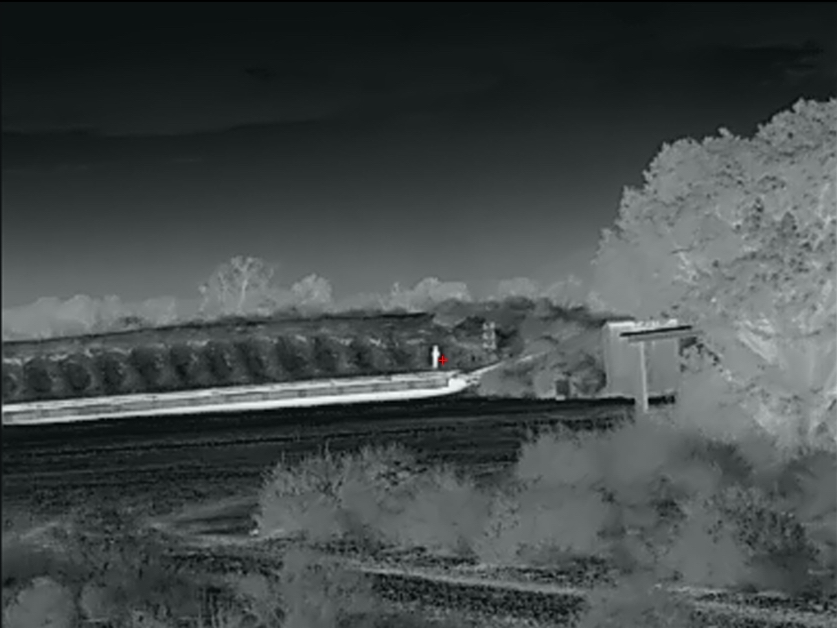
You will have to settle for a photo taken at dusk. With the sun still and the thermal optic set at 1x, I scanned the target area and berm on Gunsite’s 200-yard York rifle range. The bright (white) spot you see is a roughly three-and-a-half-foot tall, 125-pound power popper (they don’t fall when hit) that had been in the sun all day.
Final Thoughts
There are many reasons to invest in a thermal capability. From my perspective, it does not matter if you are doing depredation in the wild on four-legged critters or dealing with dangerous, violent human beings in a law enforcement or military context. Thermal gives you capabilities that night vision does not. InfiRay Outdoor’s RL25 retails for US $2999.
A good thermal optic is on my need list. Take a look at InfiRay Outdoor’s offerings.
REFERENCES

