
 (+2 rating, 6 votes)
feature_1624
Most frequently, the word “presentation” describes how something is displayed, or even laid out, for others to see. Alternatively, it is about an educational event in which information is conveyed via the spoken word with graphics.
For this article, we are talking about you drawing your pistol. Before someone asks why I don’t just say “draw,” Colonel Cooper used the word to describe a specific method of getting your handgun from the holster into your eye/threat, or eye/target, line.
Whether you are shooting iron sights or optics, consistency in your presentation is key.
Cooper broke the presentation into five steps. The late Louis Awerbuck taught it as a four-step process in his handgun classes. While there is a difference between those two, Cooper described Awerbuck as one of the finest defensive firearms instructors he knew. And Louis left us far too soon. Anyway, back to presenting the pistol.
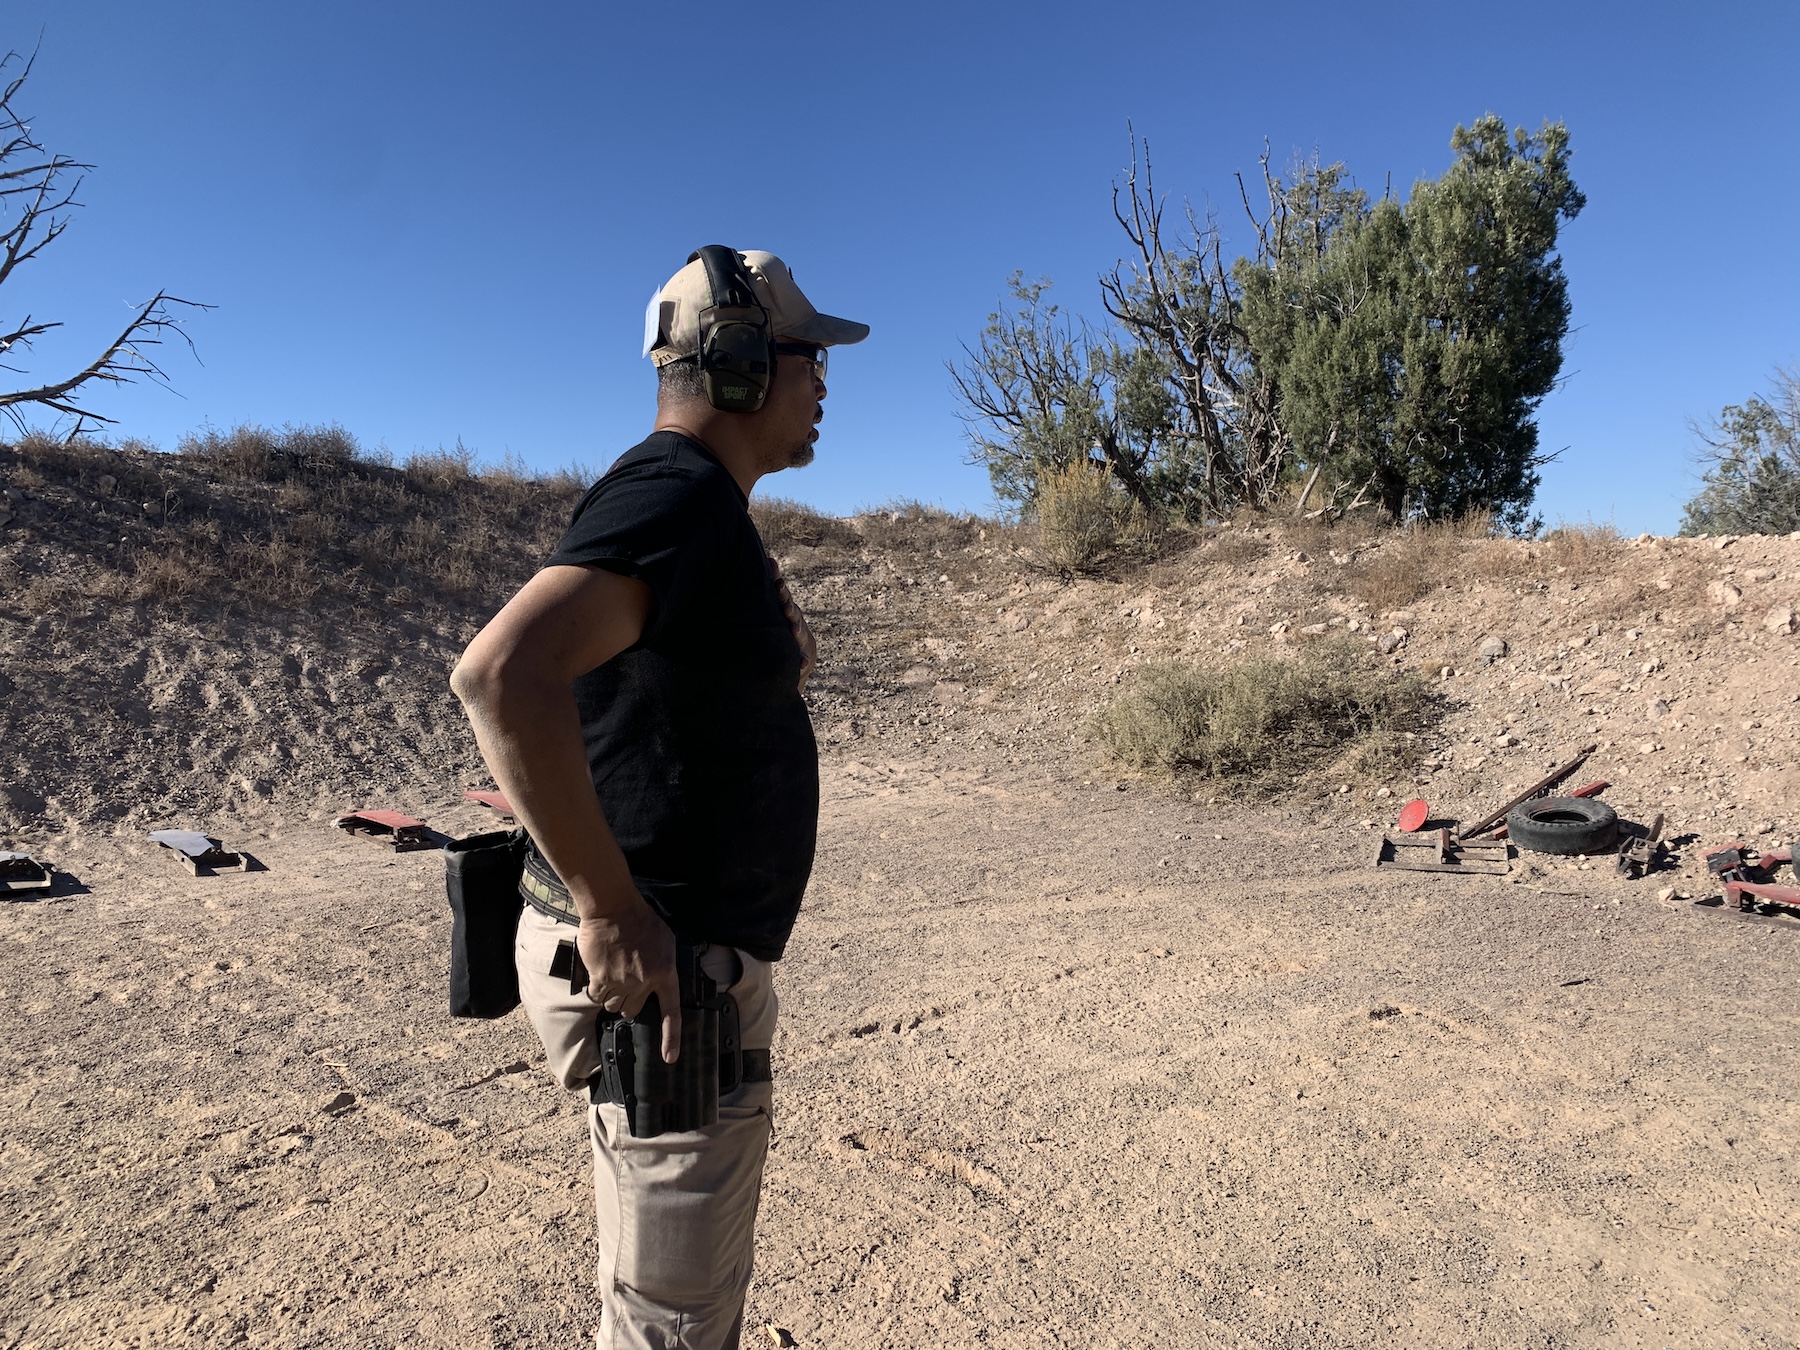
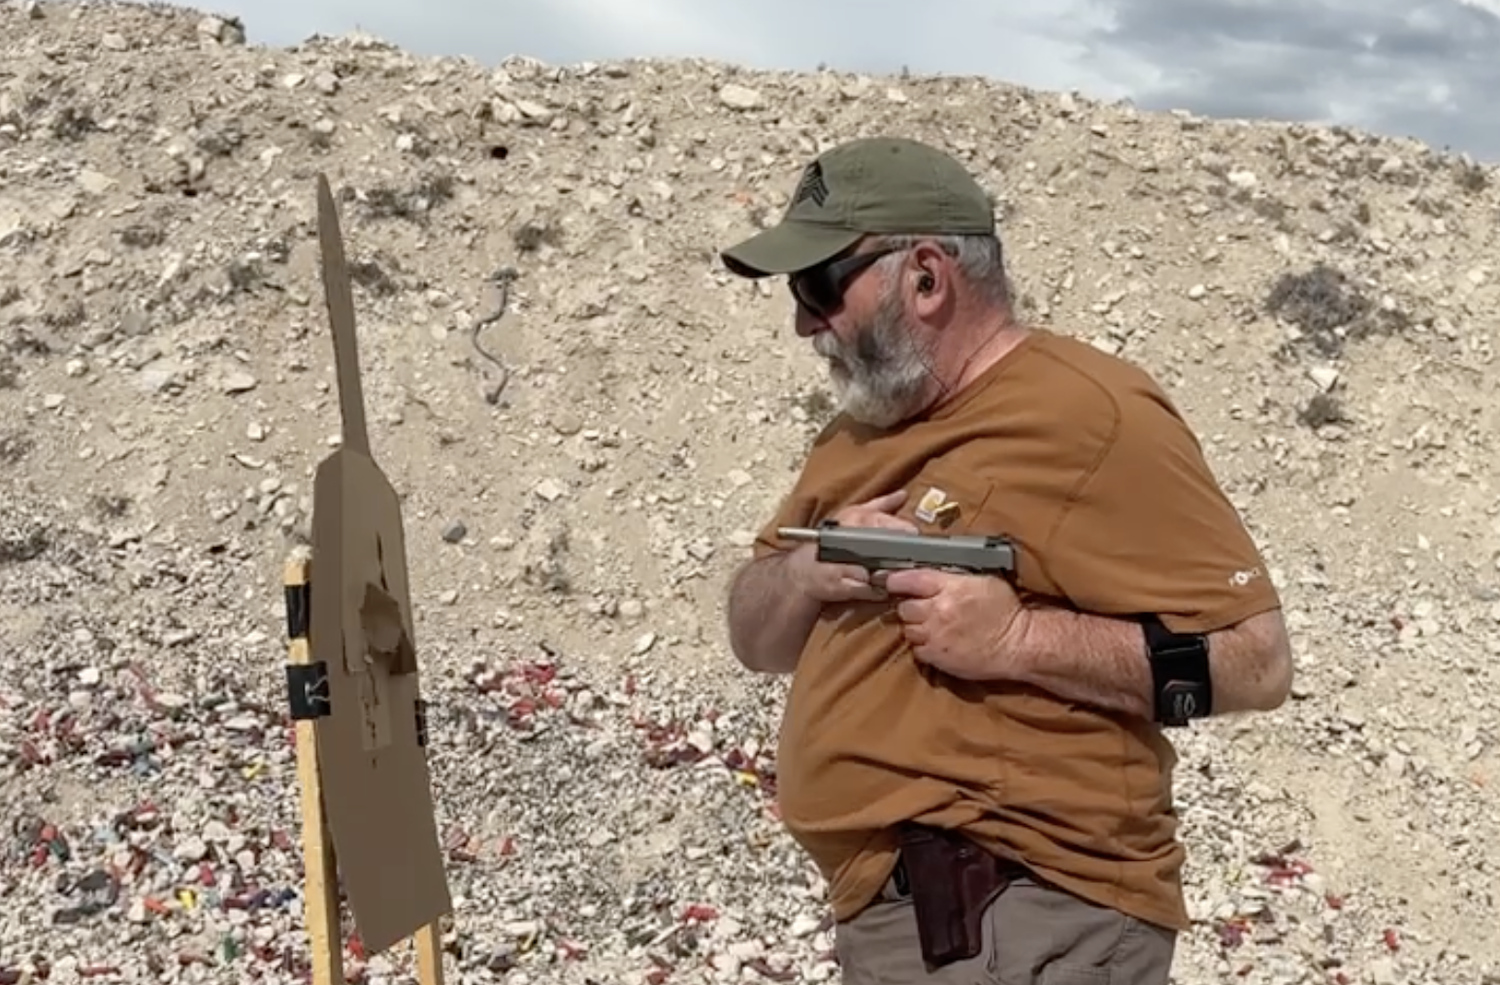
Eugene has established a firing grip on his pistol while moving the support hand to his sternum.
Grip
Step one is establishing your grip on the pistol. Your shooting hand goes to the frame to do that after you have defeated any retention devices on the holster – bale, thumb lever, straps, etc. At the same time, your support hand has moved to the center line of your torso. Generally, that is at the bottom of your sternum.
The goal is to keep from having to re-adjust your grip once the pistol is up on target.
The pistol is now high enough that it will clear the holster.
Clear
Once you’ve defeated any retention devices and established your grip, it is time to lift the pistol up out of the holster. How? By lifting it in a straight line out of the holster, but only high enough up so that your muzzle (or pistol light) clears the mouth.
He has dropped his shooting elbow, which has rotated his muzzle onto the target.
Rotate
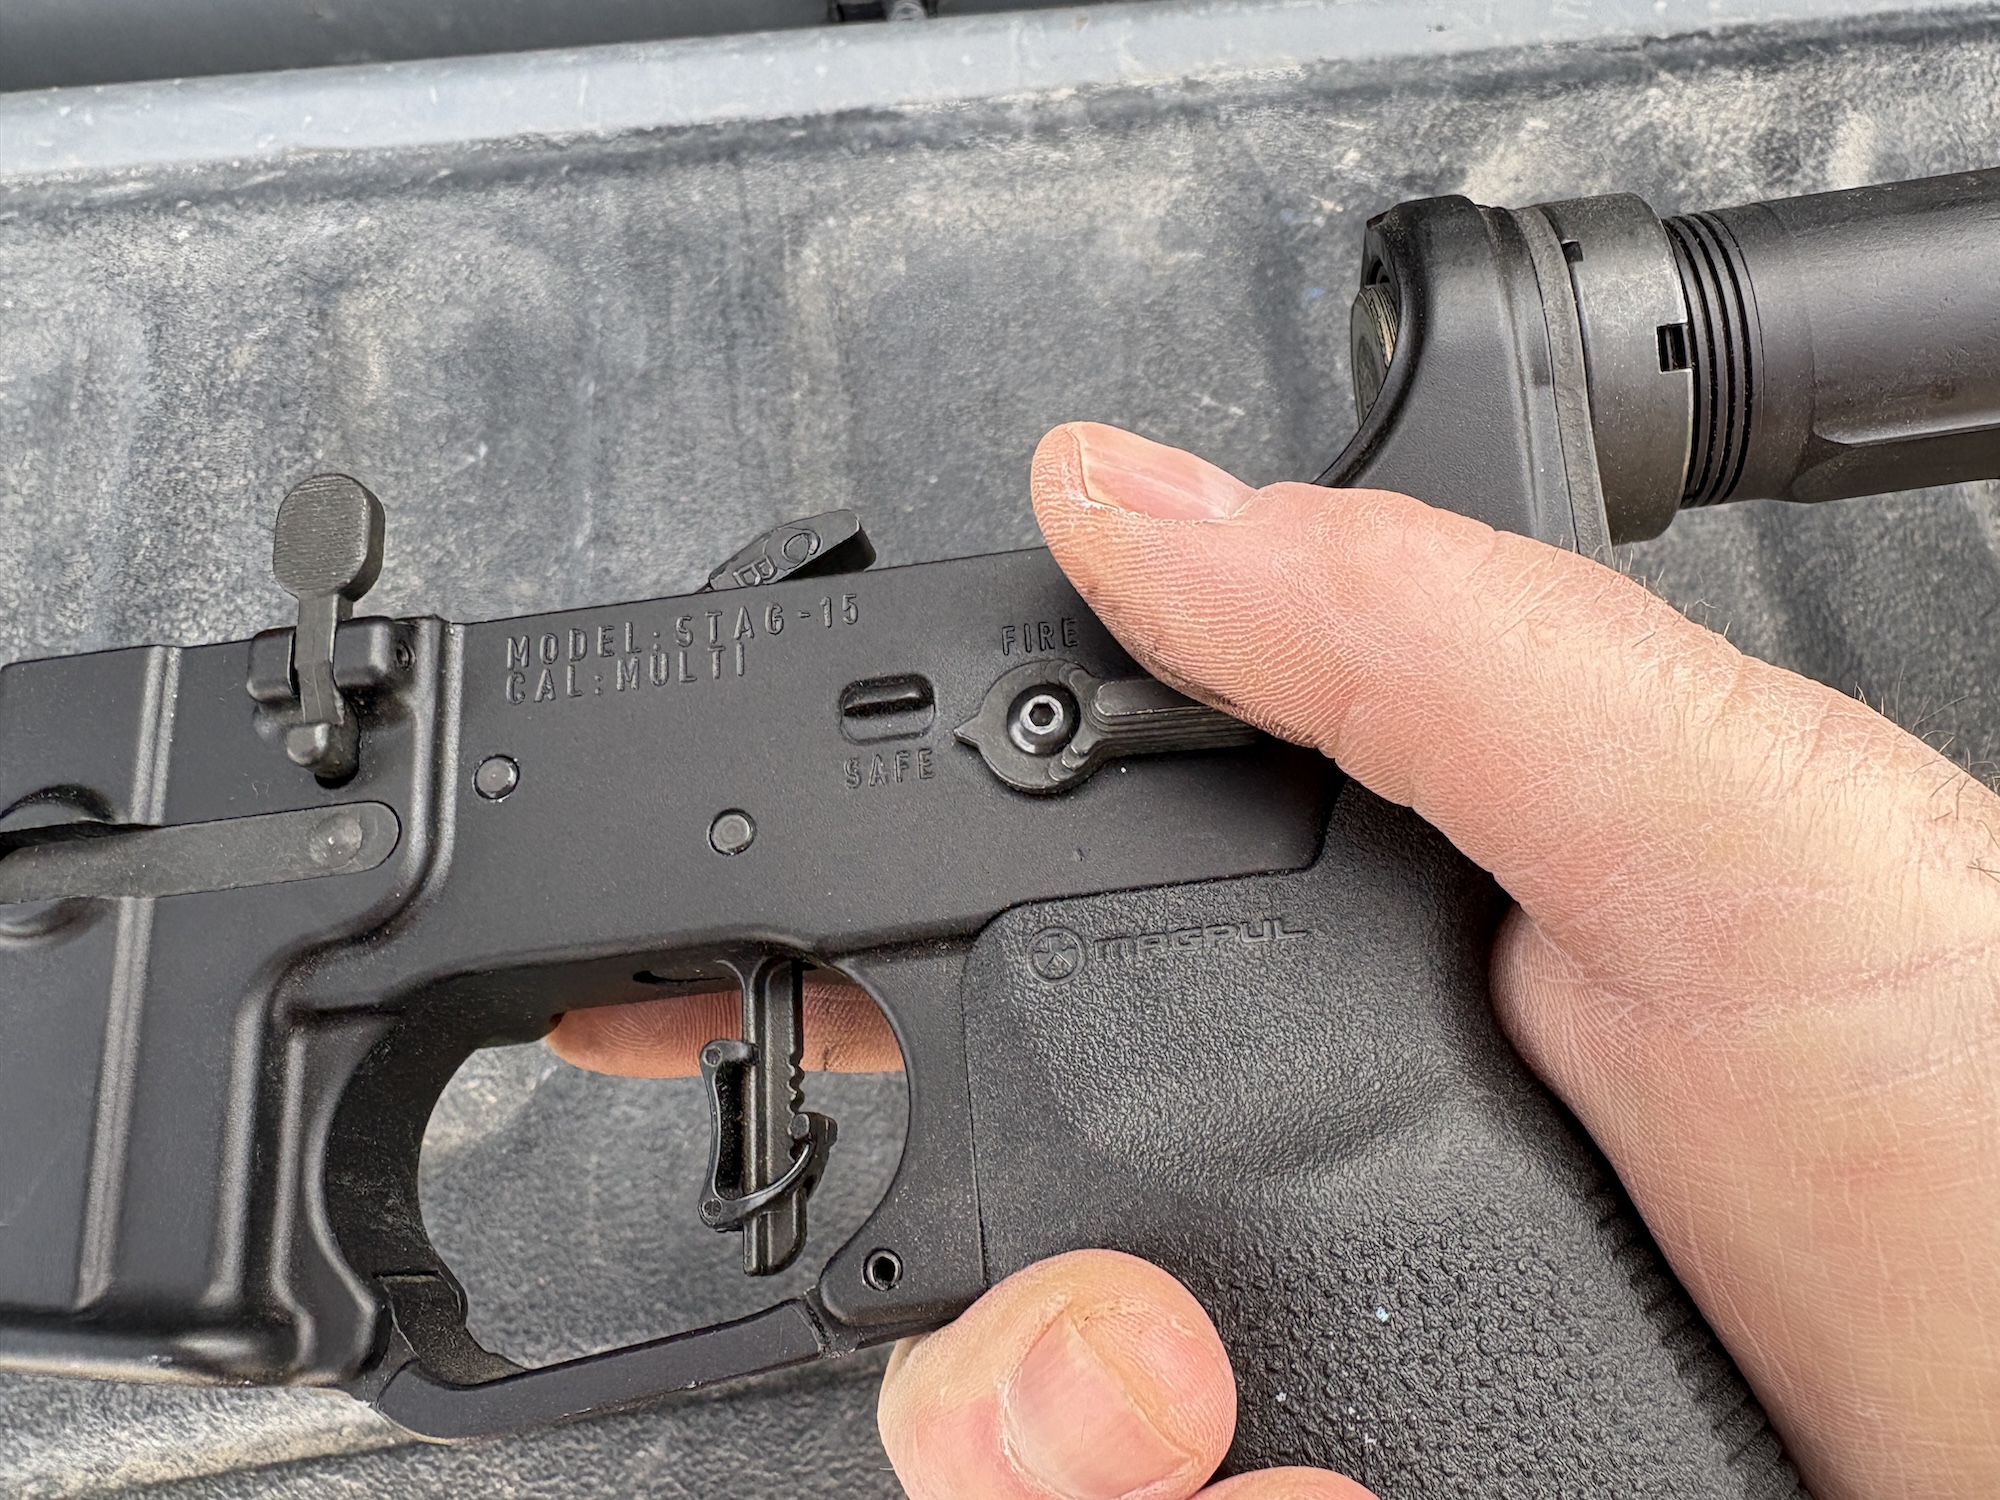
Way back when – when the 1911A1 and its thumb safety were quite common, this step was known as Click as it was the point at which the frame-mounted safety was disengaged if you were drawing to a sight picture and the shot. Now, it is when the muzzle changes orientation from vertical to near horizontal.
This is done by dropping the shooting elbow down and back instead of raising and extending the muzzle.
If your handgun has a mechanical safety, you’ll address the safety based on your destination.
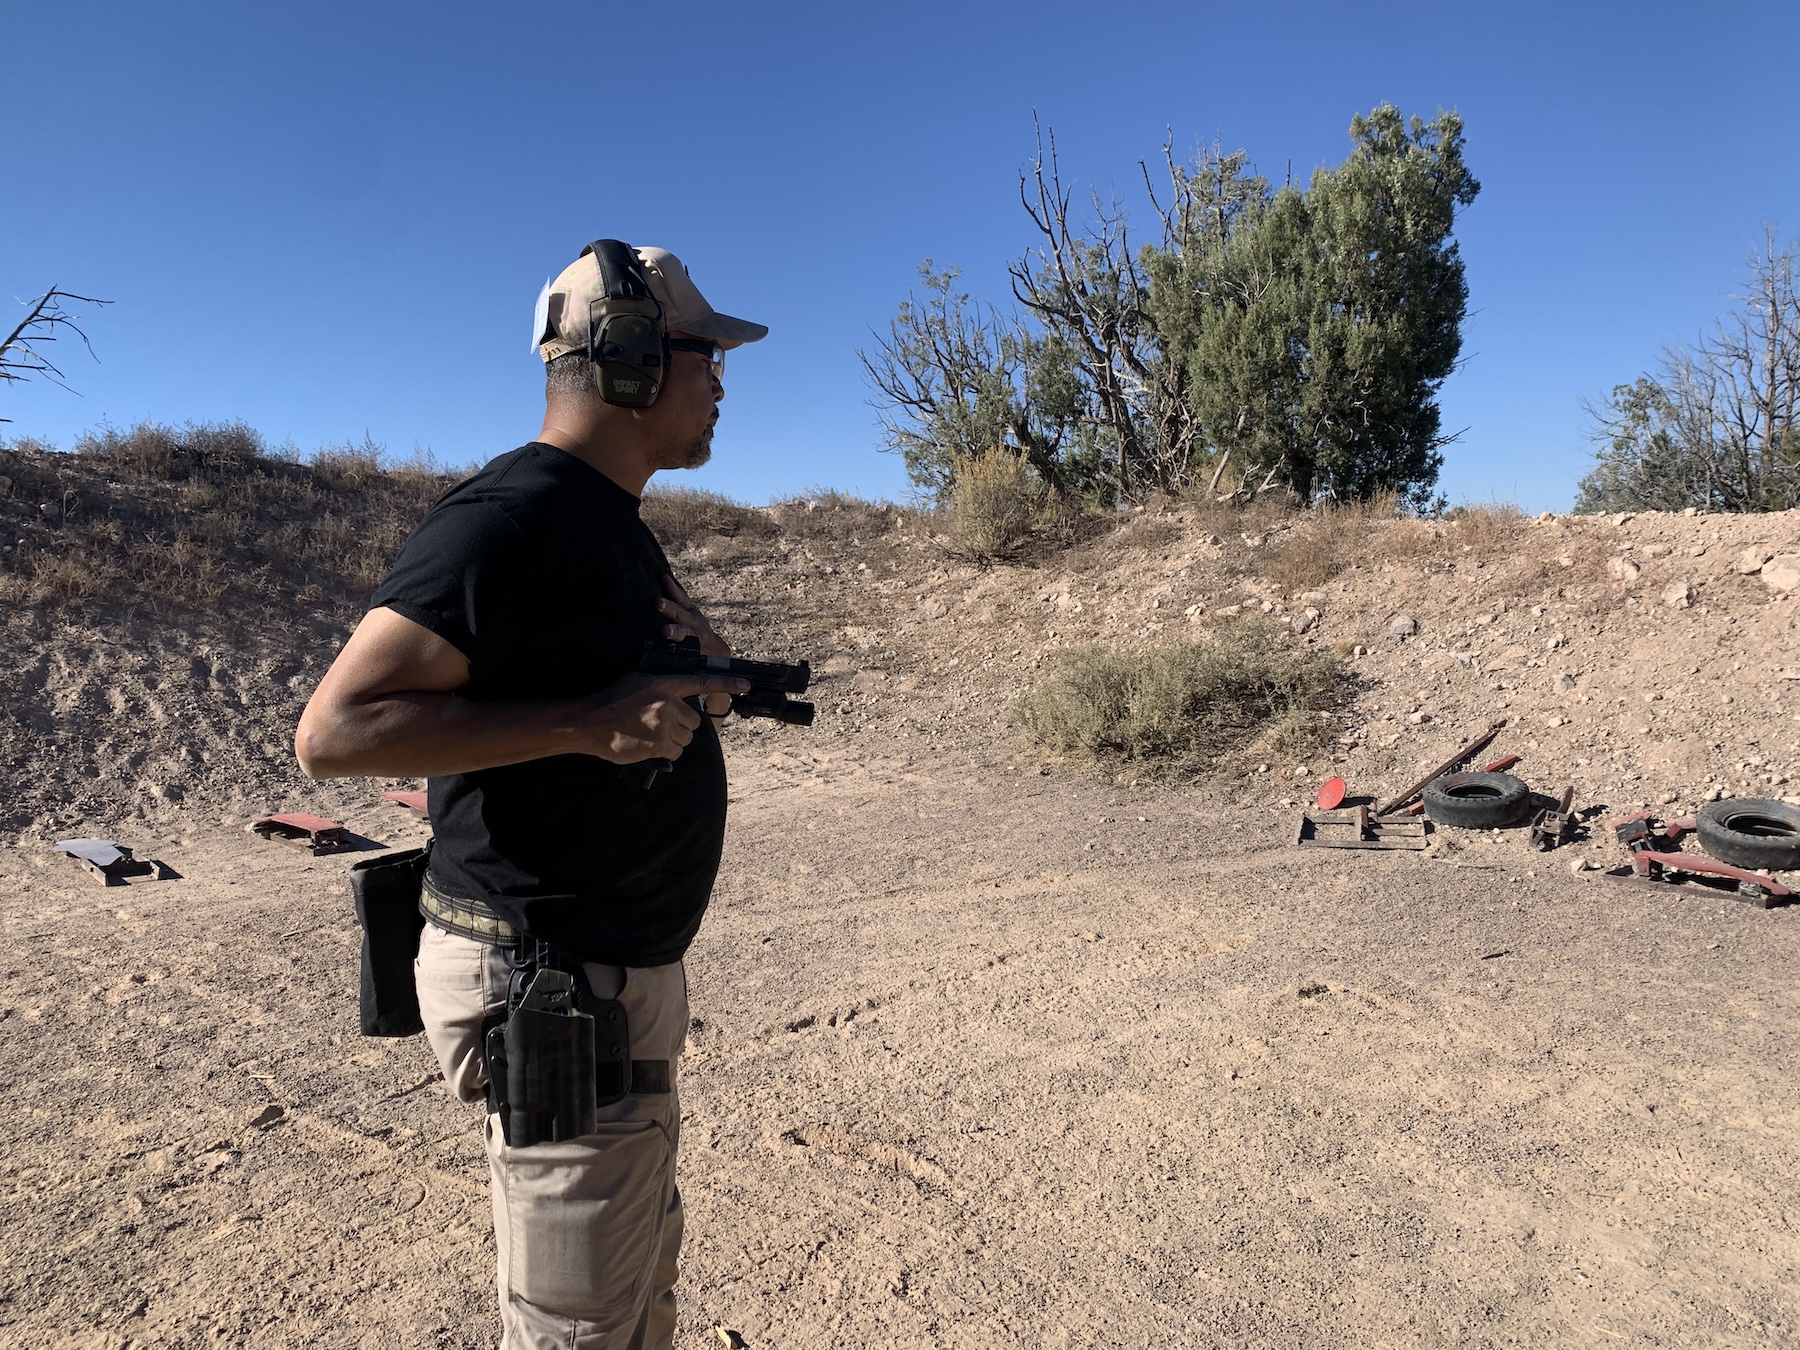
The support hand has joined the shooting hand to create the firing grip at Smack.
Smack
Until now, the support hand has stayed at the base of the sternum – unless it was busy with other non-presentation tasks.
At this point, two things are happening. First, the support hand joins in on the grip, filling any gaps left by the shooting hand. Second, the pistol either moves to a ready position or heads into your eye/target line for the shot.
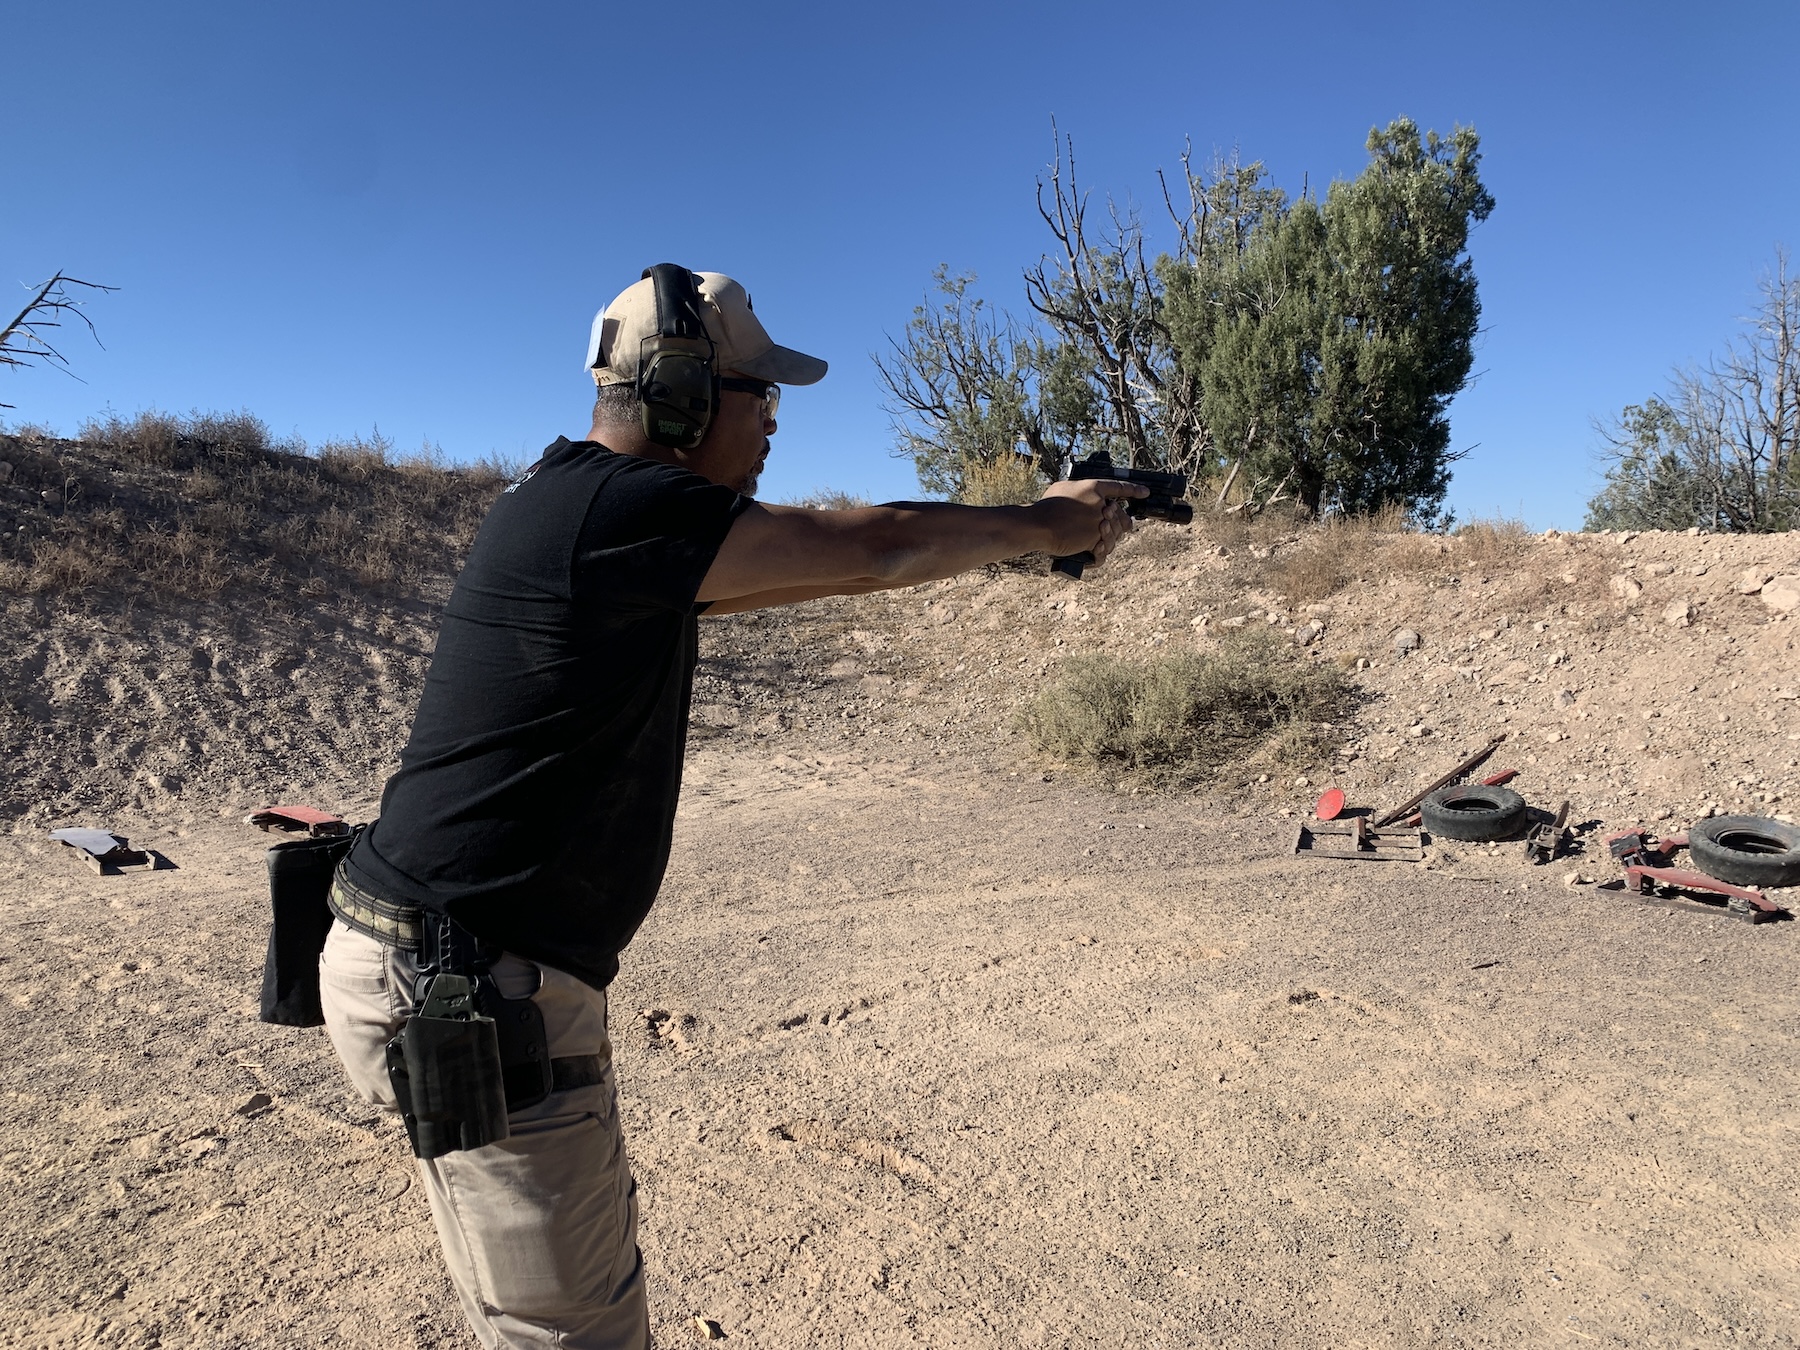
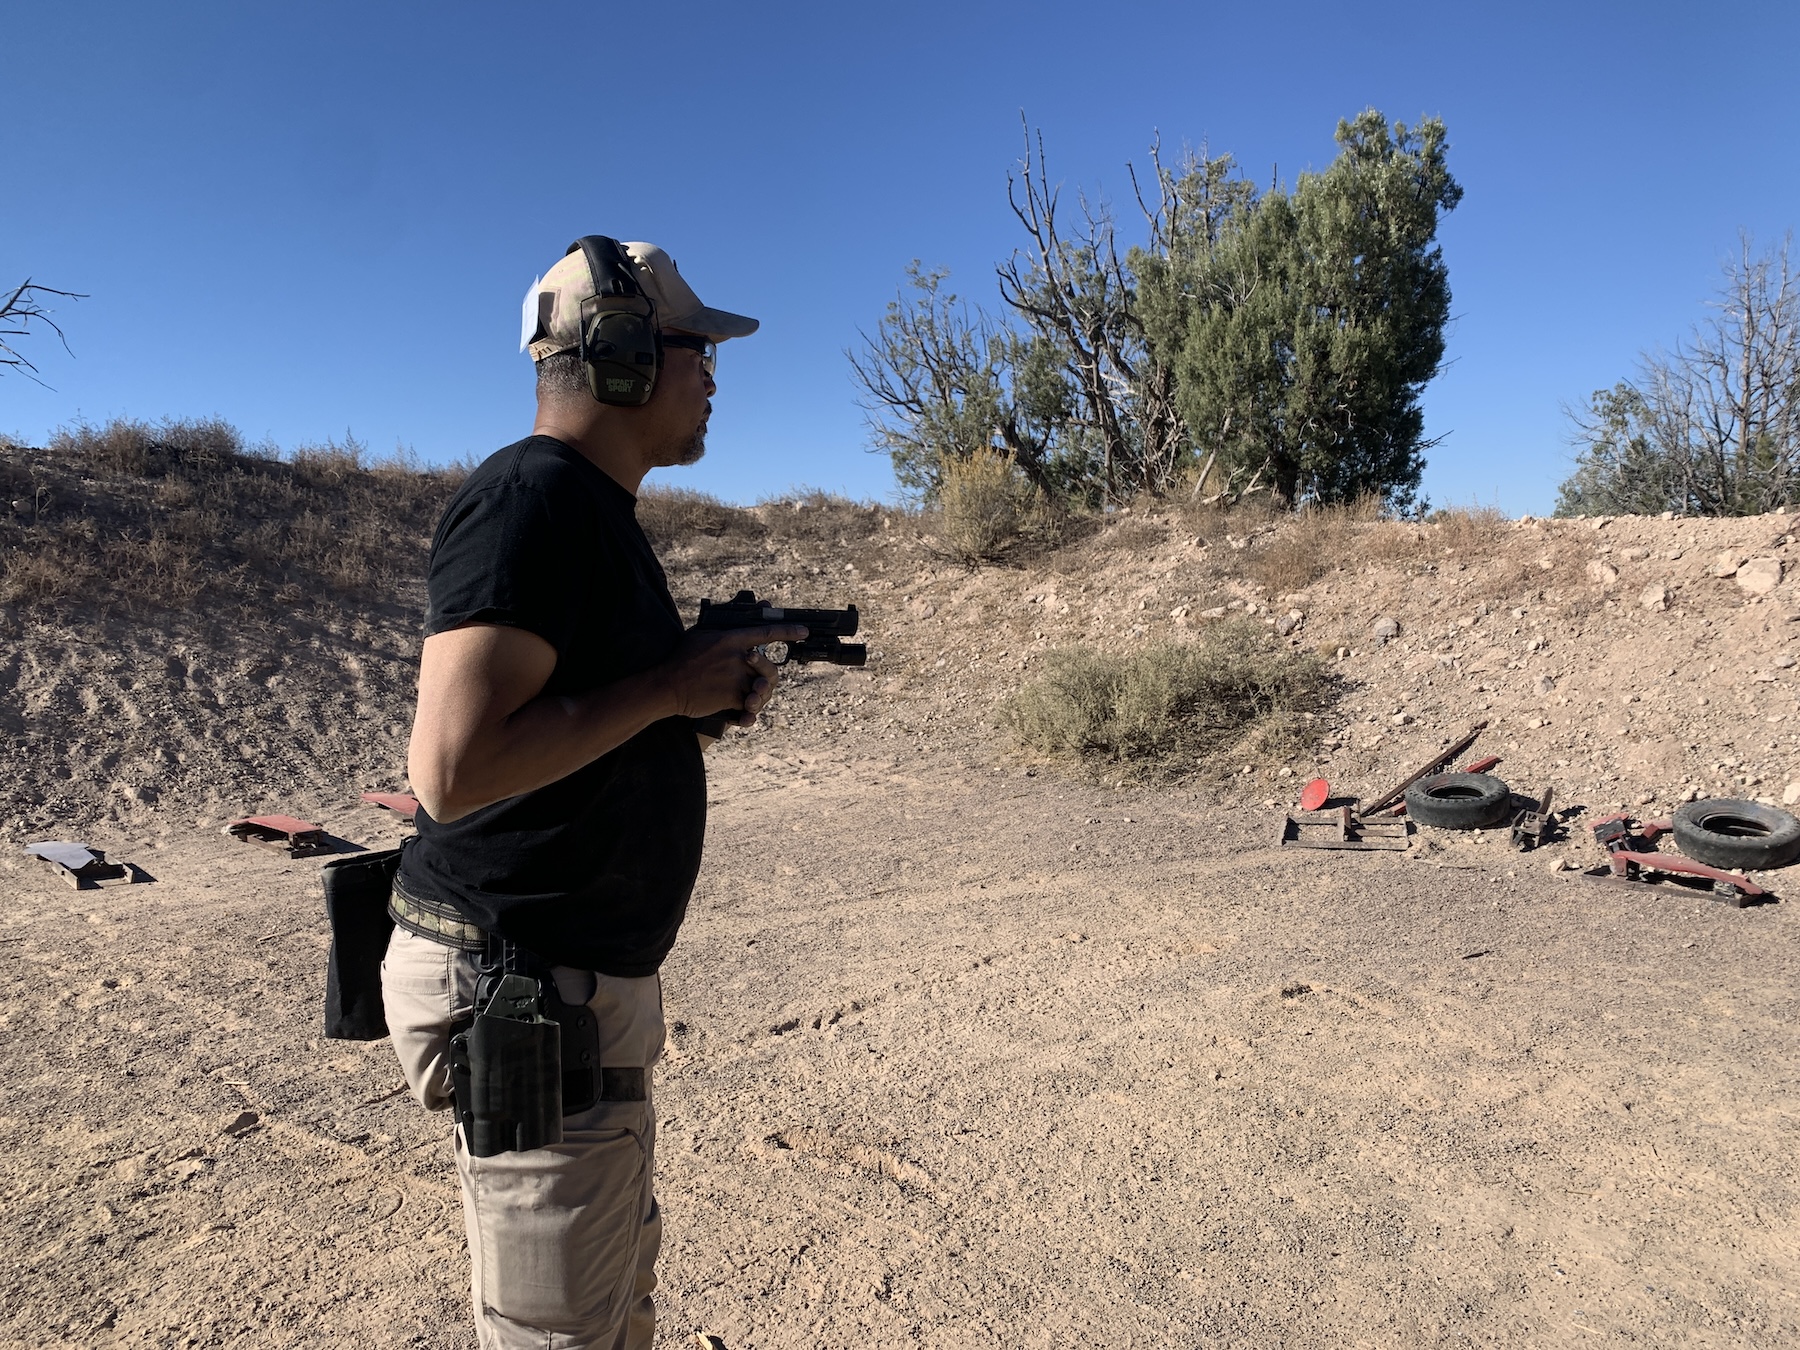
Eugene has been looking at what he is going to shoot; now the sights are in his eye/target line.
Look
You are already looking at the specific spot on the threat (or target) you want to hit. Continue to focus on that until your sights come into that visual space.
If you are shooting optics or have chosen a soft focus on your iron sights, you will continue looking at that spot as the sights arrive. If you prefer a hard focus, you will shift your visual attention to the front sight.This one should be self-explanatory. However, if not, here it is … you have decided to shoot, and your sights are on the target. Because of that, you are touching the trigger, and the slack has been taken out. Once the sights have confirmed the pistol is aligned with the intended spot on the threat or target, you can complete the trigger press and deliver the projectile(s).

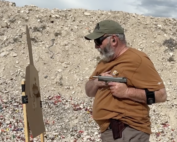
While we couldn’t capture the Rotate portion, here is the author’s presentation from start to finish.
Variations
Yes, there are a few. These can depend on carry methods and sighting systems. For example, from the appendix inside the waistband (AIWB) method, Rotate looks different here than it does from a strong-side hip holster.
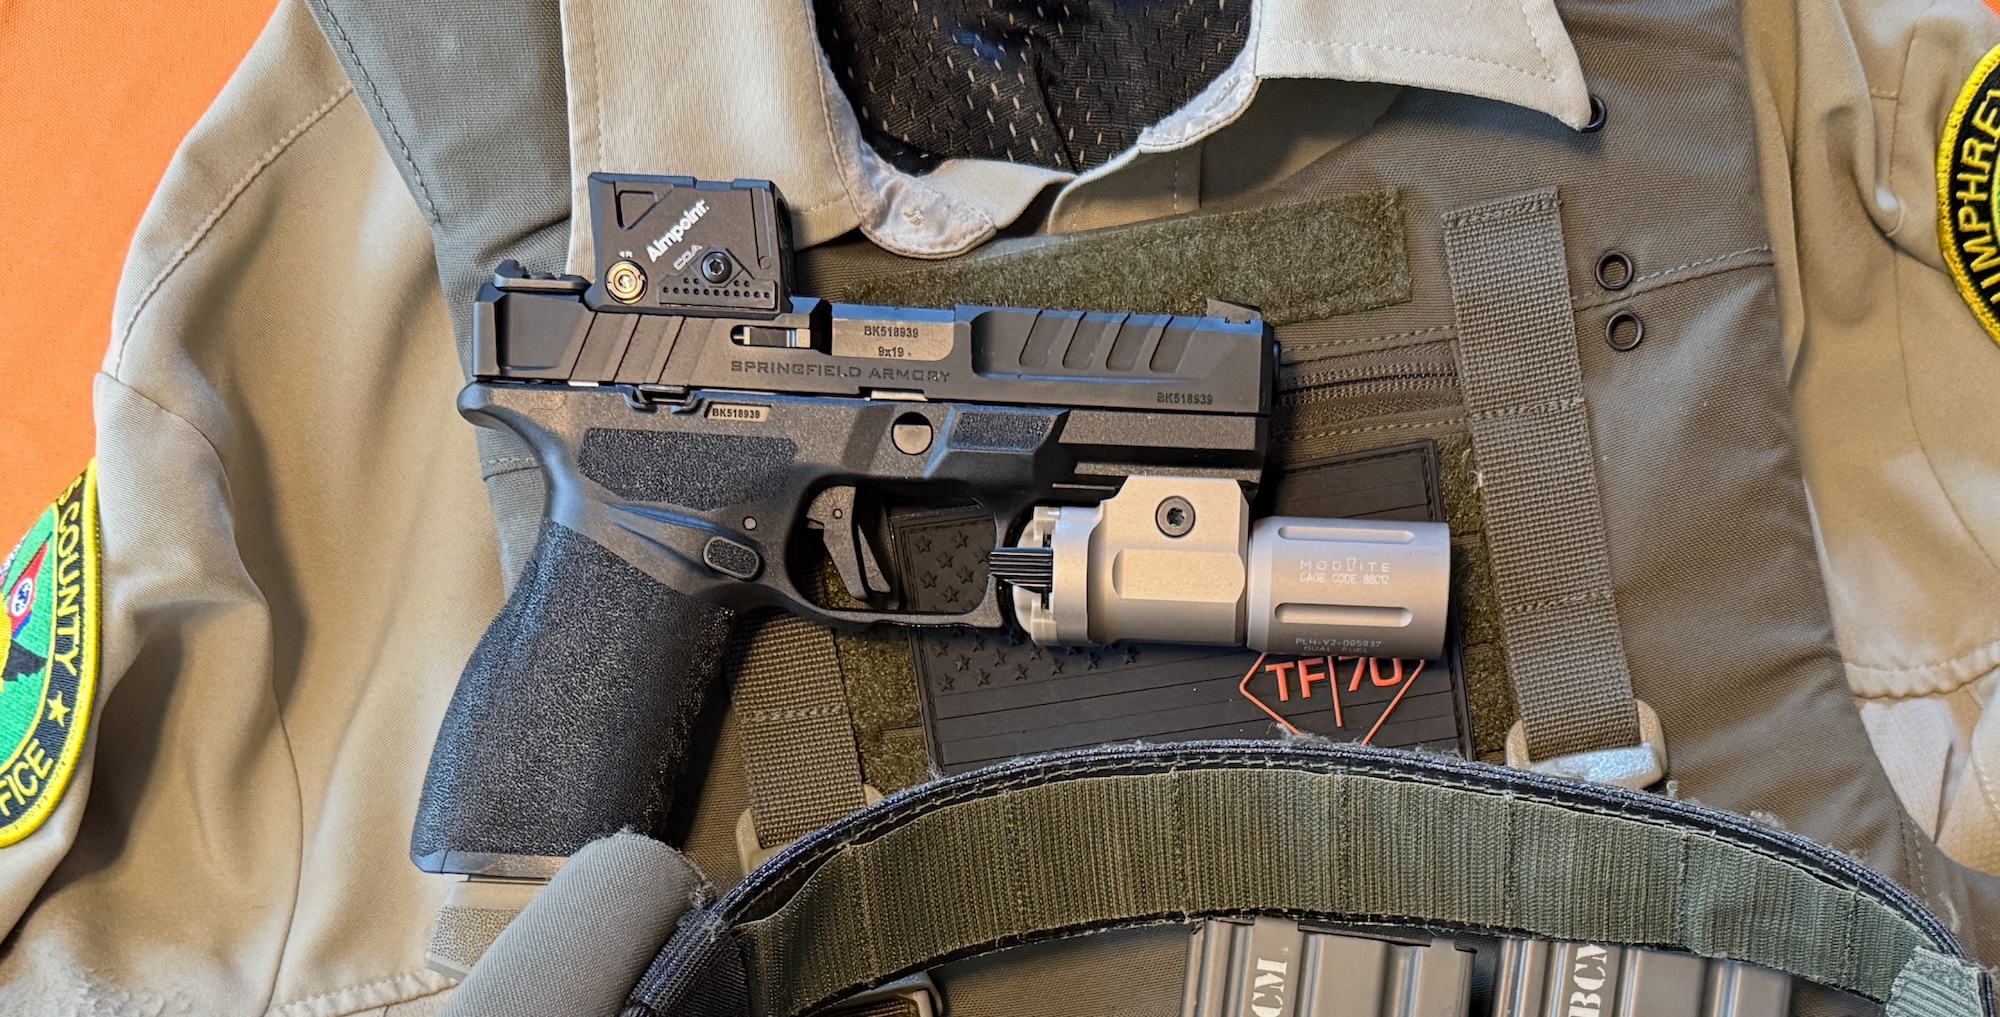
Similarly, when presenting an optics-equipped pistol, I raise the gun upward from Smack rather than pushing it out and onto the target.
And I have chosen not to address the issue of cover garments.
Practice
Like most other component skills, this can and should be practiced dry. You can do it with a blue (or red) gun, a replica that fits your holster, or an unloaded and cleared pistol. Brief but frequent dry practice will keep this skill honed should you need it to defend your life or the life of another.