
 (+2 rating, 4 votes)
z-IMG_5319
With neither witness marks nor thread locker, this pistol-mounted optic was not going to stick around very long.
Last month I wrote about how you can attach an optic to your pistol. Using OEM or after-market plates from Glock, S&W, Shadow Systems, Unity Tactical, and others; direct milling from after-market sources like L&M Precision, Atei, C&H Precision, and a couple of manufacturers.
Why am I addressing the process of mounting the optic on the slide? Because we are well past the point of the optic itself being the primary point of failure. In both pistol-mounted optics specific and other classes with pistol-mounted optics, I see that mounting is where these combinations fail. In the last two years, I have taught several one-week-long Gunsite #250-Defensive Pistol and #350-Intermediate Pistol with optics classes and run a couple of media events for manufacturers releasing new optics.
The round counts for these classes run between 900-1200 rounds of ball ammunition and another 50-100 rounds of frangible.
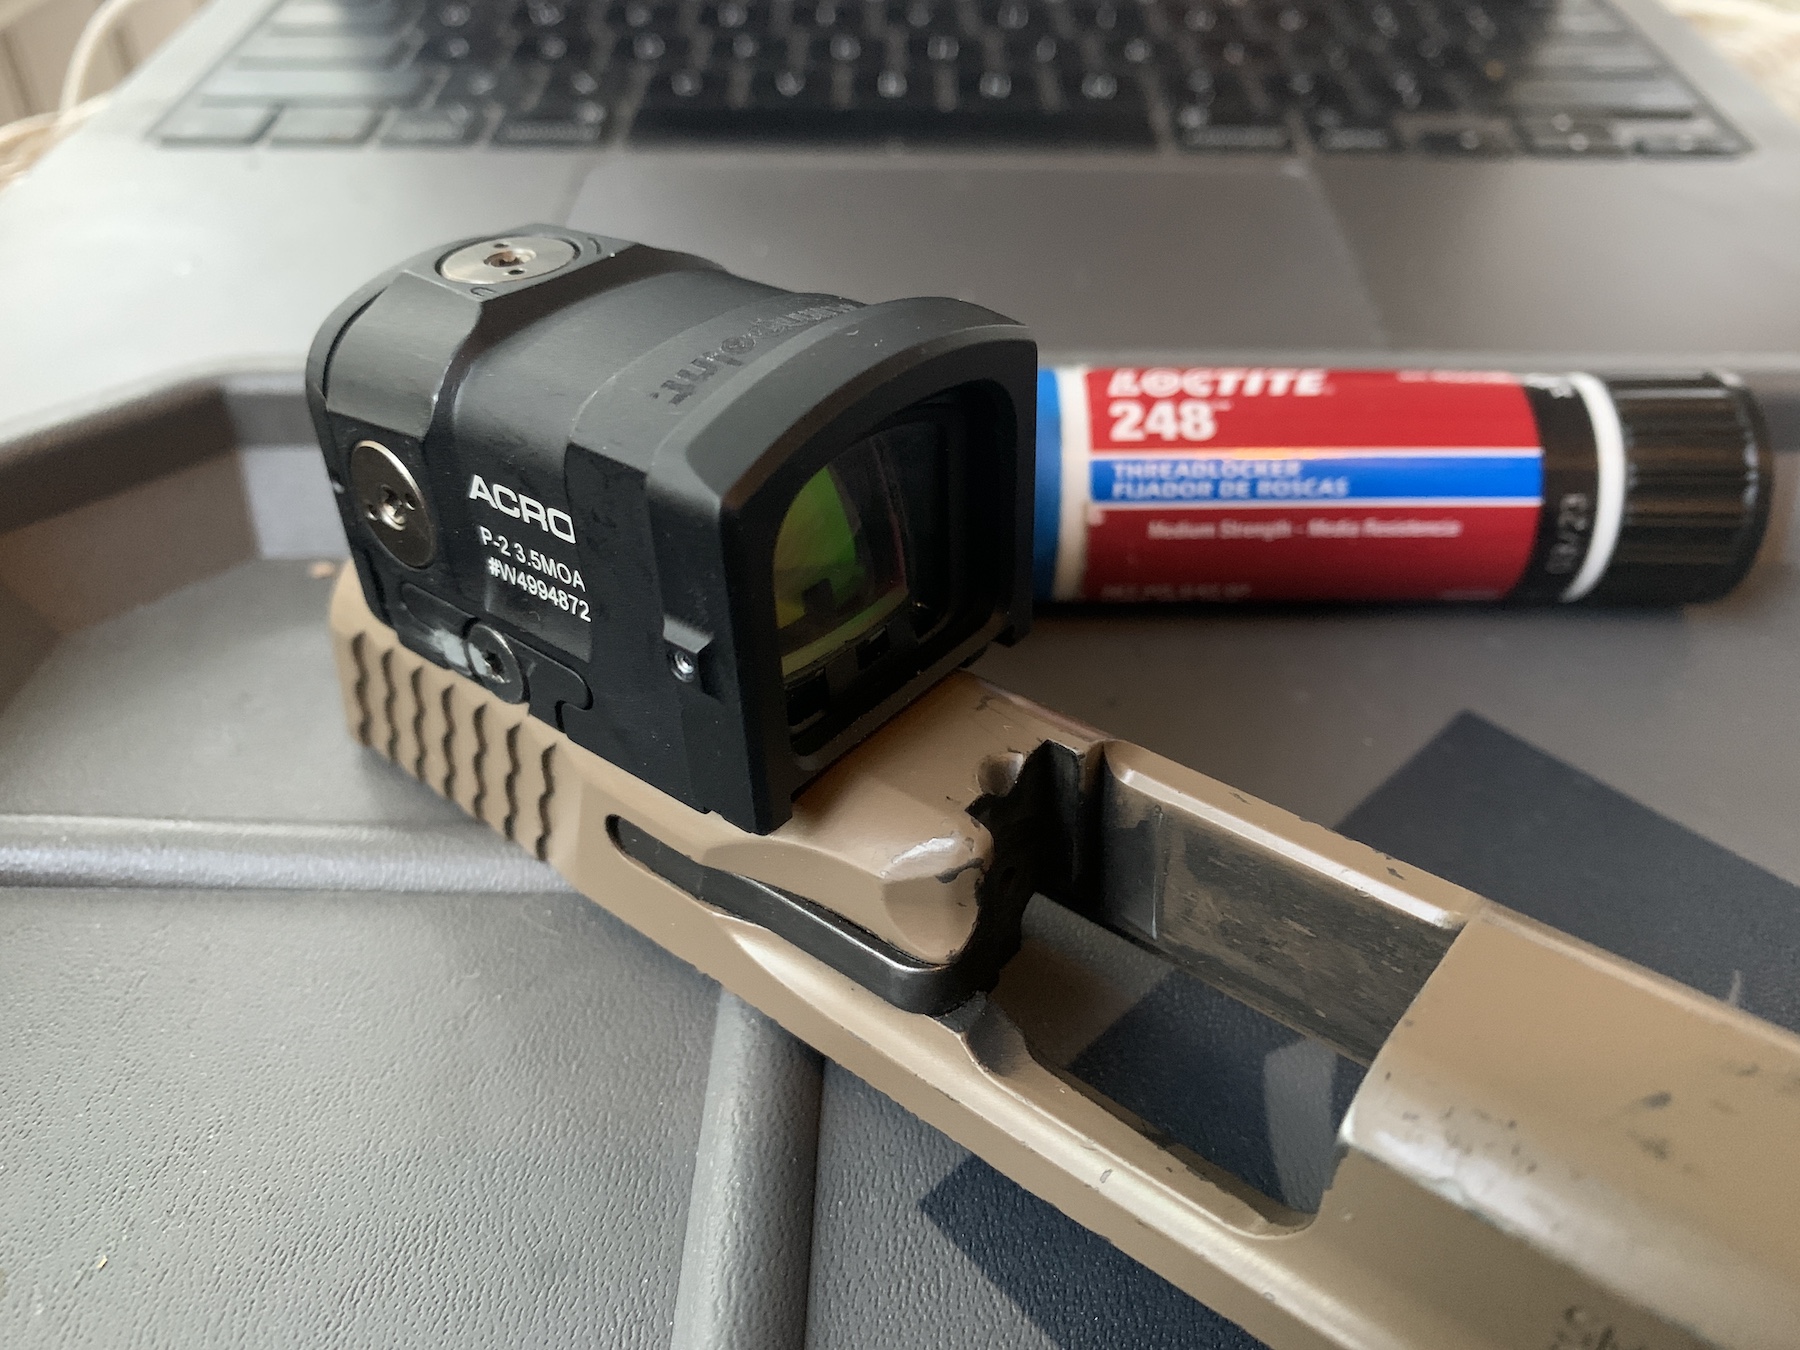
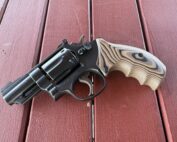
Loctite #248 and an Aimpoint Acro P2 – a solid combination!
The differences in optic footprints have required many end users to depend on mounting plates. All types of plates have failed on the range, in training, and in practice.
In 2022, I very rarely see optics fail, either electrically or mechanically, but I regularly see issues with mounting.
Over time, several trainers and agencies identified mounting as the biggest issue with employing pistol-mounted optics. To their credit, the staff at the Los Angeles County Sheriff’s Department’s Weapons Training Unit came up with a fix. And one that did not include sacrificing small animals. More importantly, they shared the information.
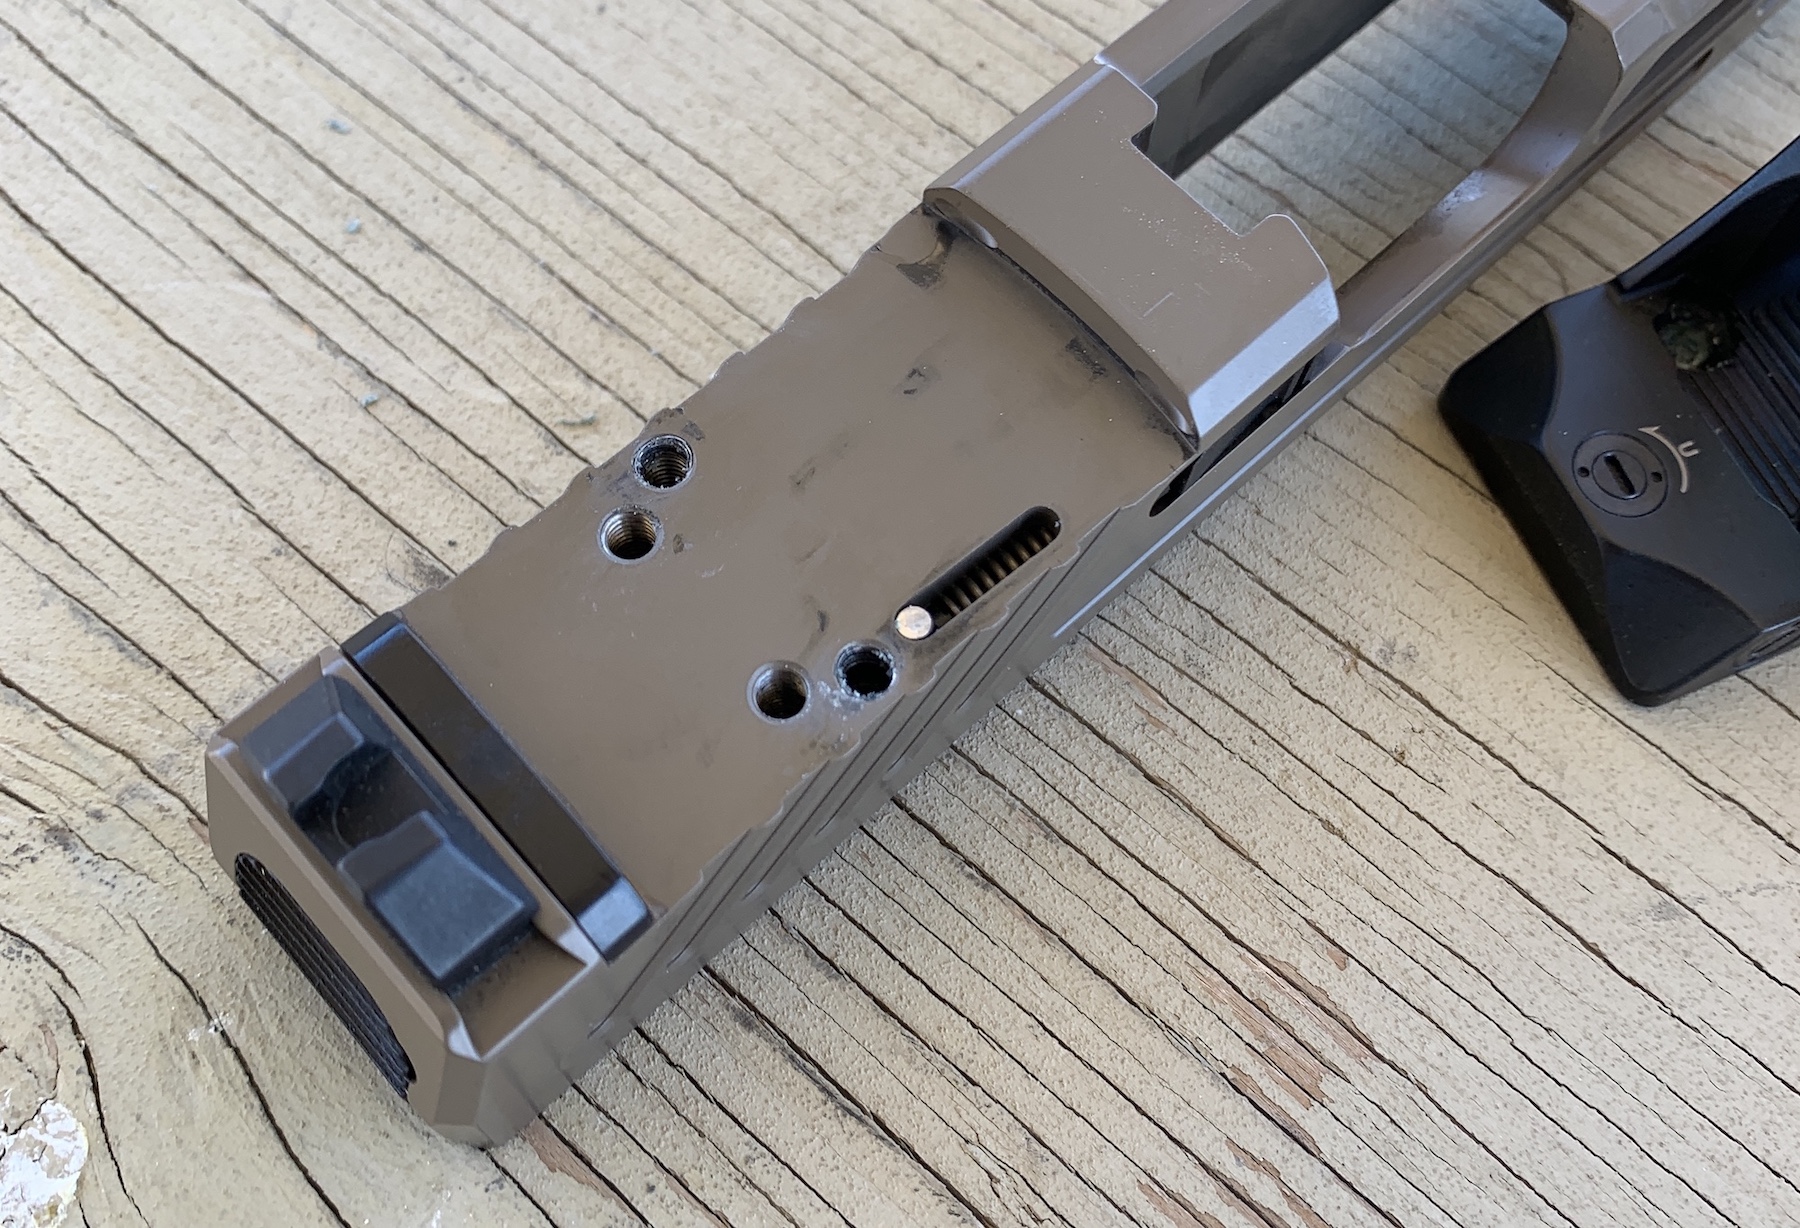
A Shadow Systems slide – even with the factory mounting options, you still need to properly prepare the slide.
The method works with optics that screw down into the slide and attach by bolting across a mount.
From their experiences teaching end-user and instructor classes, this is what the LASD instructors developed:
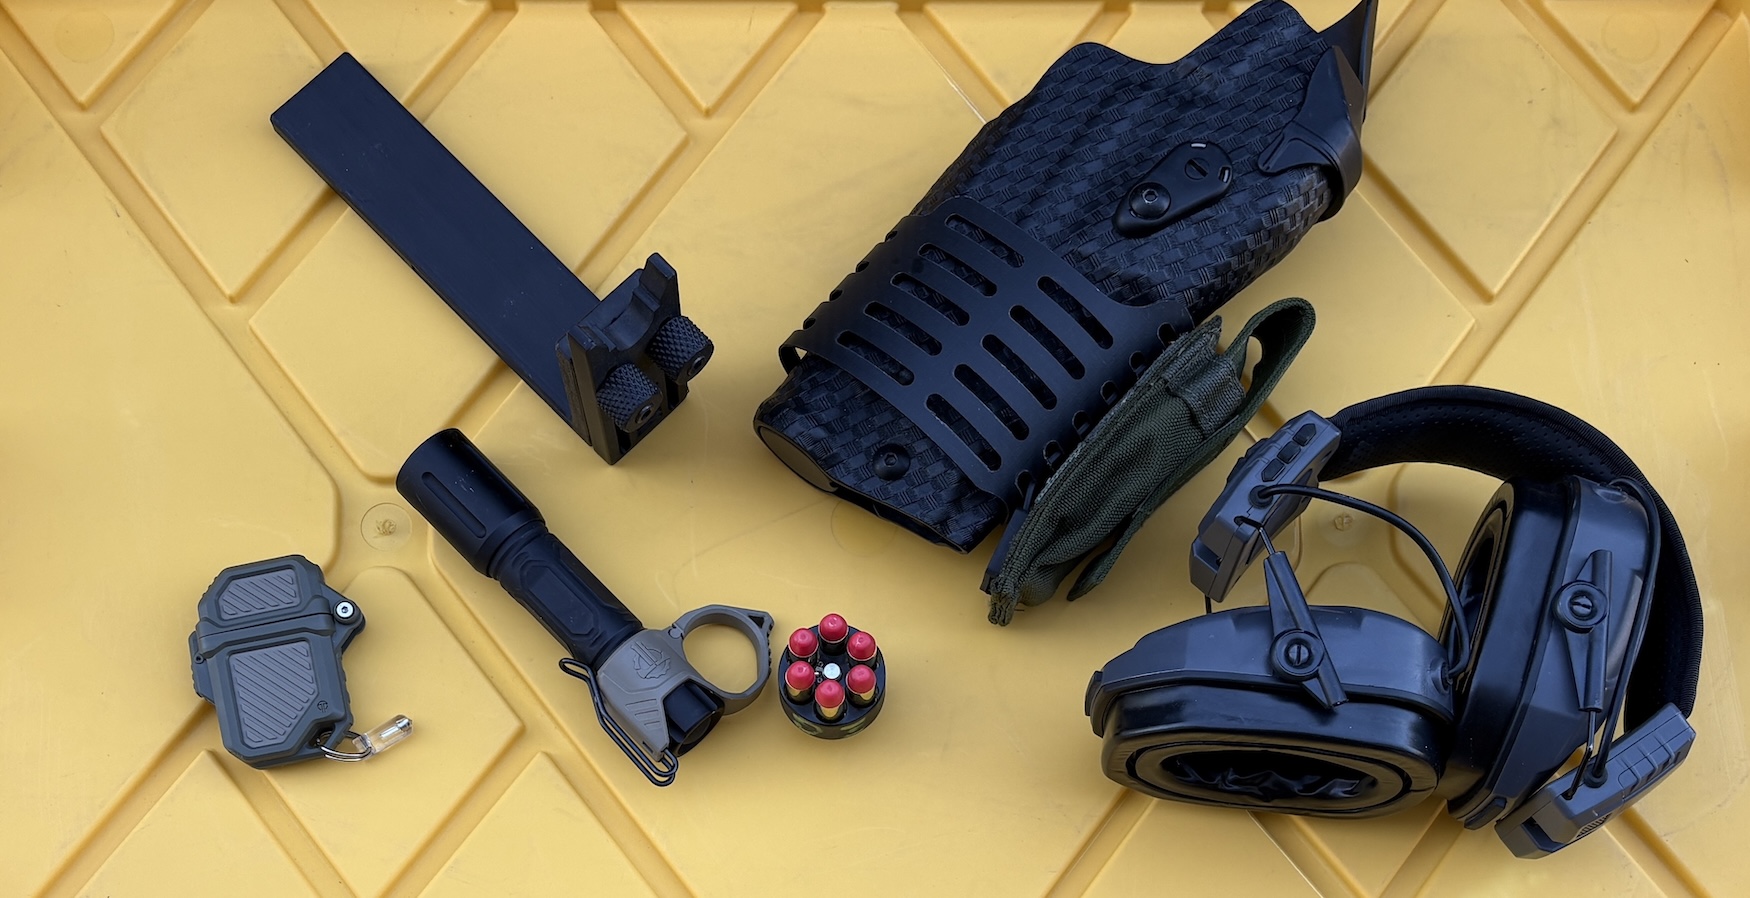
First, gather everything together and ensure you have all that is needed to mount the optic. This includes both sets of screws, mounting and sealing plates, taller sights, and a thread locker.
Then, check the optic and ensure that it powers up and that the dot works as it is supposed. They can come broken from the manufacturer.

This optic’s inability to fit on the recoil bosses was found during assembly.
Now, put everything together and test fit it – without using thread locker or torque wrenches. Does the plate fit the slide? How about the optic to the plate? Do all the screws work where they are supposed to? Address every interface point ahead of time.
As they wrote, “(n)ow we’ll prep everything by degreasing all interacting surfaces. That means: the cut out in the slide; the threaded holes in the slide; the plate (if applicable) and any threaded holes in it; and the screws.”
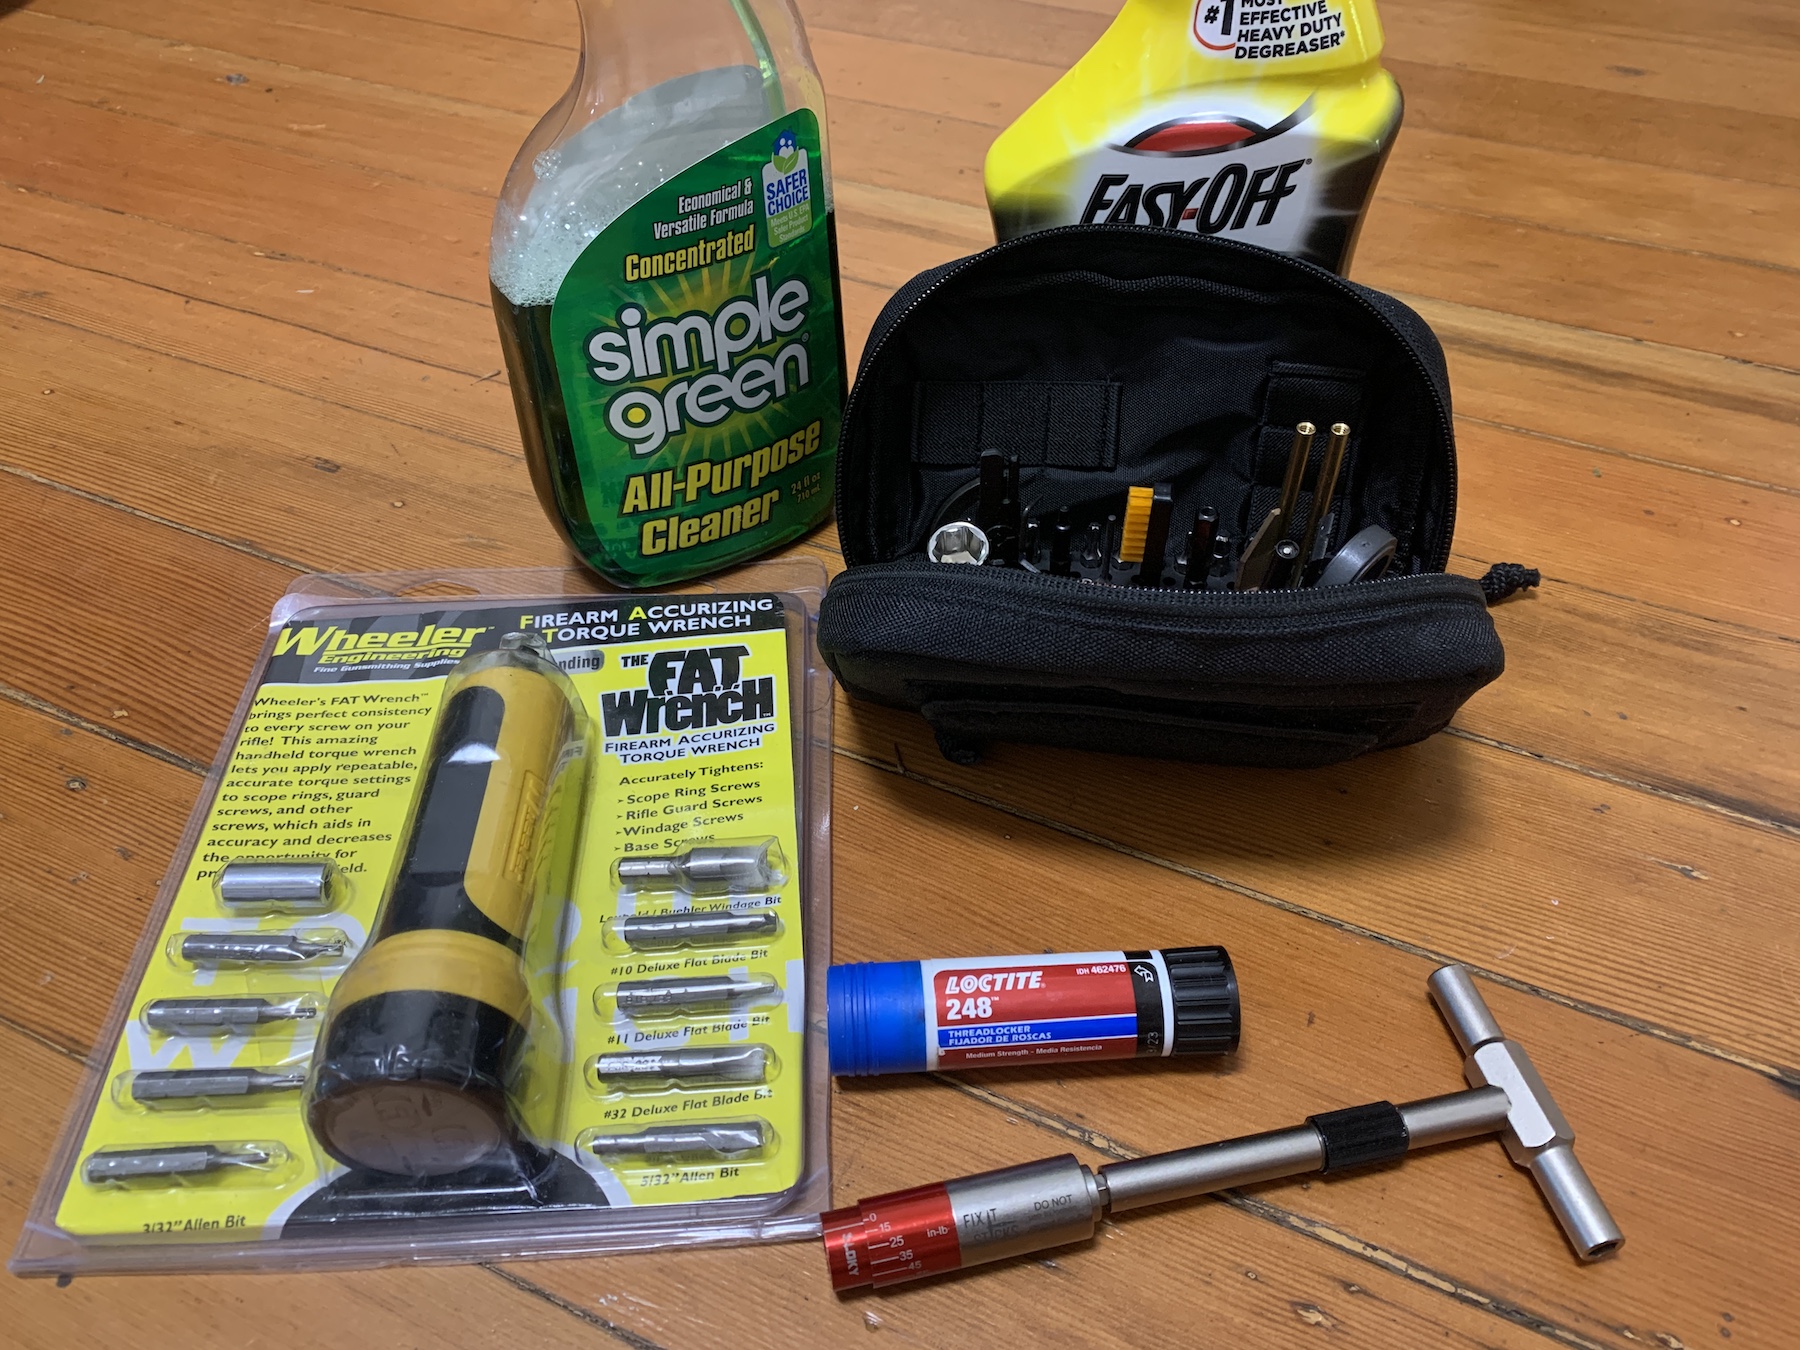
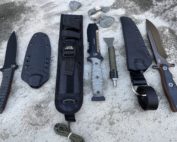
Most of the materials that are needed for assembly – degreaser, torque wrenches and bits, thread locker.
They continued with, “You can use acetone, gun scrubber, or other degreasing products, or what I often use isopropyl alcohol wipes.”
Once everything has dried, then you apply whatever thread locker you have chosen to use. The author recommends Loctite 248, the version that looks like a “Chapstick” tube because it goes where you need it. Best practice has been applying it with your finger as you turn the screw. The goal is to have enough thread locker on the threads for the part of the screw that is in the hole – without having a bunch of it outside that hole.
Directly from them: “Then tighten each side until you feel a bit of resistance. Then alternate tightening until you reach the torque spec you need. I’ve recently started at about 75% – 80% of whatever the spec is and then increasing the torque on the wrench to get to the specified amount. “I’m too dumb for the engineering aspects of it – but torsional forces dissipate over time, so taking a bit of time to ramp up to full torque seems like it may be a good thing. It may be voodoo. I don’t know. That said, after a couple of conversations and playing with the idea, I’m starting to feel like it helps avoid some issues I’ve had in the past where a given torque spec was not ok and stripped or sheared screws resulted. I’ve also heard that getting to that specific torque value, even if lower than the “spec,” helps to condition or calibrate or whatever the torque wrench, so the wrench is more accurate once at the given spec. That may be BS as well, so I welcome input there from people who know things.”
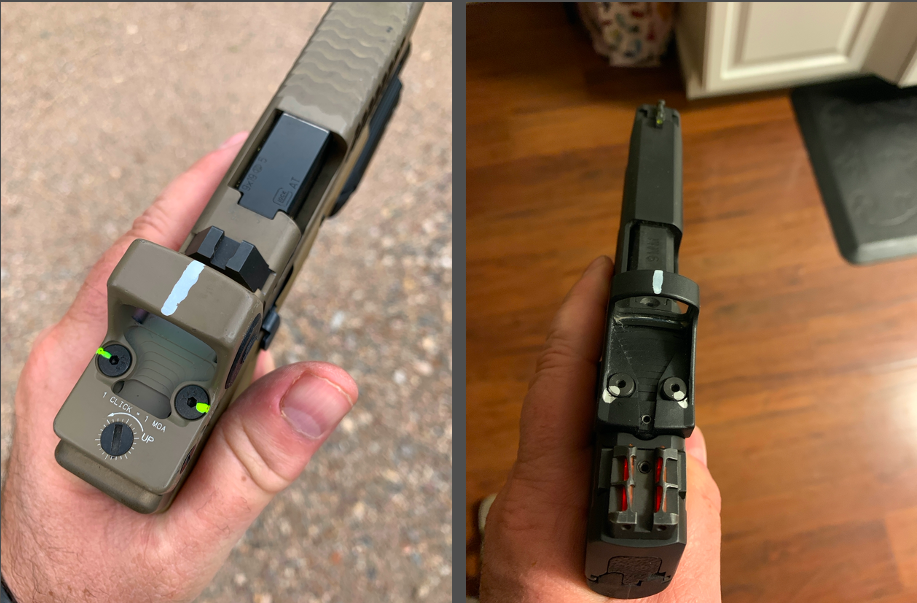
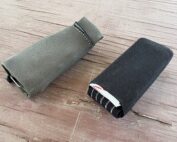
All of the screws need witness marks on them. You can use nail polish (left) or paint pens (right).
Once everything is torqued to the specification, mark all the screws with an oil-based paint pen or bright fingernail polish. Mark a clean line from the center of the screw head onto the adjacent surface. To aid in identifying any movement, allow some to run into the space between them. This mark does not prevent movement; it lets you know visually if any screws have come loose.
If anything loosens up, replace those screws and then repeat the process.
Here is the crucial part:
Let it sit; let it cure for at least 24 hours before zeroing. Not just for a half-hour or even overnight, but for 24 hours.
In terms of tools, I have Fit-it Stick kits in both my range bag and teaching gear for just this reason.
LASD’s process seems to be the “best practice” I have seen developed and shared to date. Please let me know if you encounter issues with it.