
 (0 rating, 2 votes)
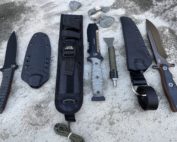
IMG_7262
It has been interesting to watch the re-invention of STI into Staccato and, simultaneously, see the resurrection of a 1911-style pistol into the police duty-use world.
I used a 1911 pistol on patrol and in investigations for over twenty years. I carried, competed, and taught with one. And I did so during the ascendency of the polymer-framed, striker-fired pistol.
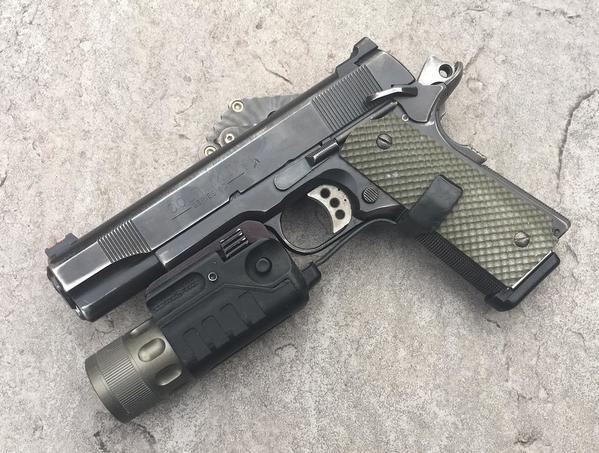
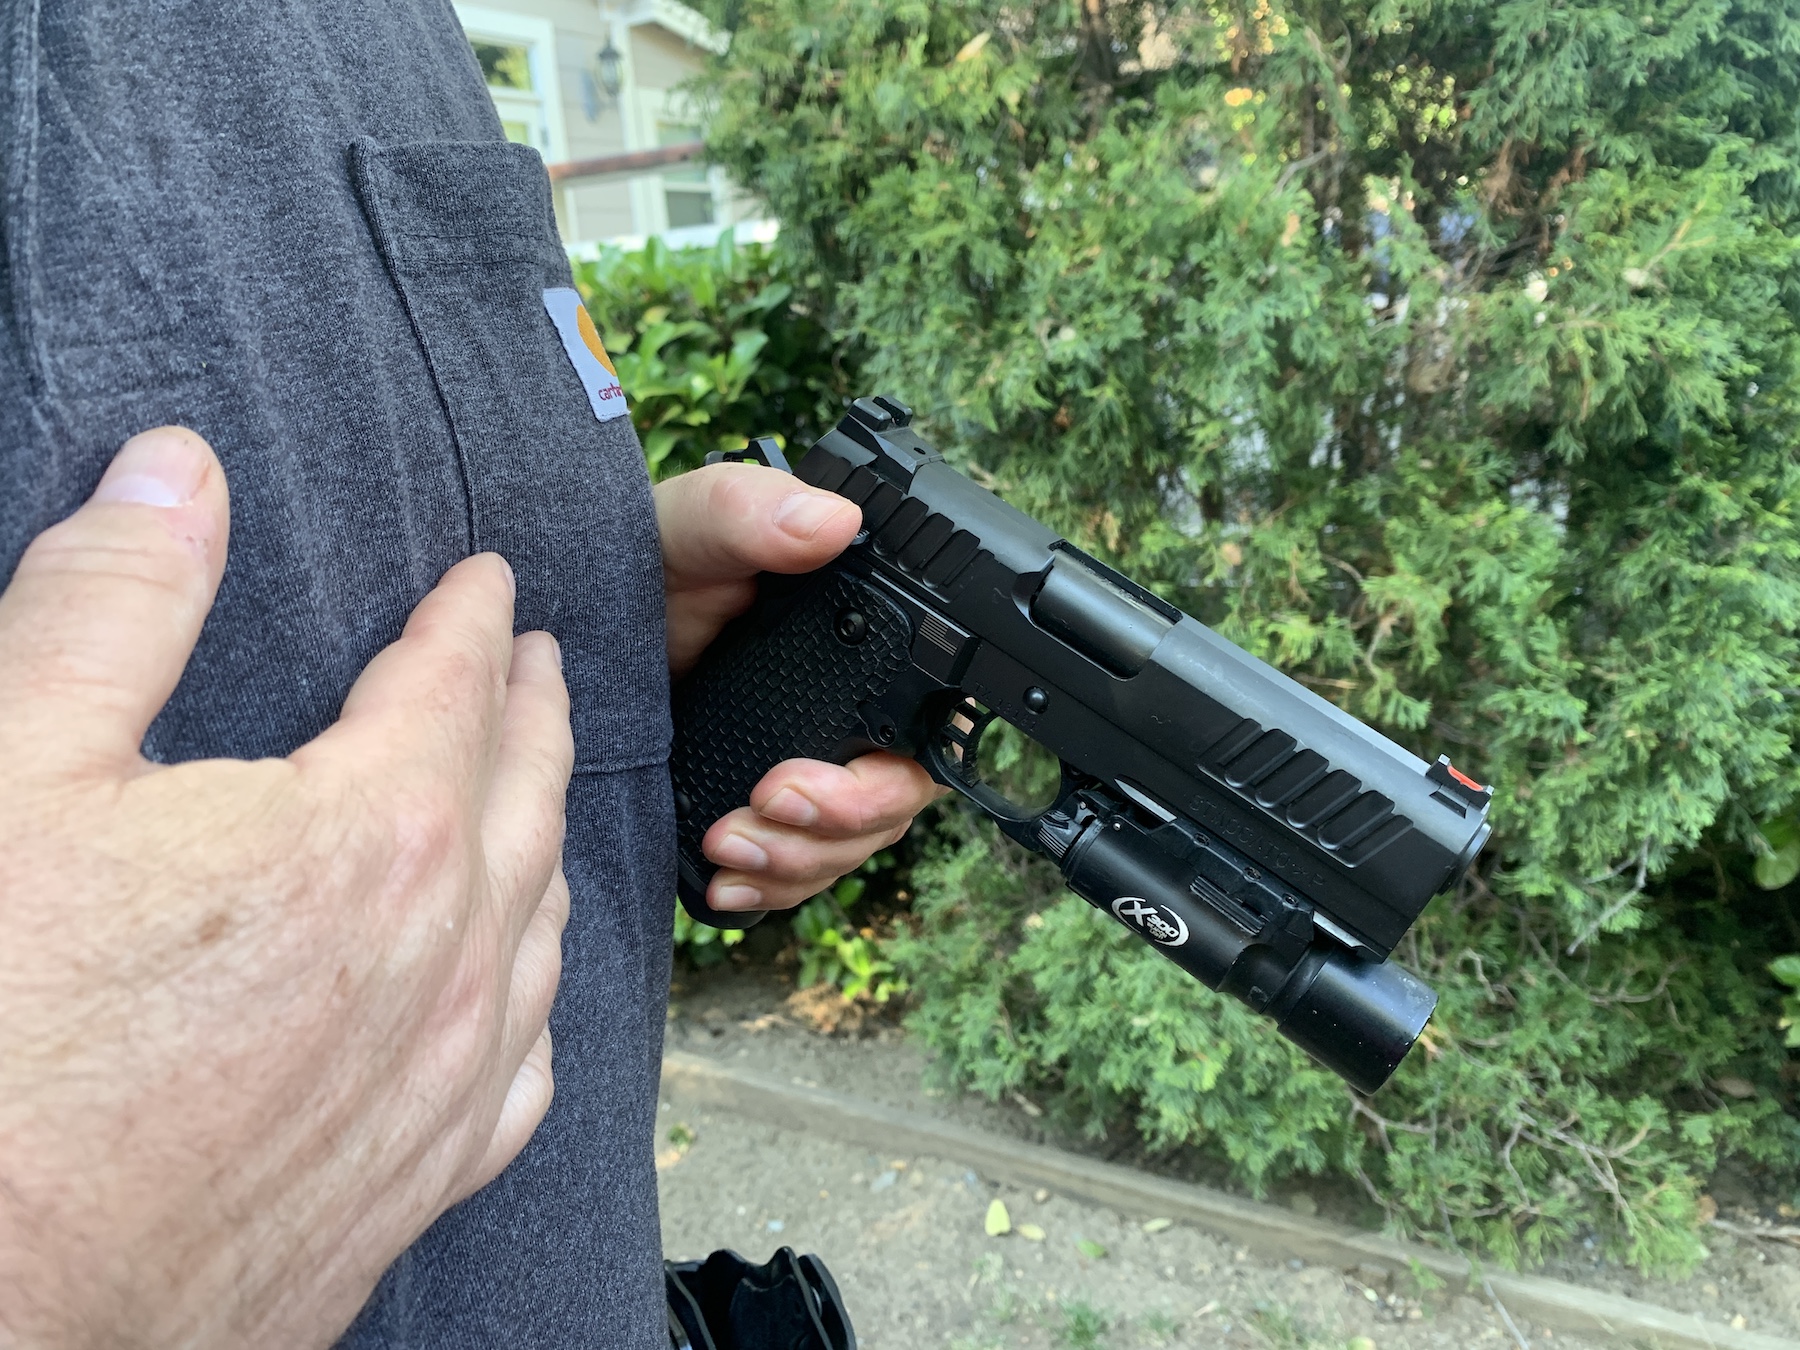
My old work gun – early 00s set-up – with a Dawson rail and a Surefire nitrolon light.
With twenty-plus years of Glocks (M&Ps, VP9s, et al.), there were manipulations specific to a single-action pistol with a frame-mounted safety that seems to have been forgotten in some parts of the community. Or, they were never learned when new shooters gravitated to those striker-fired pistols.
Two things prompted this piece. First, I had read the thoughts of an acquaintance who is a high-end competitive USPSA shooter regarding when to manipulate the thumb safety. The second was having a less experienced shooter bring a new 1911 pistol to an alternative carry methods class. I disagreed with the comments from a practical application perspective, and I could not spend as much time with the shooter as he needed for the gun without depriving the other students.
The good news is that several institutions and trainers retained their knowledge of manipulating the single action 1911/2011 platform. They include (but are not limited to) Gunsite, Thunder Ranch, ITTS, Randy Cain, Steve Fisher, and Chuck Pressburg.
Administrative Manipulation
The thumb safety on 1911/2011 blocks the slide from moving and keeps the hammer from going forward. By locking the slide, it prevents the slide from inadvertently coming out of battery. These are features, not bugs.
To clear the pistol, after removing the magazine, one must take the safety off before pulling the slide to the rear to eject a round from the chamber.
After you clear the pistol, the safety will only go back on if the pistol is cocked. If the hammer is down (forward), the thumb safety will not go on.
During the loading process, the safety is applied immediately after verifying you have chambered a round.
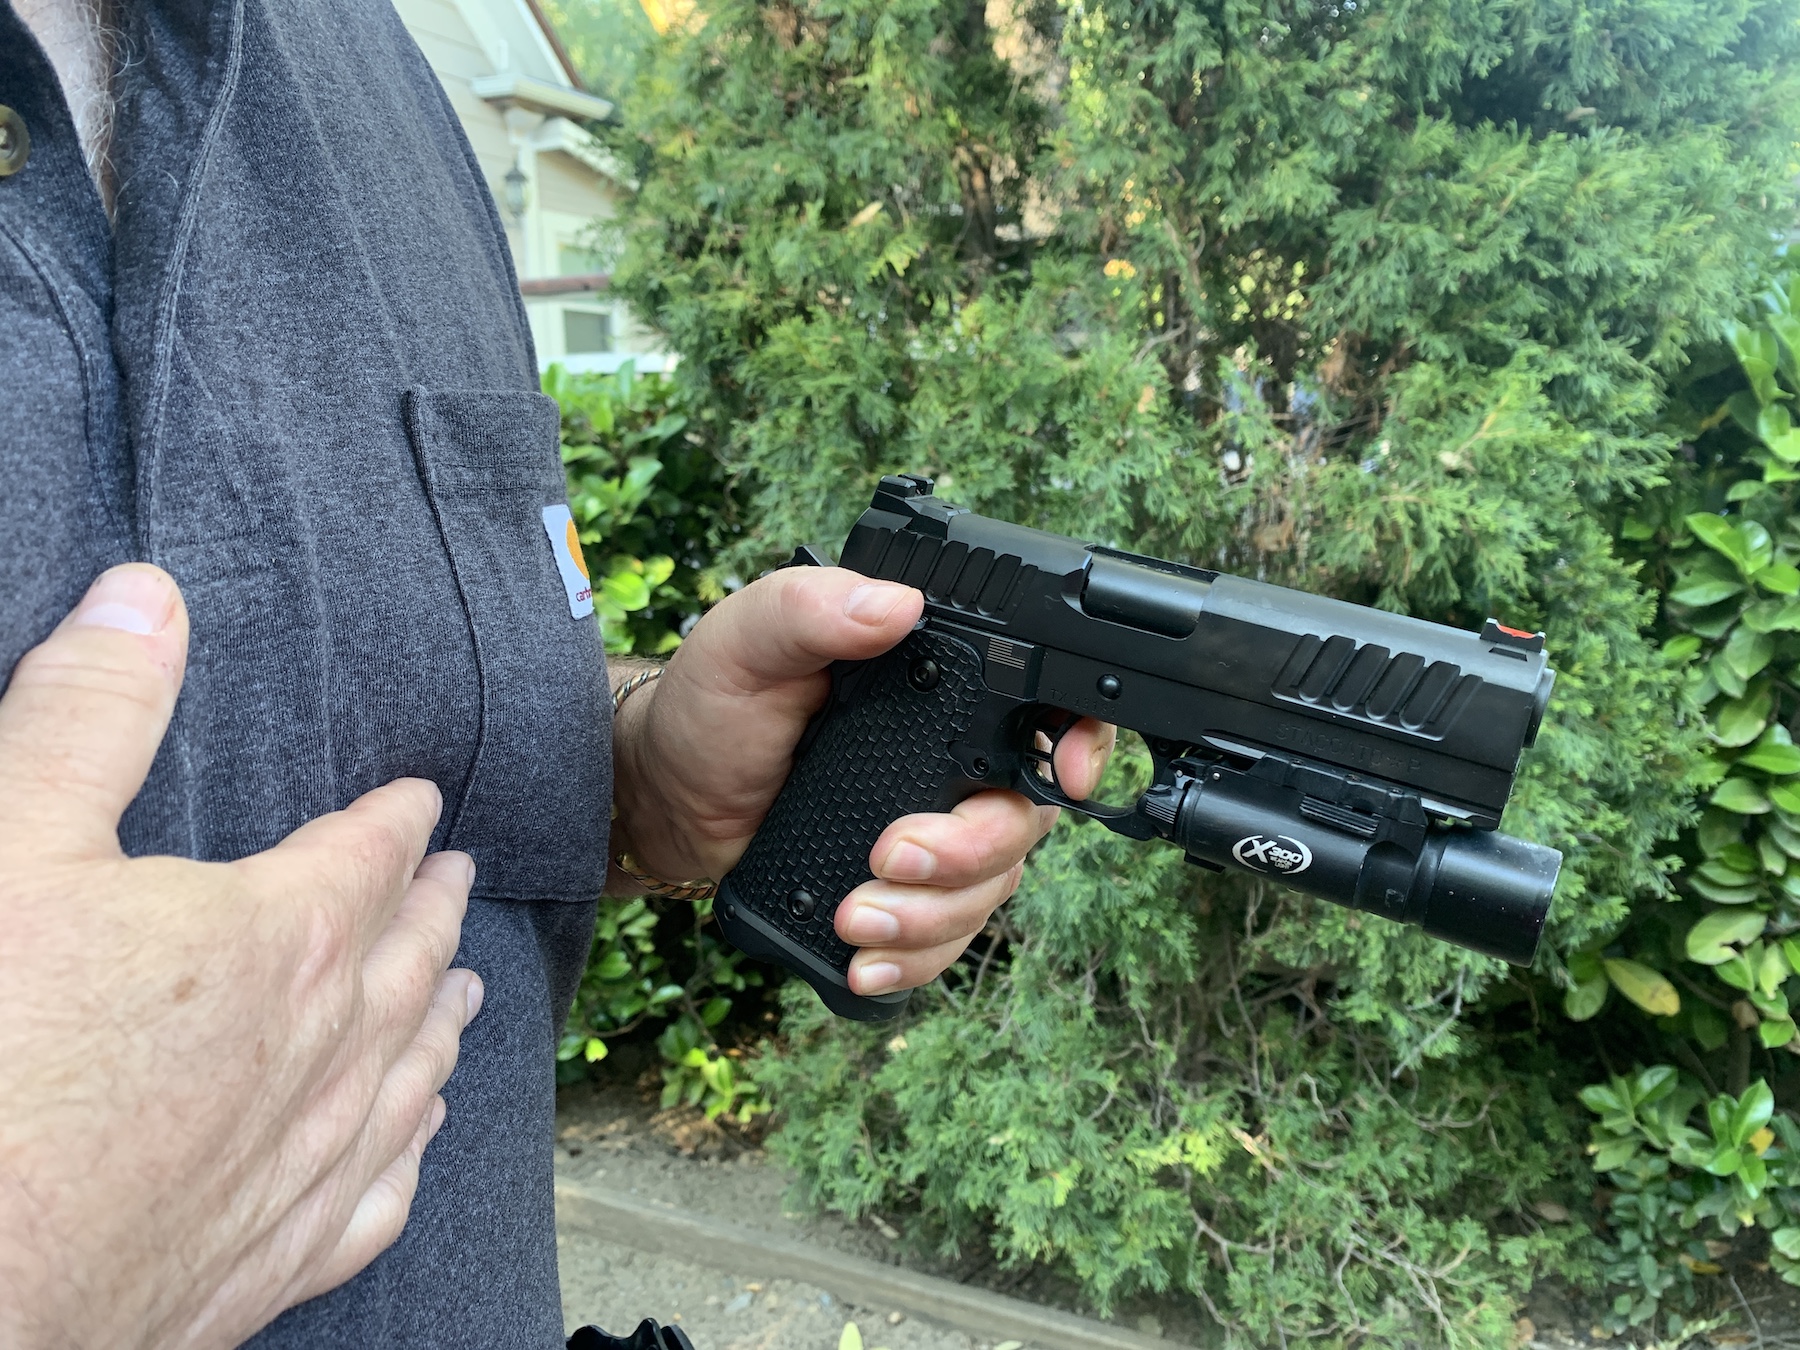
The retention devices are released, the grip is established, and the safety is on with the thumb atop of it.
Drawing the Pistol
When the pistol is holstered, the first step in the draw is a two-parter. You establish your grip as high up on the backstrap as possible while defeating any retention devices on the holster. That could be a traditional thumb break, a rotating bale, or a lever that disengages a locking piece. Those must be done together. Too often, you see people making this a multi-part process.
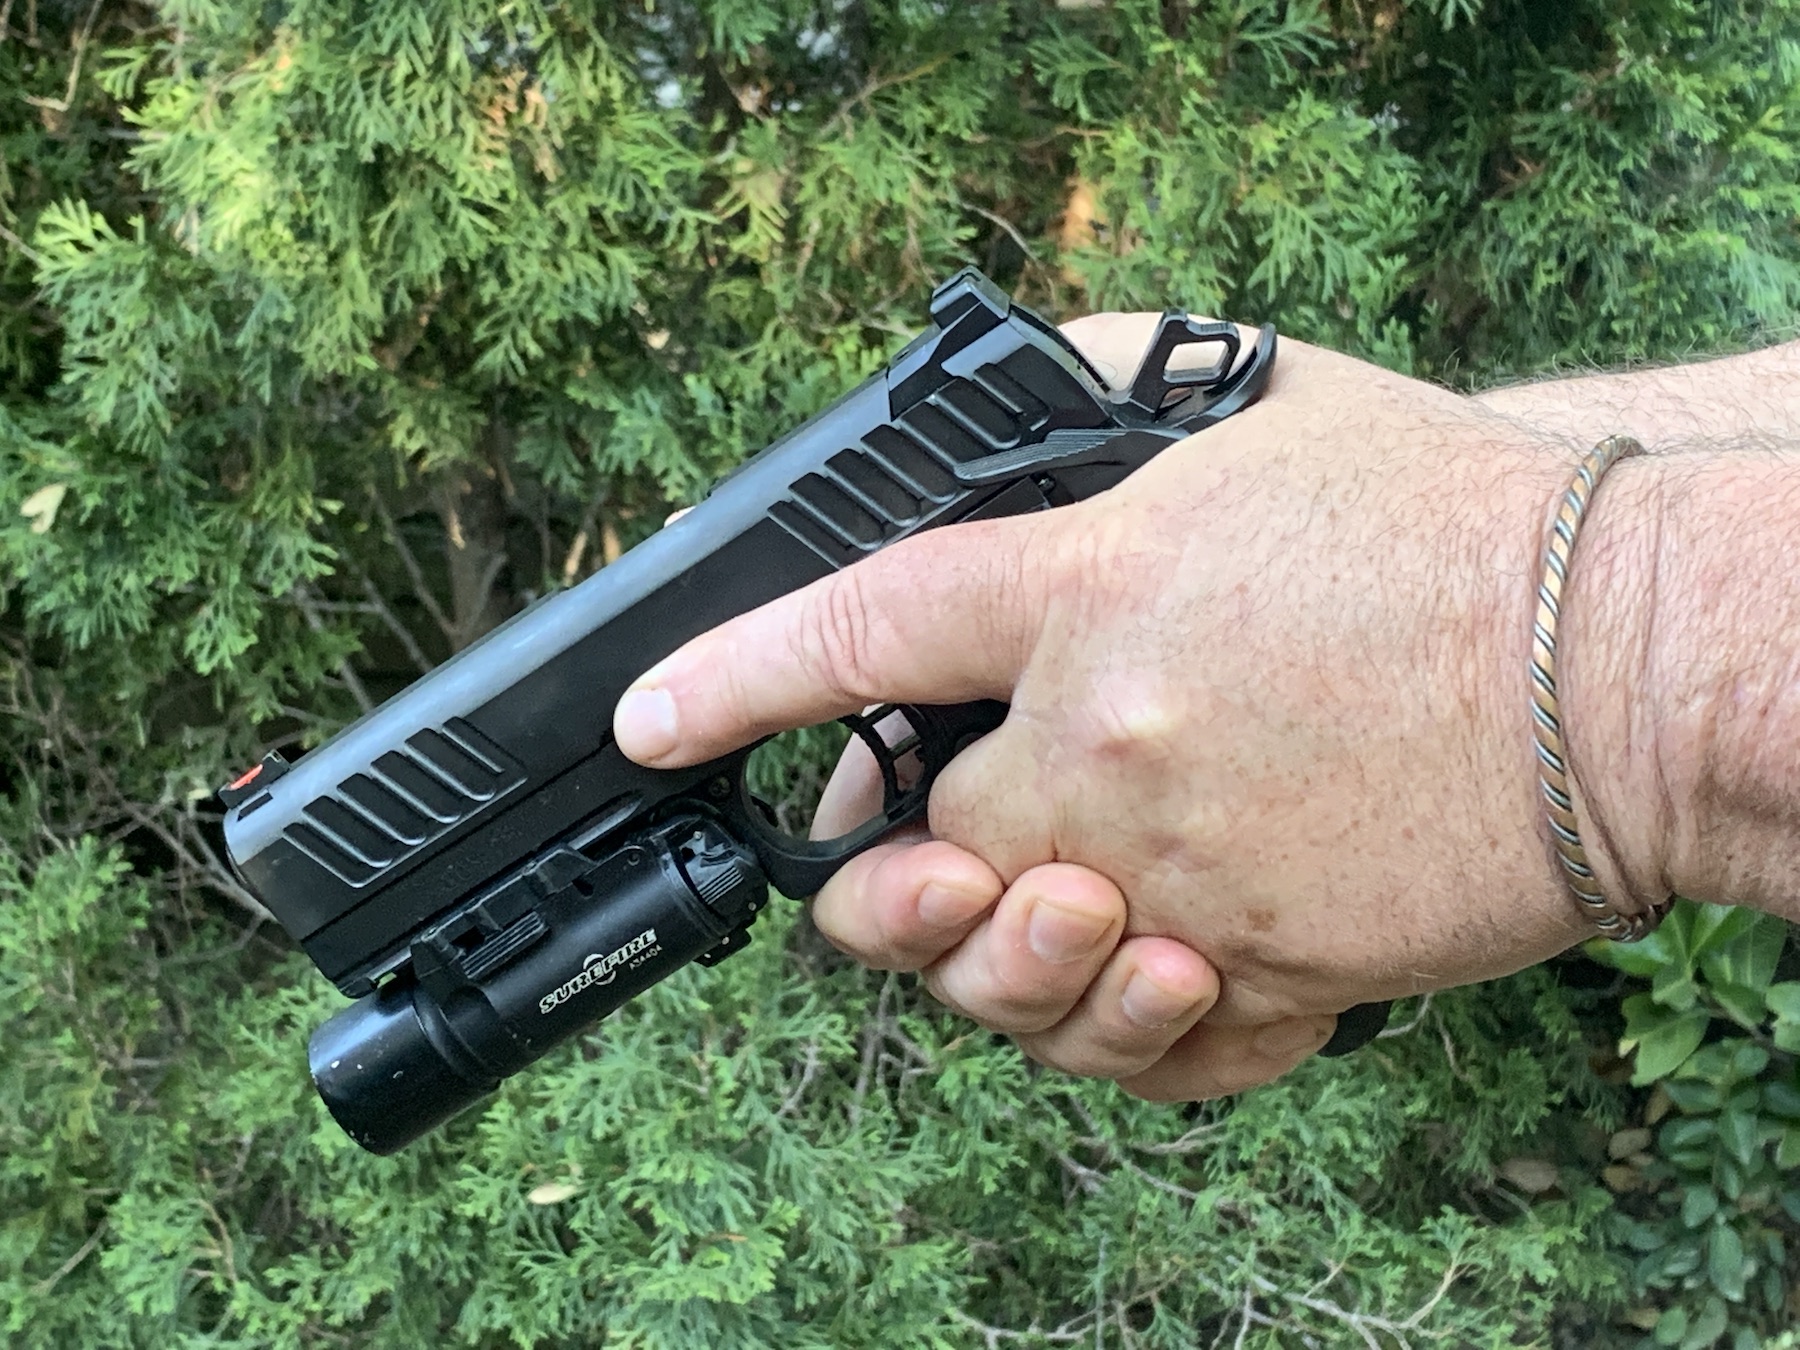
Once you have gotten your grip, your shooting thumb needs to be atop the thumb safety.
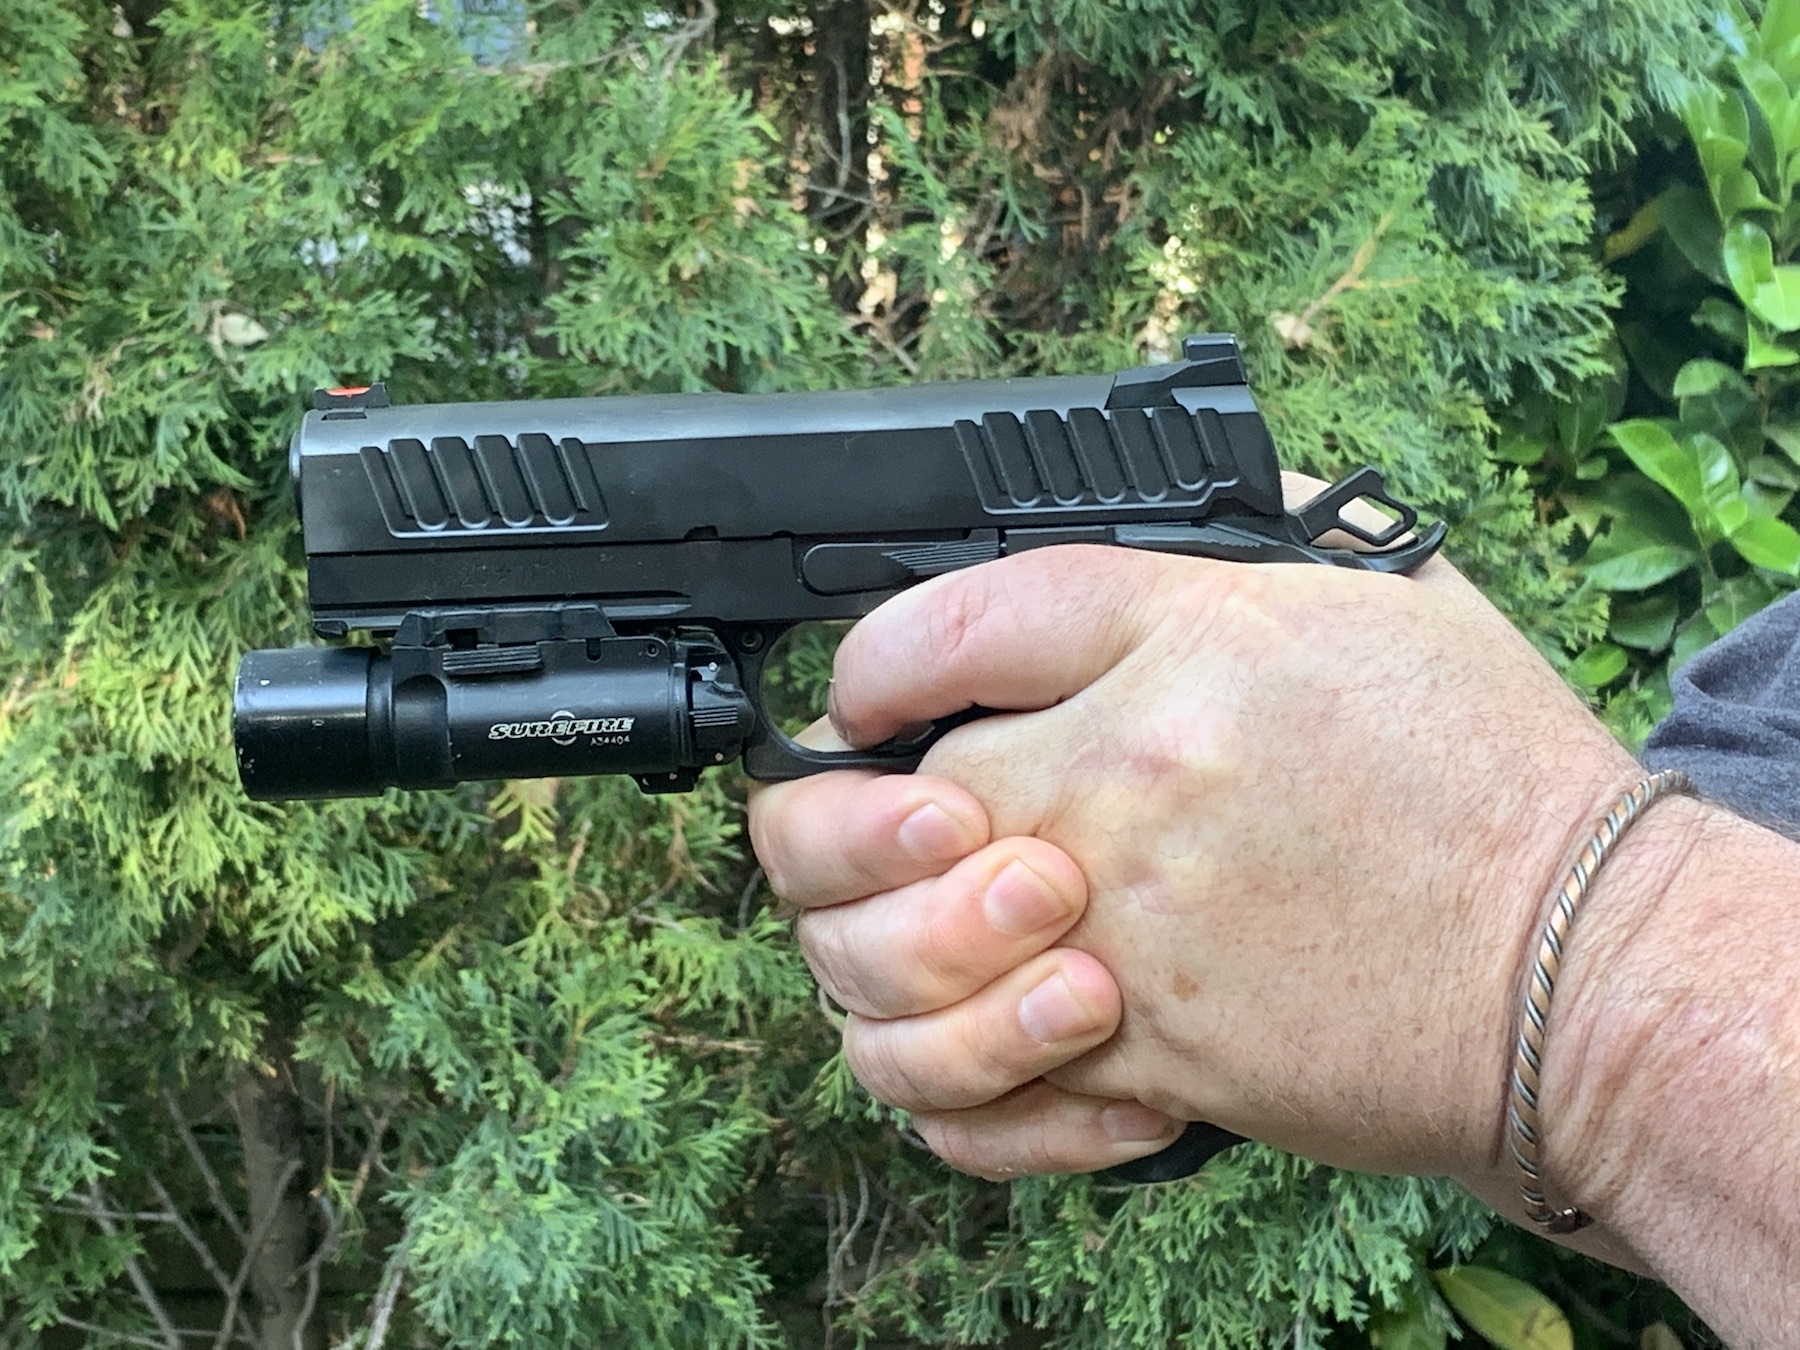
As you lift the pistol up out holster, the safety is On with your thumb on it.

Until the shoot decision is made, the safety stays On.
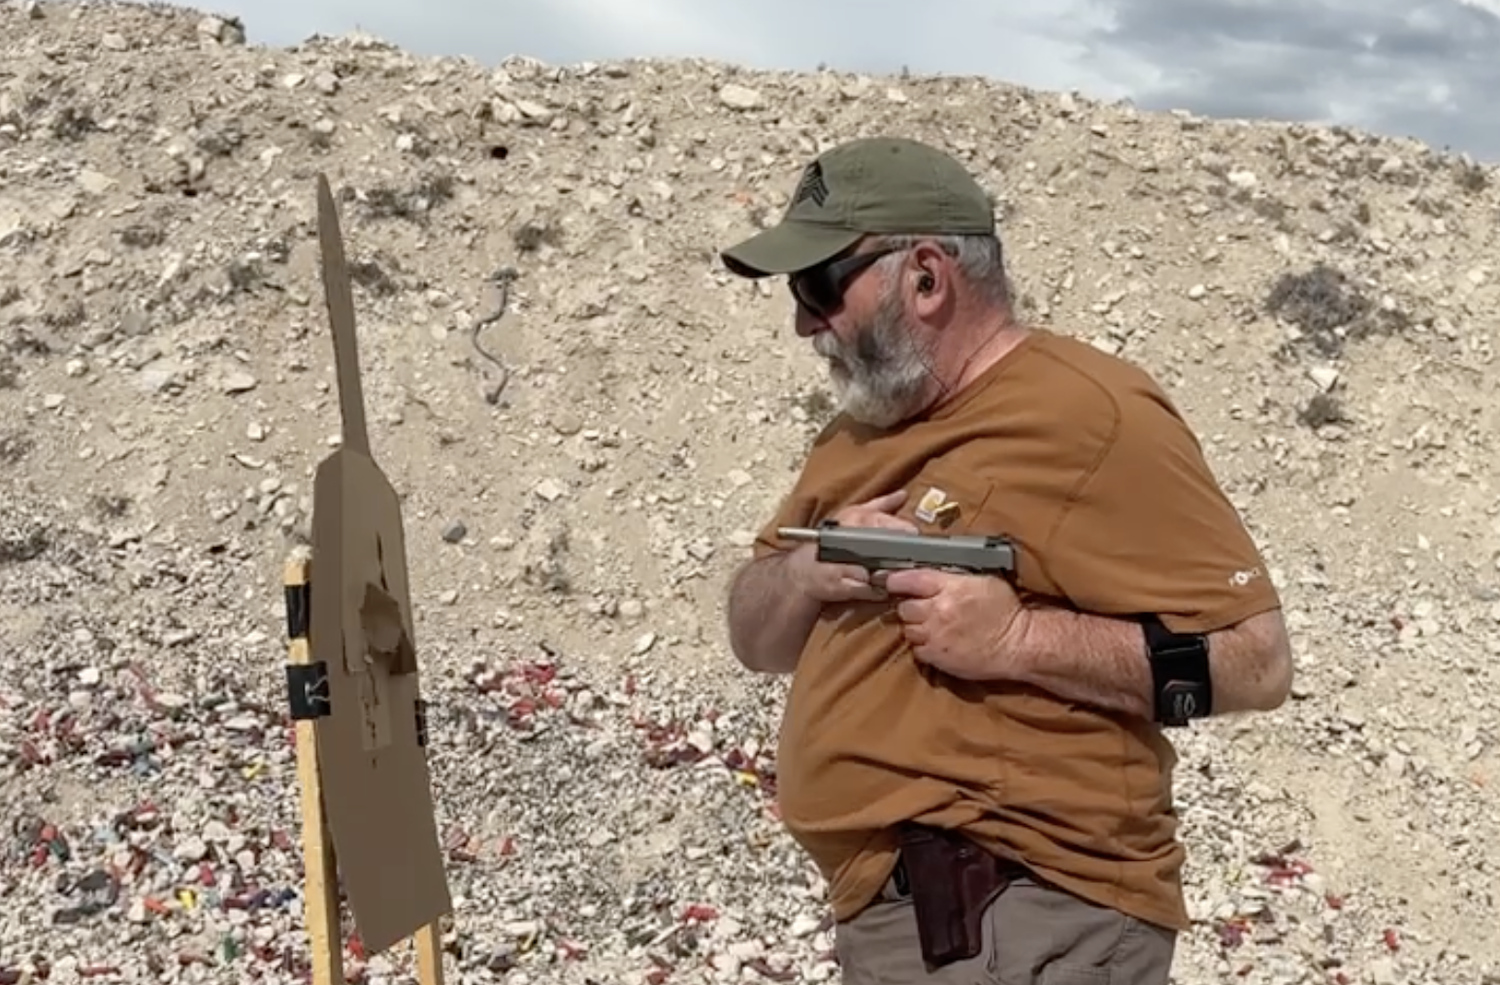
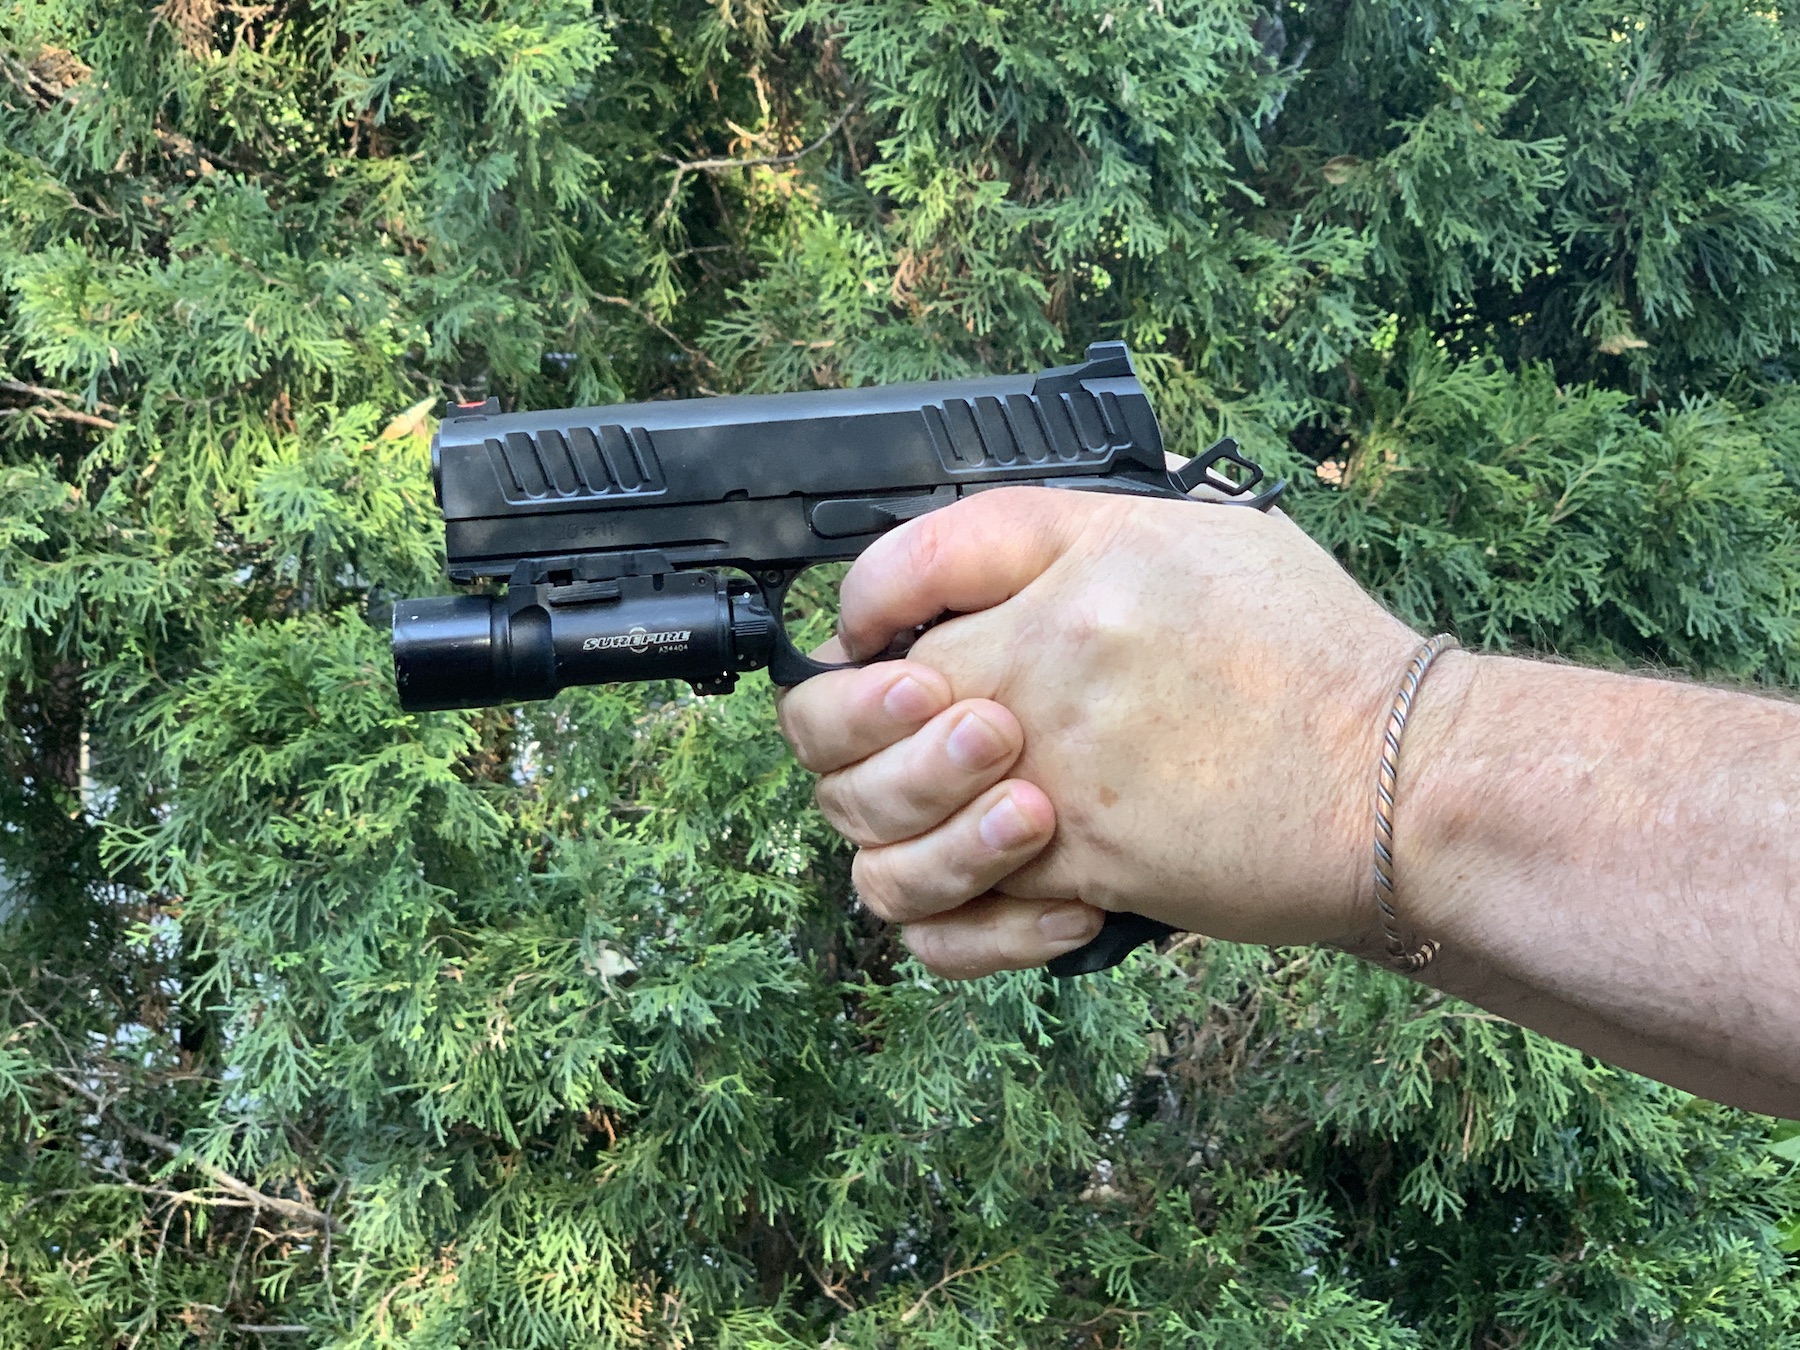
Once you have cleared the holster and the muzzle will rotate forward, you are at a decision point. If you decide to employ deadly force, you will depress the safety (taking it Off) once the muzzle is on the threat (or target).
The decision has been made and the muzzle is on the Threat, the safety comes off.
If the safety is coming off, it comes off here regardless of whether you are shooting from a retention position or going to a traditional shooting position.
As the pistol is being presented, the finger is on the trigger and it is taking out the slack.
Since the Shoot decision has been, you can touch the trigger and begin to prepare (prep) it for the shoot. This is done by pressing it just enough to remove any slack.
The muzzle is on the threat, the safety is Off, the shooter has a sight picture, and the trigger press is being completed.
What if you have not made a shoot decision and are drawing to a ready position? This could be for a building search, a high-risk encounter, or covering a person or down the hall.
Since you have not decided to shoot and the muzzle is not on the threat, the thumb safety stays on. You can take it off if the situation changes.
If you have drawn to a ready position, then the thumb never leaves the safety. If the situation changes while you are in a ready position, once you have made the shoot decision, you take the safety off as you come onto the threat or target.
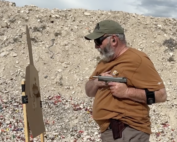
A more traditional Low Ready, once called the Guard. The muzzle is not on the threat (or target), the safety is still On, and the shooter’s trigger finger is up on the frame/slide to mitigate an ND.
When you take the safety off, your thumb stays on top of it until you decide to put it back on safe.
I have read recommendations from some in the competition field that you take the safety off as soon as the pistol clears the holster and leave it off until the stage is done – for time reasons. I would strongly argue against that.

The threat is down, as your attention and muzzle come off of it, the thumb goes underneath the safety and you push it back up. Then the thumb goes back on top off it.
Re-engaging the Safety
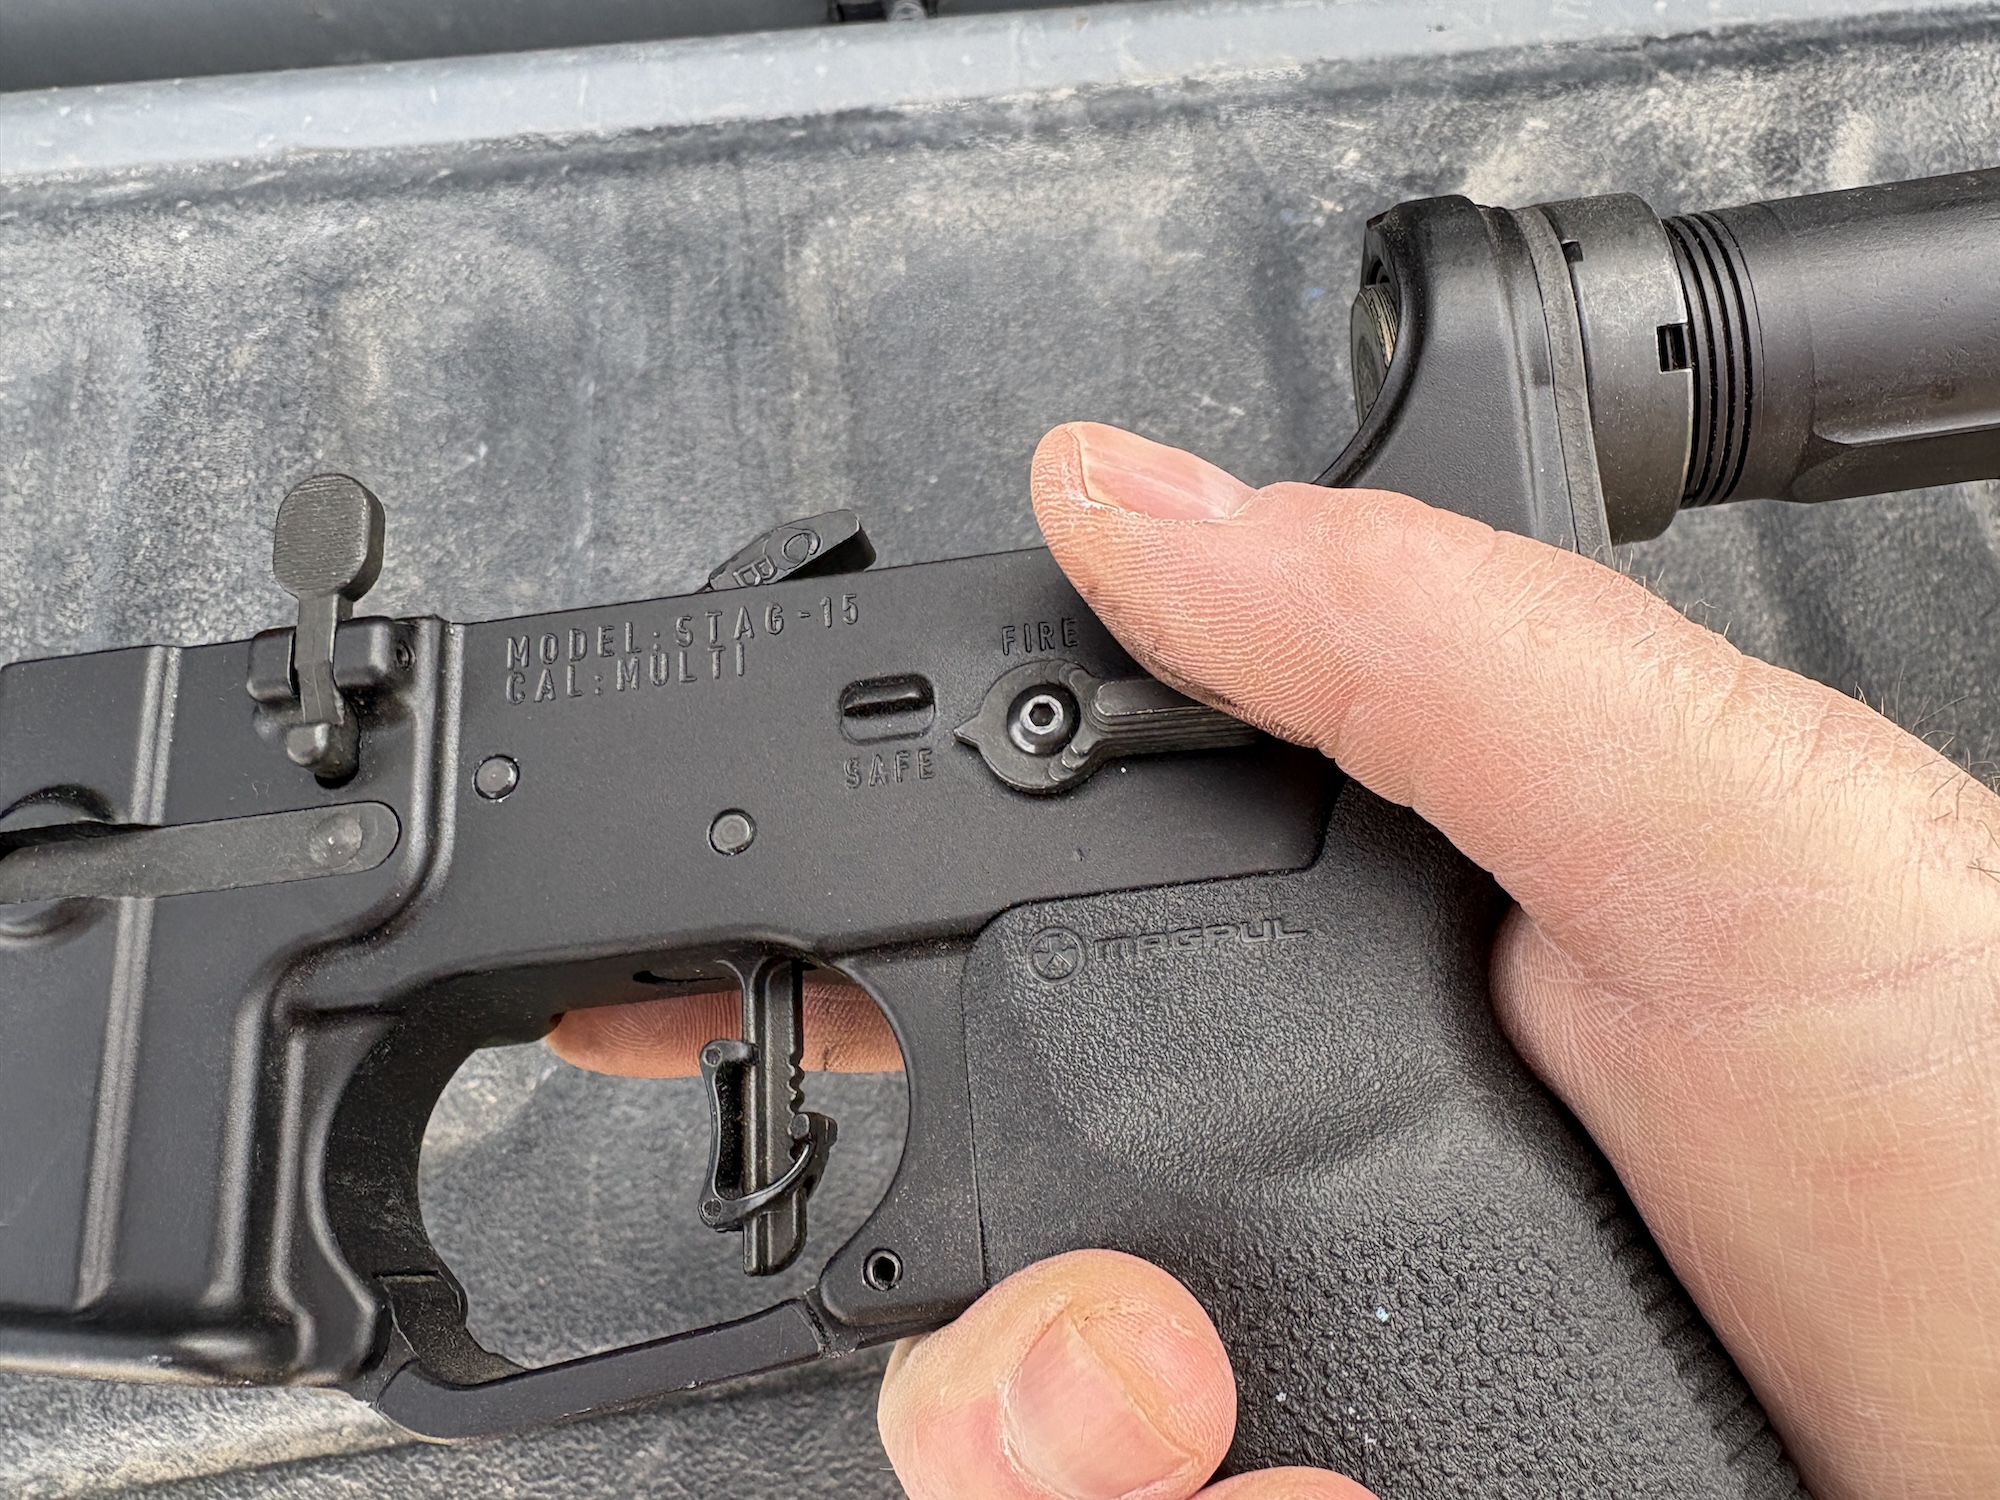
Now we get into an area where there is some difference of opinion even between competent, experienced practitioners. Some will advocate leaving the pistol (or long gun) off safe until you have completed any scan and assessment. I prefer to keep it consistent, regardless of the firearm I use. The safety goes back on anytime I am no longer on target. If I am assessing a threat that is down or directly transitioning to another threat or target, the pistol is off-safe; however, if I am scanning the area and do not have a sight picture, then the safety is back on.
I recently caught a video from Chuck Pressburg, a retired Sergeant Major who served in an Army special mission unit. Chuck was asked a question about when to manipulate the thumb safety on a pistol. He explained that you took the safety off as you drew if the “objectively reasonable” standard had been met; if it had not, then the pistol stayed on safe. You put the safety back on when you were off-target unless you were driving it to another shot.
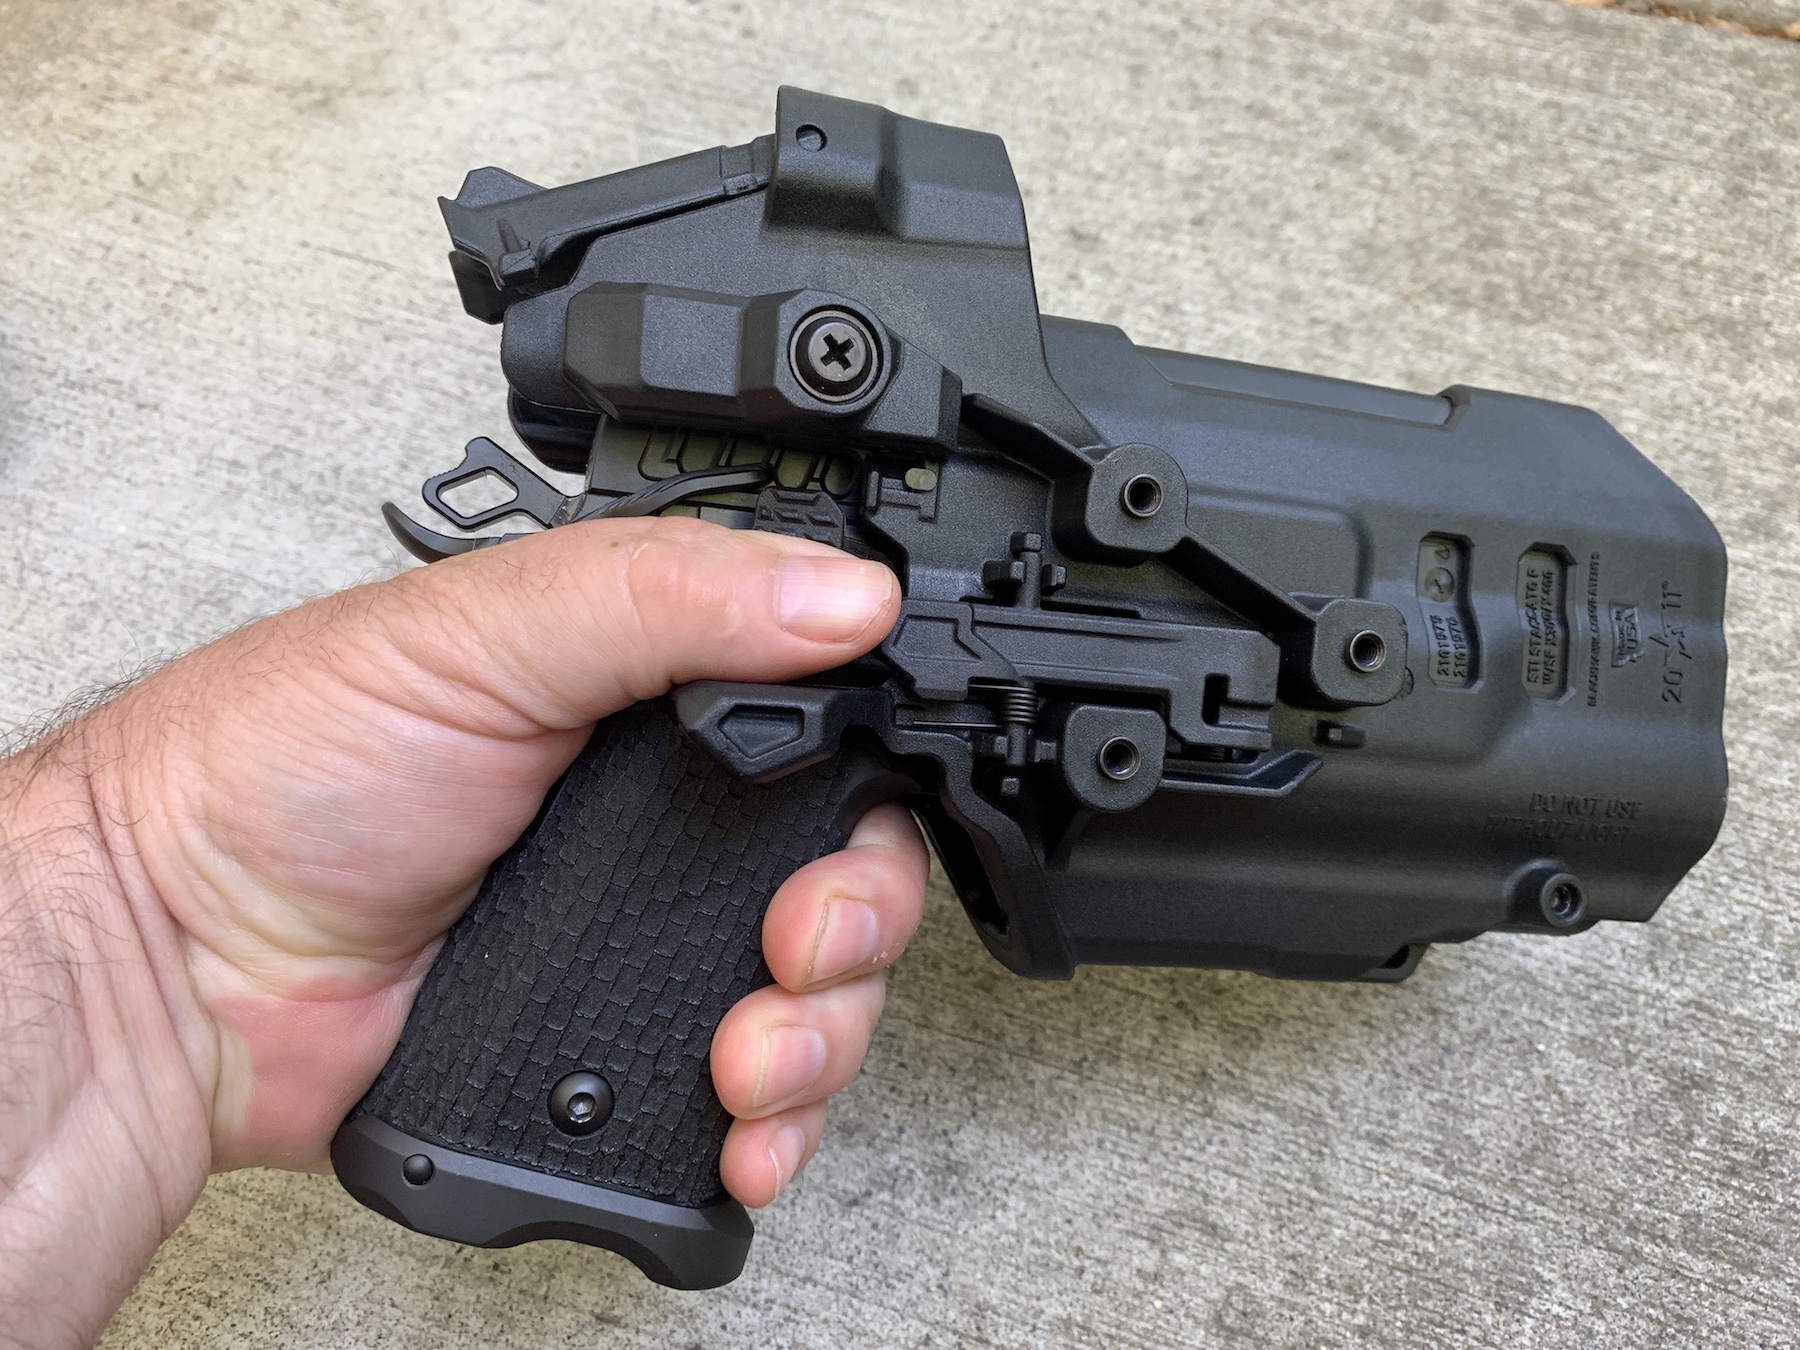
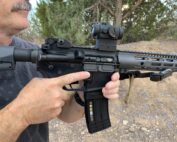
The release on the Blackhawk T-series holster is just below the thumb safety. This design requires a little movement of the thumb to get it on top of the safety when presenting it.
Holster design is a consideration as well. If the holster has a sweat guard, having it formed for the safety in the “on” position is a significant benefit. I do not want a design that unintentionally knocks the safety, either with a poorly positioned thumb break or release lever.
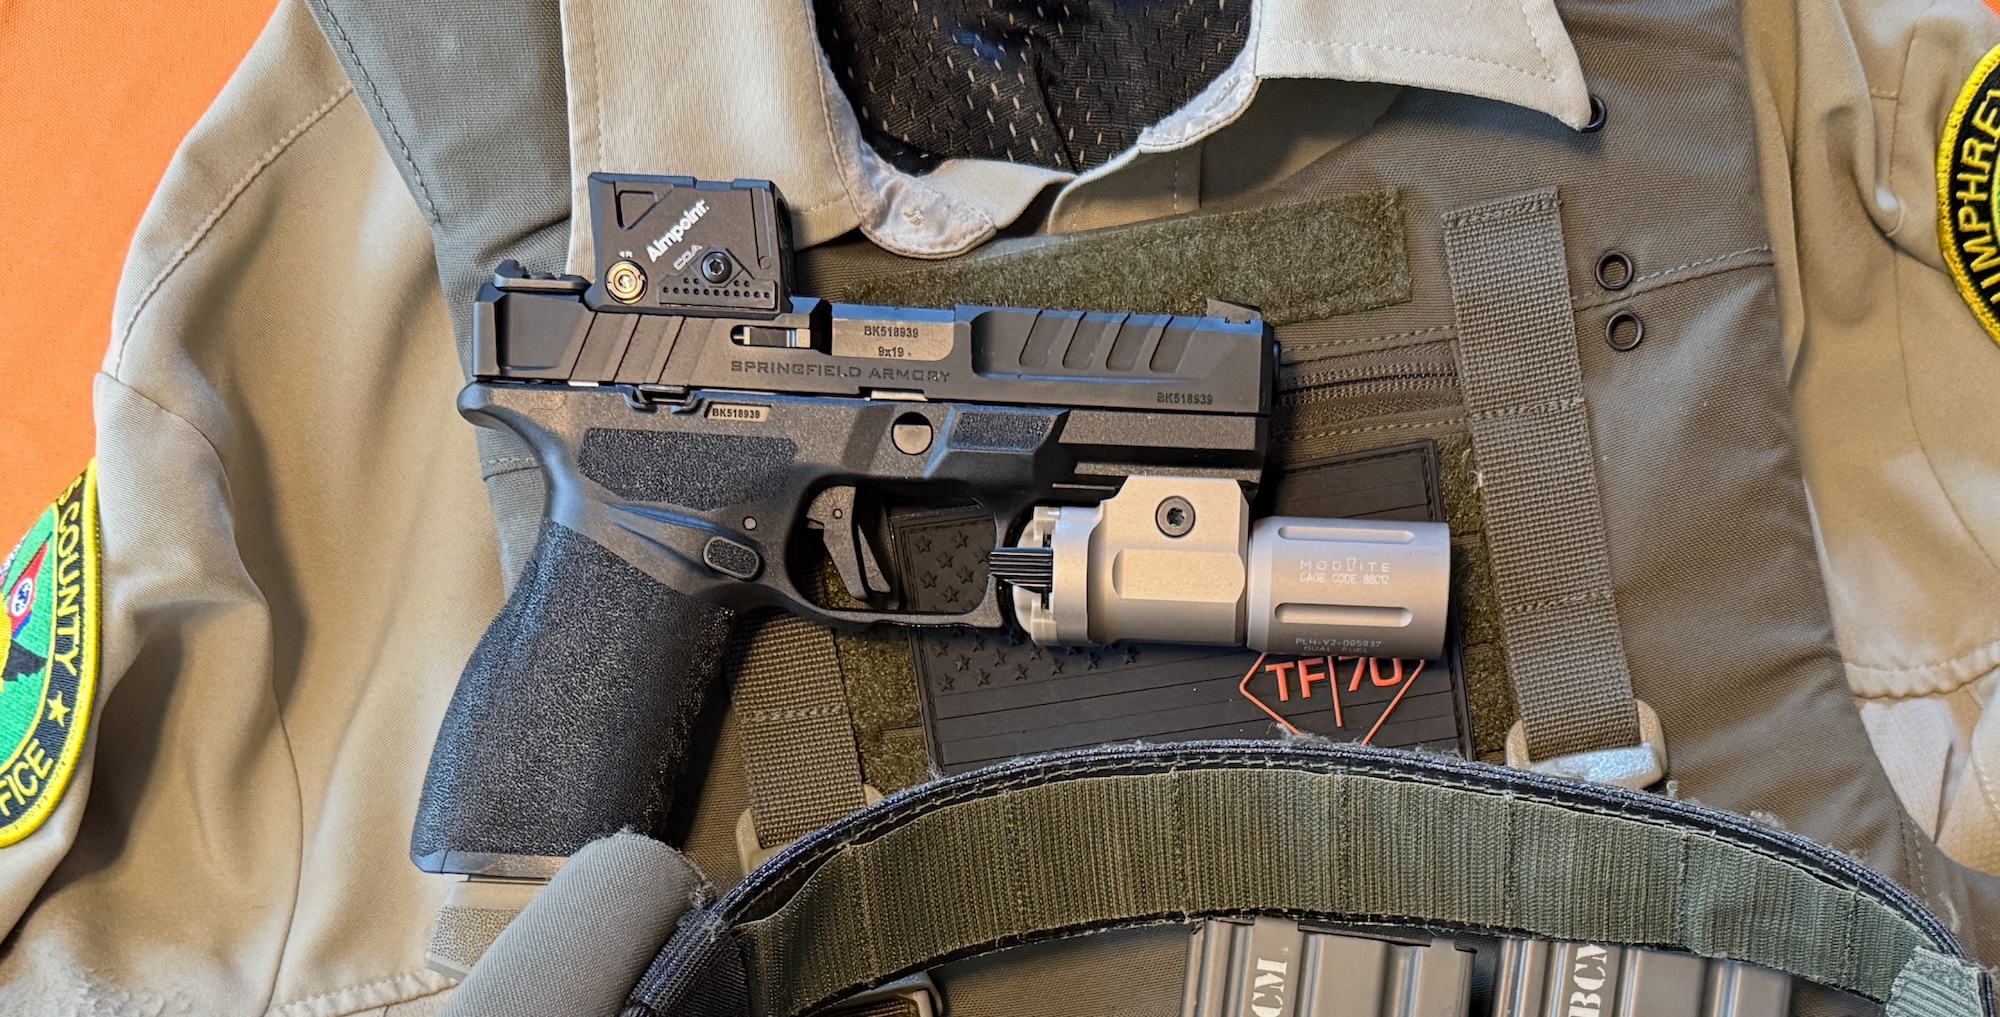
Likewise, some holster designs that are ergonomically friendly for a Glock or other pistol without a frame-mounted safety may position the thumb away from the safety lever. Something to consider.
I was a fan of the frame-mounted safety with my 1911s; when I switched to a polymer-framed 9mm, I chose the M&P because it had a frame-mounted safety. I encourage anyone using a Staccato 2011 to use the thumb safety appropriately – On-safe when you are not on target and haven’t made the shoot decision, Off-safe when your muzzle is on the target, and you are taking the shot.