
 (No Ratings Yet)
feature_1009
We recently received an email from a reader who has also listened to the GUNS Magazine podcast and the episodes over there about pistol-mounted optics.
He pointed out that while we have covered several dot-specific topics, zeroing has not yet been addressed in those conversations.
What These Aren’t
The first thing to touch on is that the reticle and the iron sights are not an integrated system. They are two different entities. They exist in different planes or levels if you will. While you can reference one with the other, please do not make them meet.
Also, do not draw to the iron sights and then look for the reticle. Do not tell your friends or co-workers to do that. Put the work into your presentation so the dot arrives in your eye/threat (target) line.
First Step
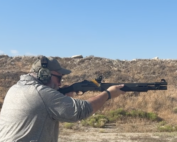
Early in any pistol-mounted optics class, I have the students shoot two grouping drills. Both are looking for the students’ foundational marksmanship skills, specifically trigger manipulation and consistency of sight alignment.
Rather than firing one group and trying to adjust it, fire two groups before making any changes.
Second Step
For a long time, the shooting community has preached “Equal Light, Equal Height” regarding aligning the front and rear sights. The idea being communicated was the front sight needed to be centered, side to side, in the rear sight notch. Additionally, one wanted to have the tops of the front and rear sights in the same plane, a straight line. Not a bad idea, although it doesn’t coincide with the idea of a flash-sight picture.
Unfortunately, centering the front sight blade in the rear sight notch can impede one’s transition to optics.
The second step I take regarding sights is getting the shooter to accept an imperfect picture. The goal is to get them to understand that if the reticle is on what you are trying to hit and it is within the window, you will probably hit what you need to if you do your part.
Attributed to the French writer Voltaire, also known as Francois Arouet, “The perfect is the enemy of the good.” Once there has been an acceptance of good enough, you can head to the next step and begin zeroing.
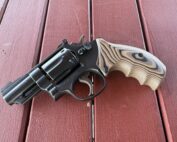
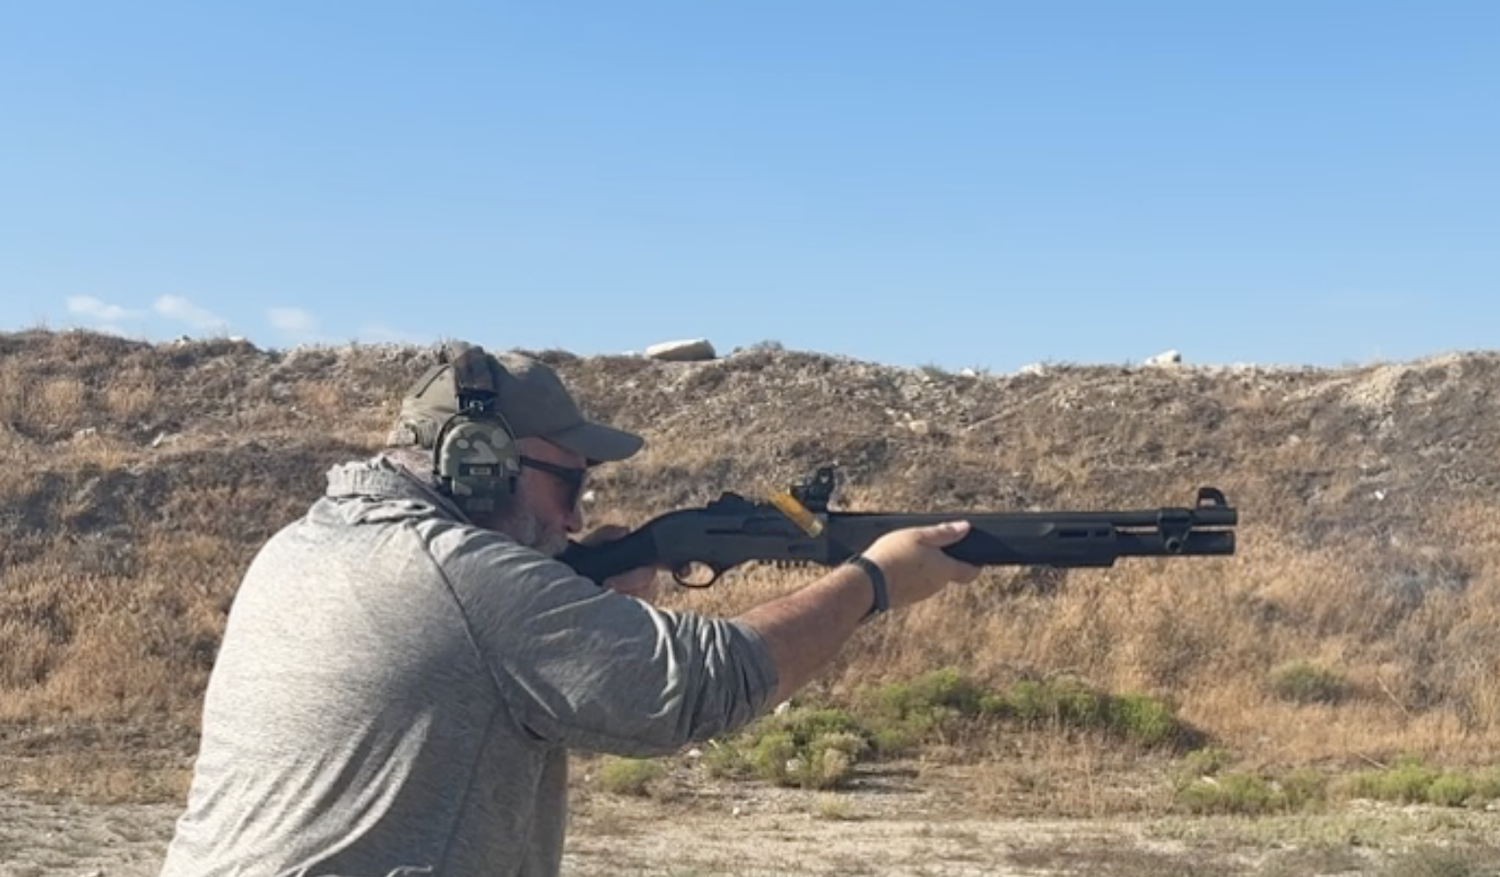
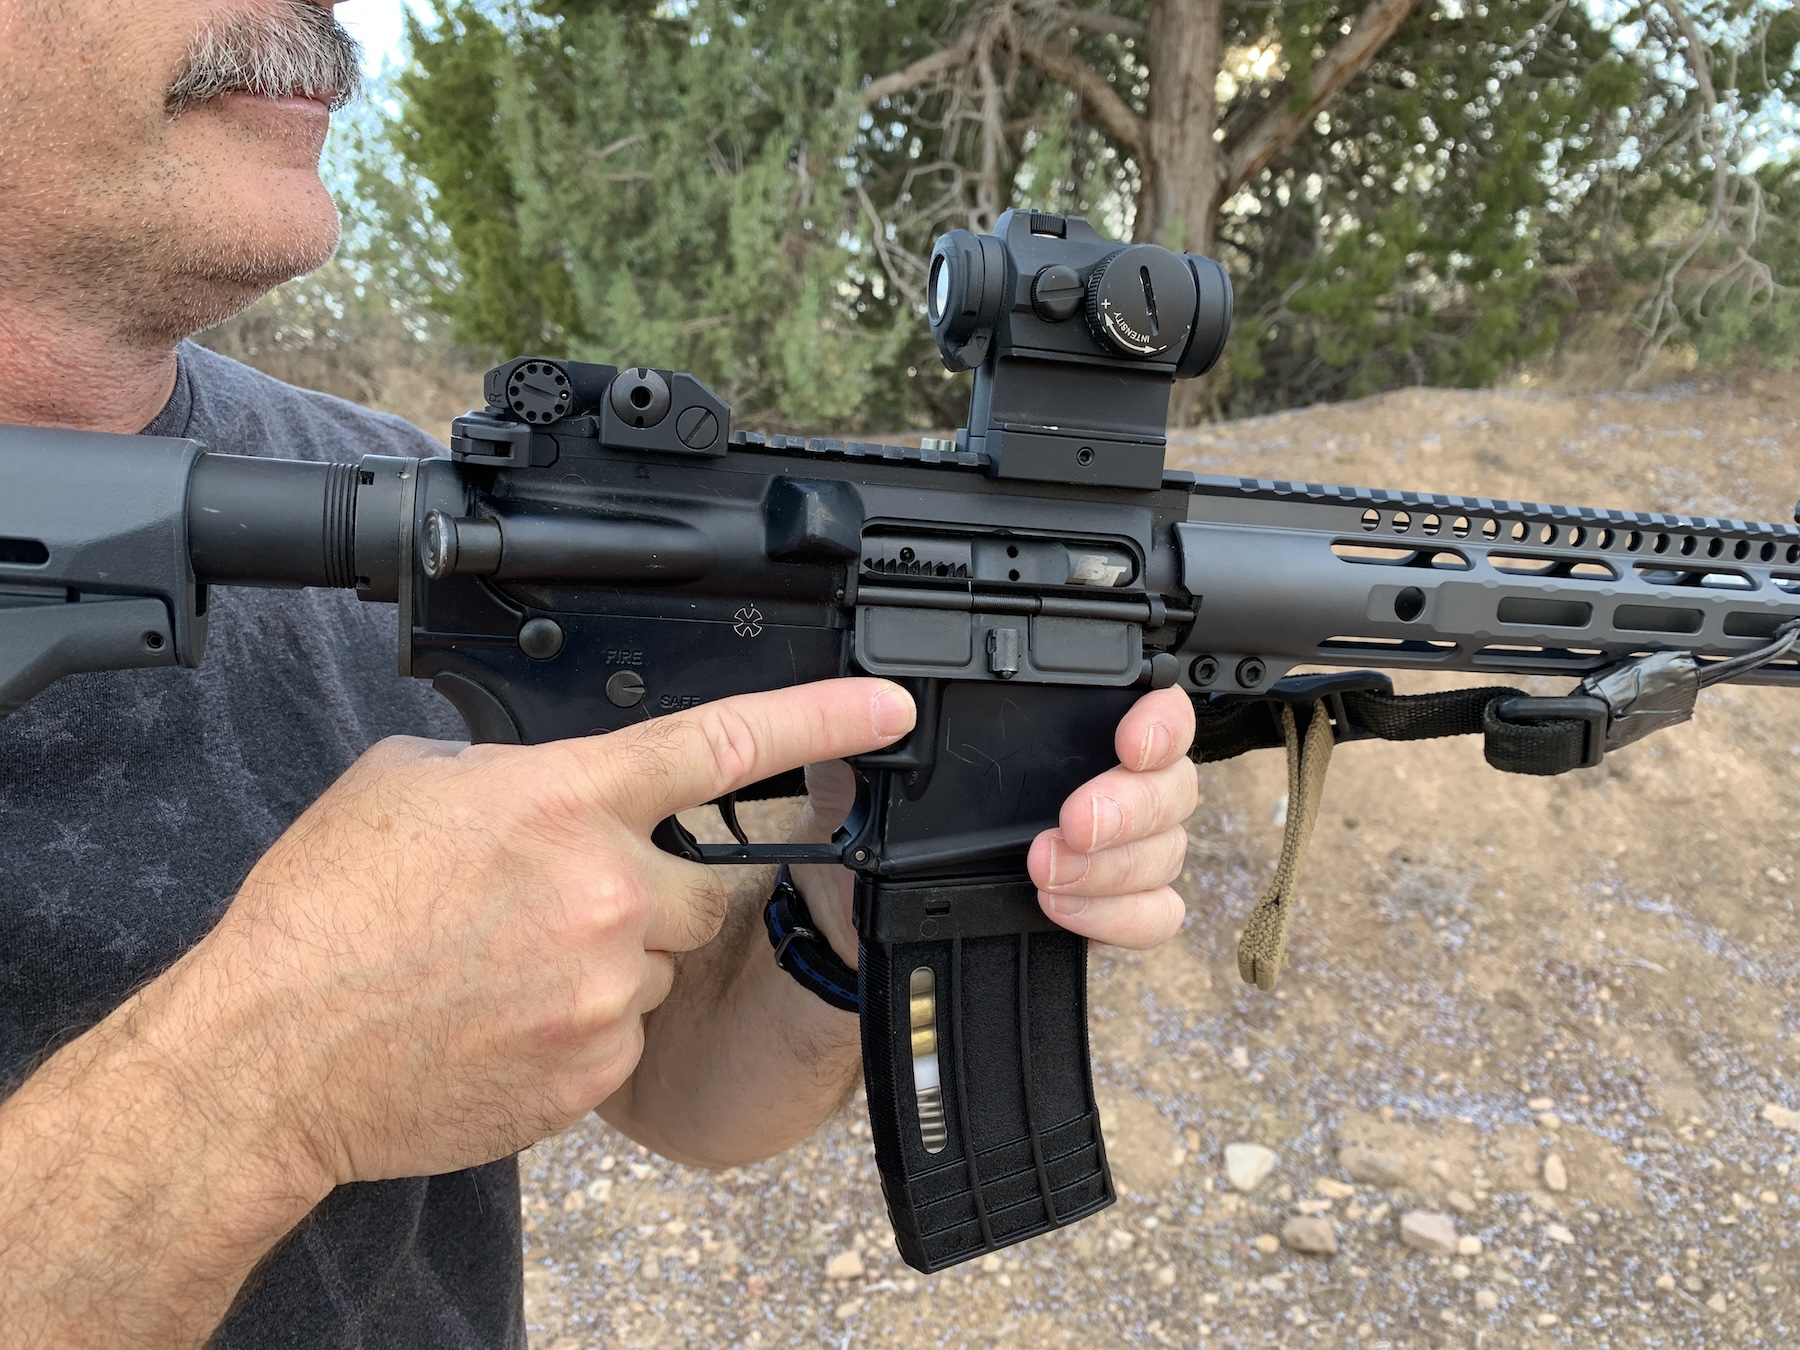
Making windage adjustments to the Aimpoint Acro-P2
Zero
There is a wee bit of debate about which distance to zero your pistol-mounted optics at. I will not get in a fight over this. There are things about which reasonable people can disagree, and this is one of them. If someone wants to argue that point, then they are wrong.
Based on several considerations, I prefer a 15-yard zero. Once done, I will confirm the point of aim and point of impact back to 50 yards.
Rather than firing one group and trying to adjust it, consider firing two groups before making any changes.
Before zeroing, cycle the optic’s windage and elevation adjustments before generally centering it mechanically in the window.
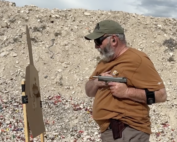
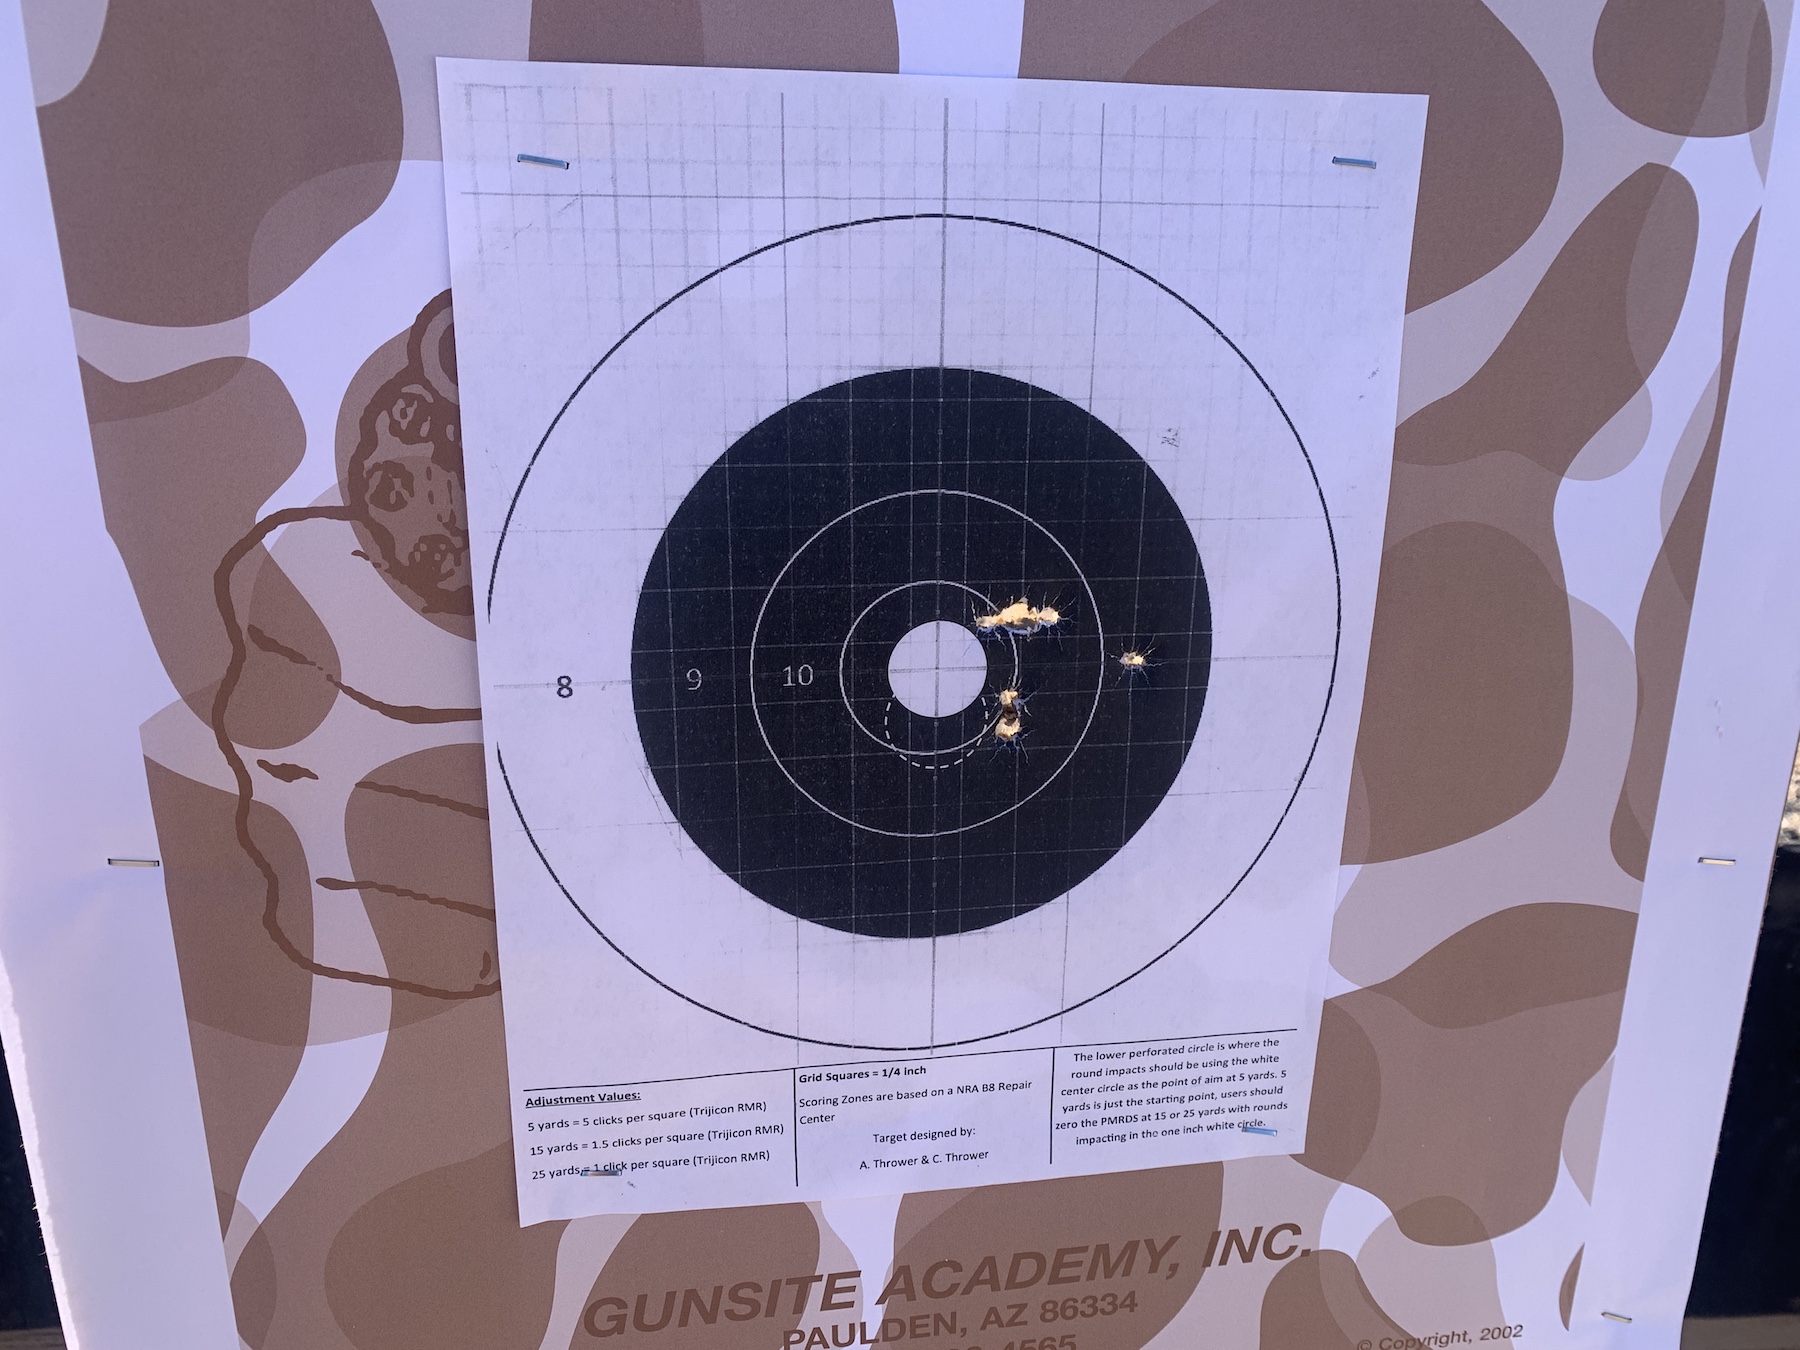
For zeroing, I use the zero target shown in the pictures and designed by A. and C. Throwers. Also, turn the dot down as low as it can go while letting you see it on the zero target. The lower the setting, the easier it is to see the dot on the target.
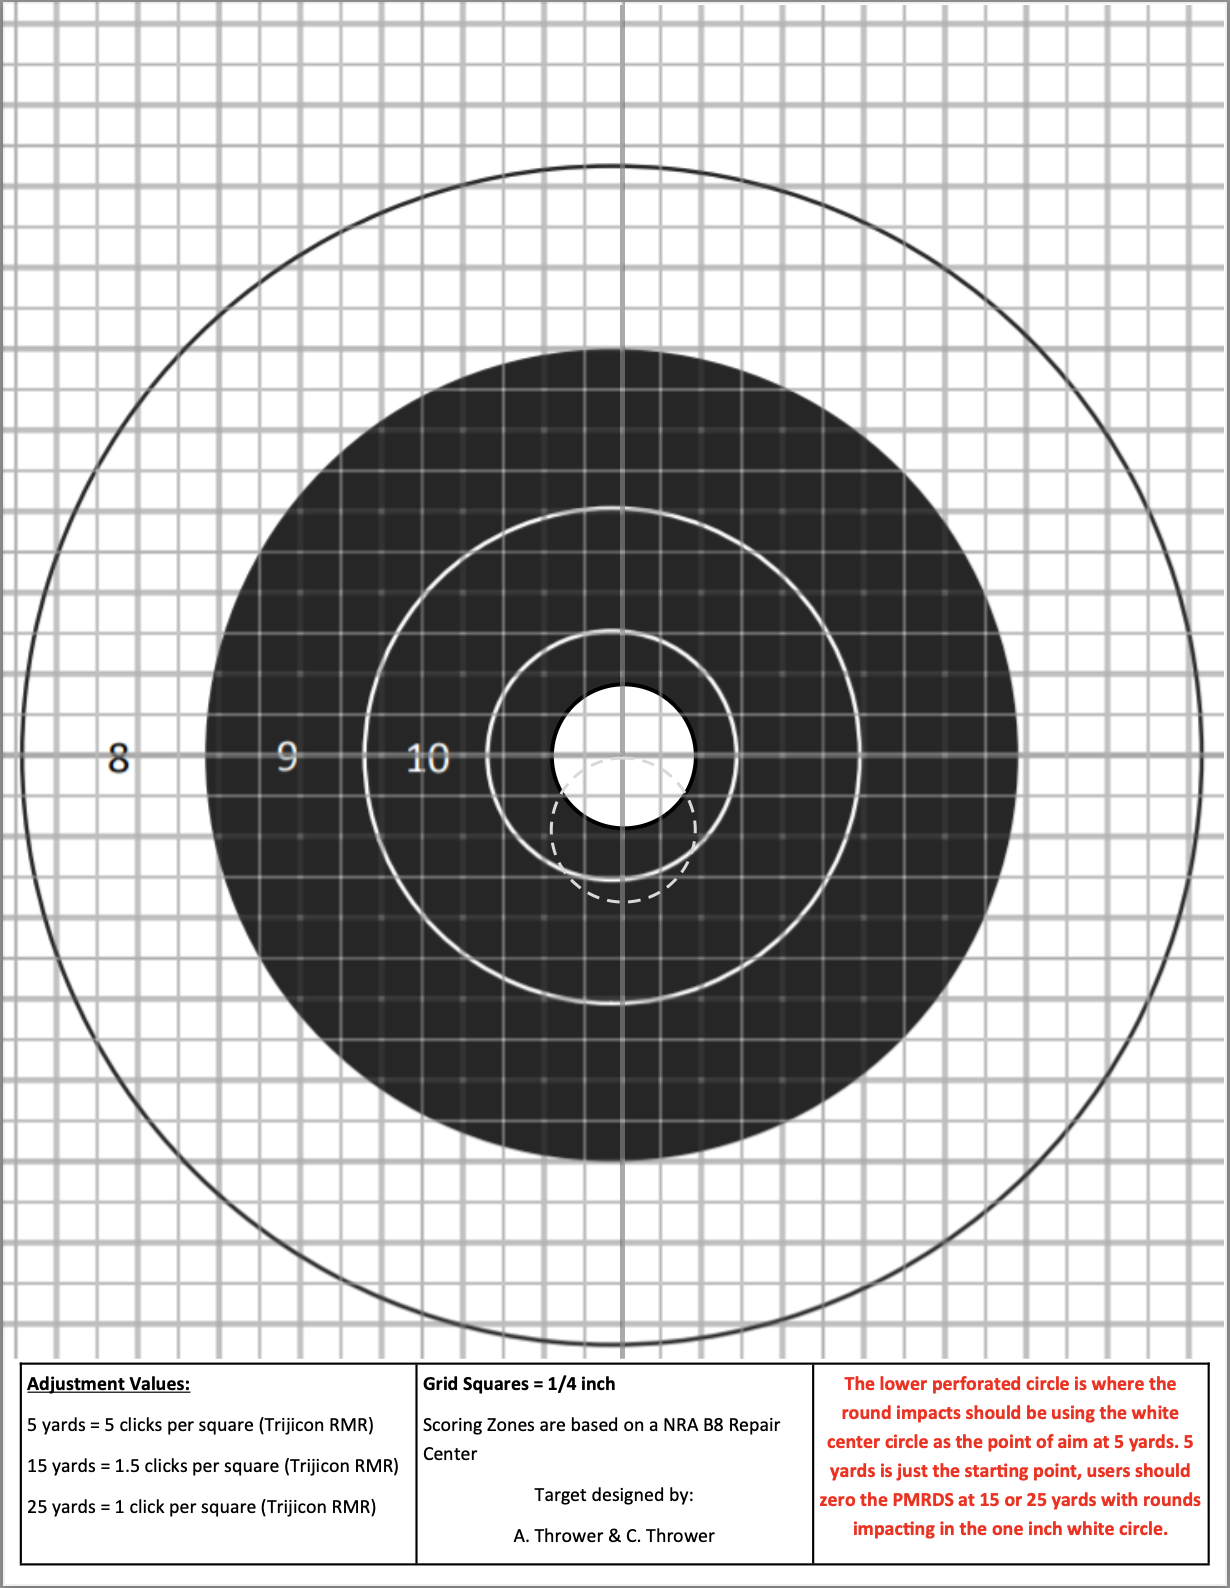
The Thrower zero target for pistol-mounted optics.
Two ways you can zero, and it depends on your shooting ability. You can use a rest, or you can do it unsupported. Former Washington police officer and multi-division grand master Yong Lee has recommended shooting your groups unsupported. However, not everyone can shoot a tight enough group to do that.
Whether or not you use a rest, have the shooter fire two groups without adjusting the point of aim or the sights. Once those two groups have been fired and they give you enough information to base your adjustments on, go ahead and do so.
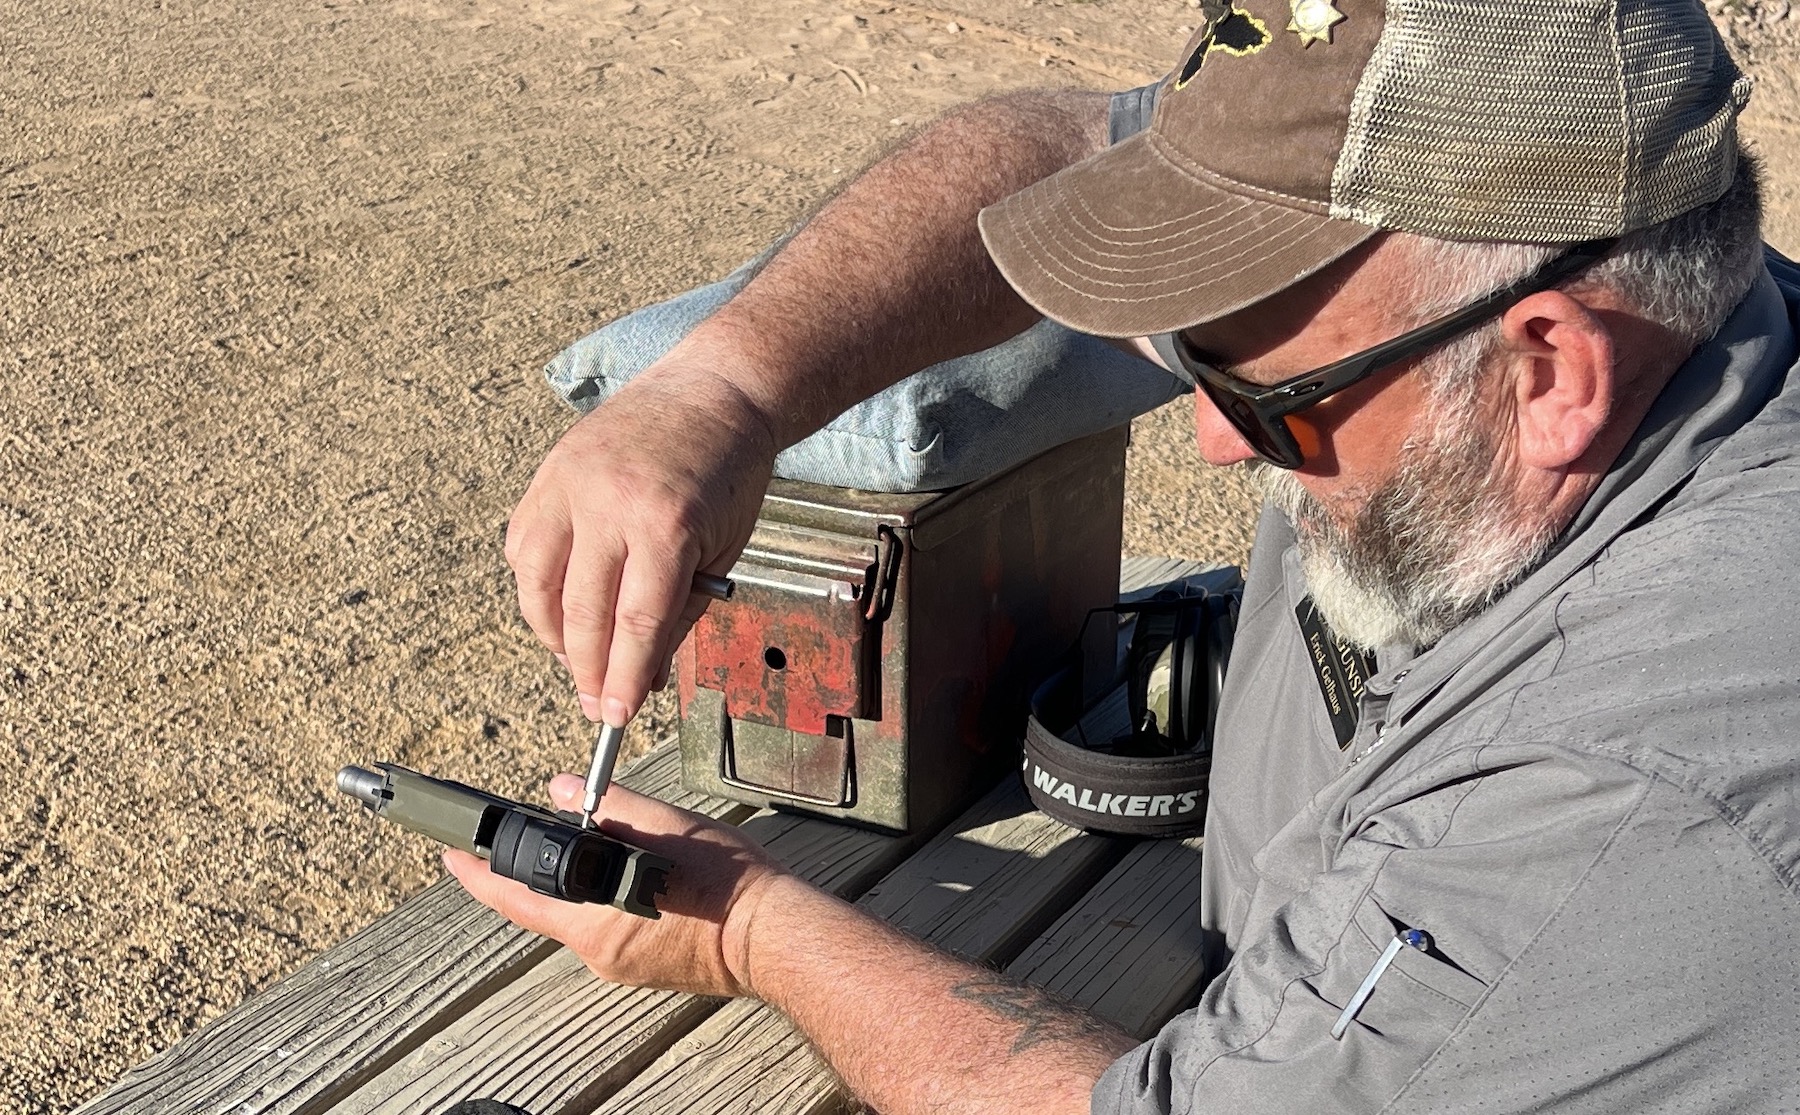
The Thrower target adjustments generally work well across the spectrum of optics. You can use the tools that came with your optic to make adjustments – you still have them, right? Or any one of several after-market tools like the products from Multi-Tasker or Fix-It-Sticks.
Once zeroed, you can move on to the rest of it.
The rest is supporting the shooter’s hands for the shots on the zero target.
Focus, Visual Attention
If you have not already embraced it, the best practice with a pistol-mounted optic (or any red dot) is to look at where you want to hit the threat, the target, and bring the reticle into your eye line – rather than bringing the optic into your eye line and then focusing on the reticle.
Aim
Whether you are drawing from the holster, moving from a ready position, or transitioning from another threat – your visual attention needs to be on what you need to hit and then letting the dot appear in the optic’s window where you need it.

When making the adjustments to your sight, you can use either the tools that came with it or those from Multi-Tasker and Fix-It-Sticks.
How much refining do you need to do? This is easier written than done at times. It depends on the nature and complexity of the shot.
When you switch to an optic, you will notice much more visual feedback on what you are doing with your handgun. That information should cause you to adjust what you are doing. All of it starts with zeroing the optic to your pistol.
RESOURCES: