
 (0 rating, 2 votes)
feature_9740
There was an interesting confluence of events over the weekend. The first was the anniversary of Patrick Rogers’ death. A good number of experienced private sector trainers were influenced by Rogers and likely connected to each other by him. The other was an email question early Sunday morning about the process of making ready.
What do those two things have to do with each other?
Pat was big on the concept of “process.” Having a consistent way of doing things that did not change. Whatever it is, do it the same way every time. Practice makes permanent. Perfect (or proper) practice makes perfect or close to it.
As both a student of his and a coach (assistant instructor) for him at Gunsite, Pat was the first I saw who truly codified the process of Making Ready. We will cover making ready from a range perspective and then address the practical application question that had been asked.
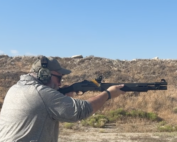
Range and Training
You’ll need to draw the pistol before you begin to make ready.
Come up to the firing line with your weapon lubricated. Have your magazines loaded with loose rounds on your person. If your optics are electronic, ensure the batteries are fresh. Have your eye and ear protection on you.
Eye and Ear Protection
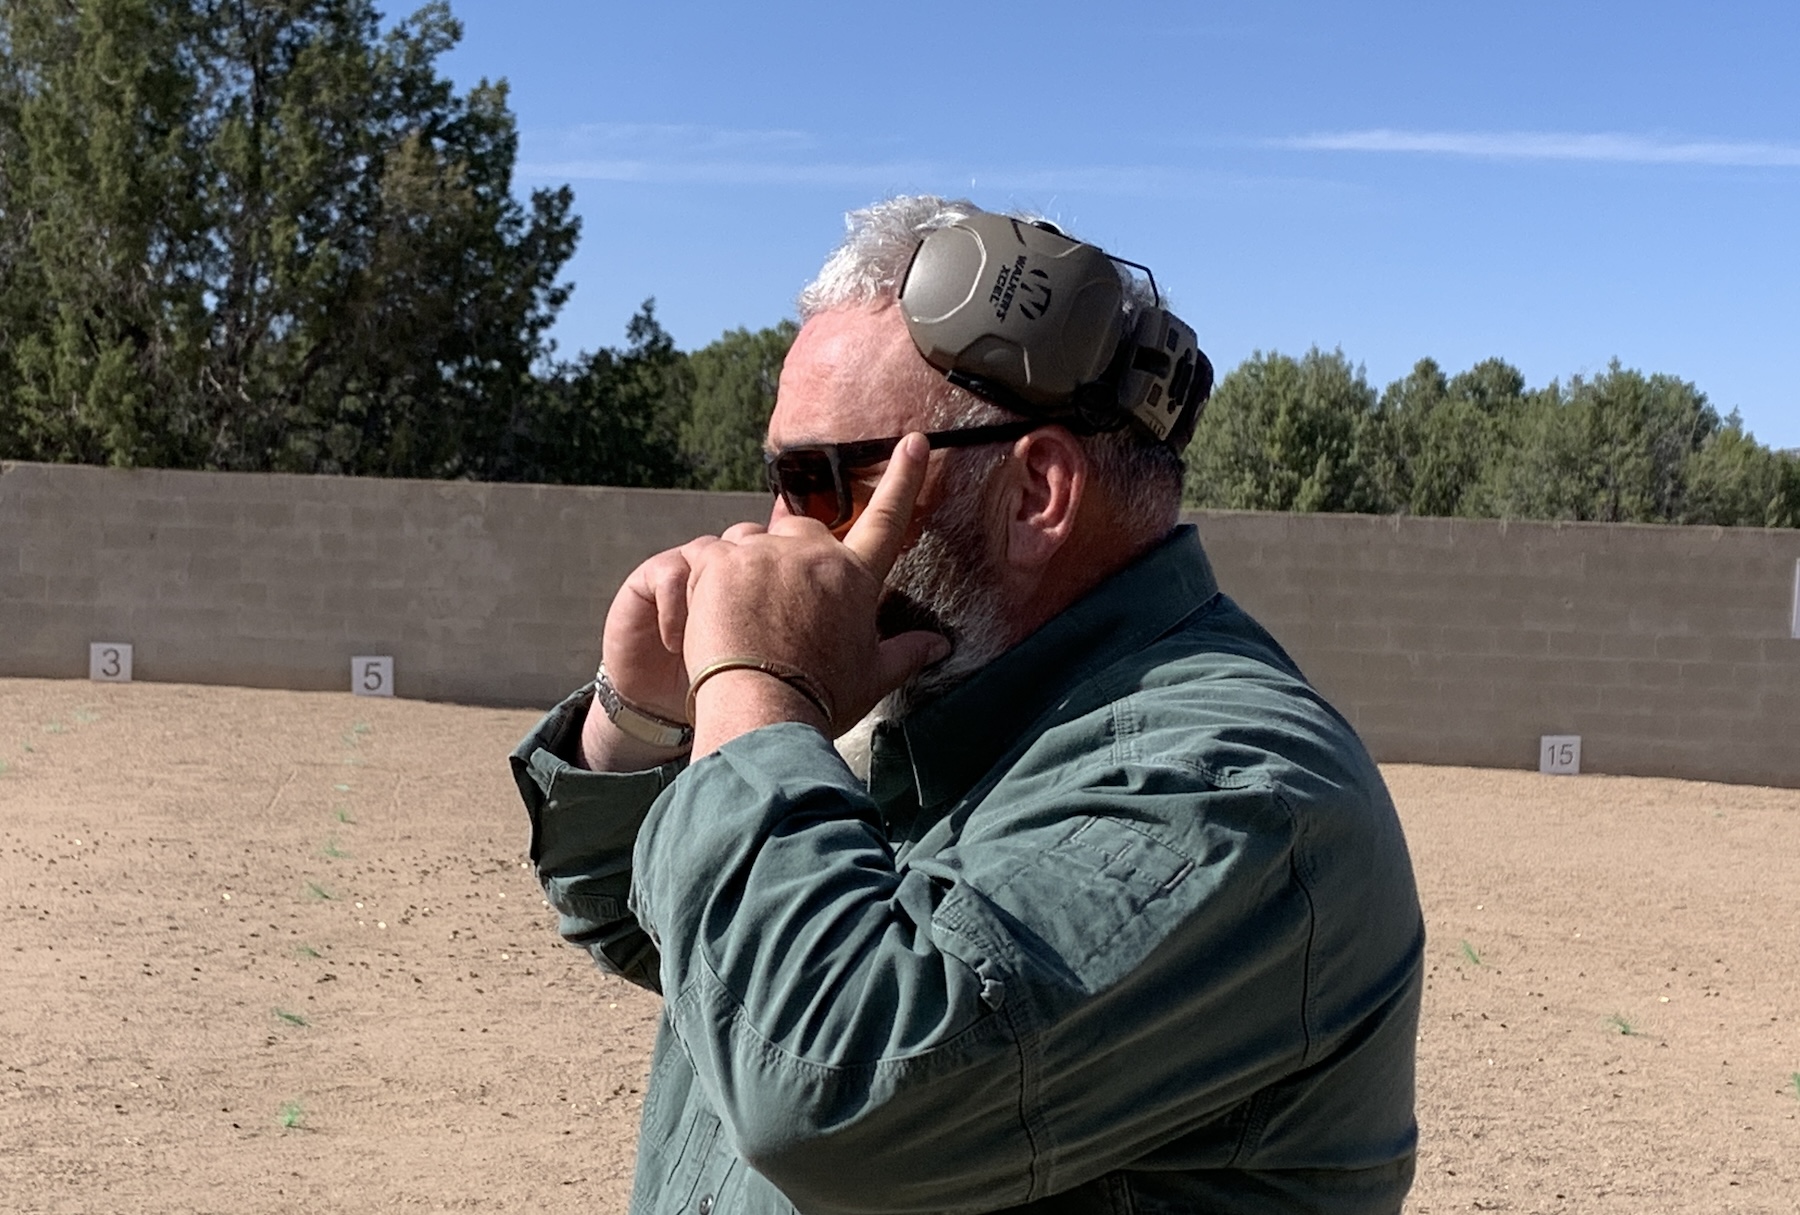
Touch your eye and ear protection to ensure they are in place.
When the Make Ready command is given, start by touching your eye protection to ensure it covers your eyes. Confirm it is over your eyes, not on the brim of your ball cap (necessary to keep someone else’s brass out of your eyes). Then, touch your hearing protection; are they over your ears? Or up on the side of your head?
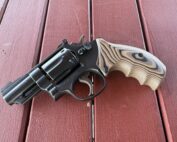
Unfortunately, this is seen too often on the range – a shooter forgets their hearing protection UNTIL after a pistol is in their hand. That is a Ring’s Blue Gun with an optic.
This is an issue because it is not uncommon to see a shooter (and instructors) miss this. Then, after the first shot is fired, they’re reaching for the hearing projection with a pistol in their hand. NO!
Mechanical Safety
If your firearm has a user-operated mechanical safety – thumb safety, selector, etc. – apply it as early as you can without it interfering with the weapon’s manipulation. For example, with my M&P pistol, AR carbine, or shotgun, having the safety on doesn’t interfere with the loading process. Still, I cannot activate the safety on my Staccato double stack 9mm 1911-like pistol until I have completed the loading process.
Next, load your pistol – regardless of the type of class. Check the chamber and the magazine, ensuring both are full or have the prescribed number of rounds in them.
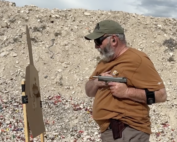
Chamber Round Verification
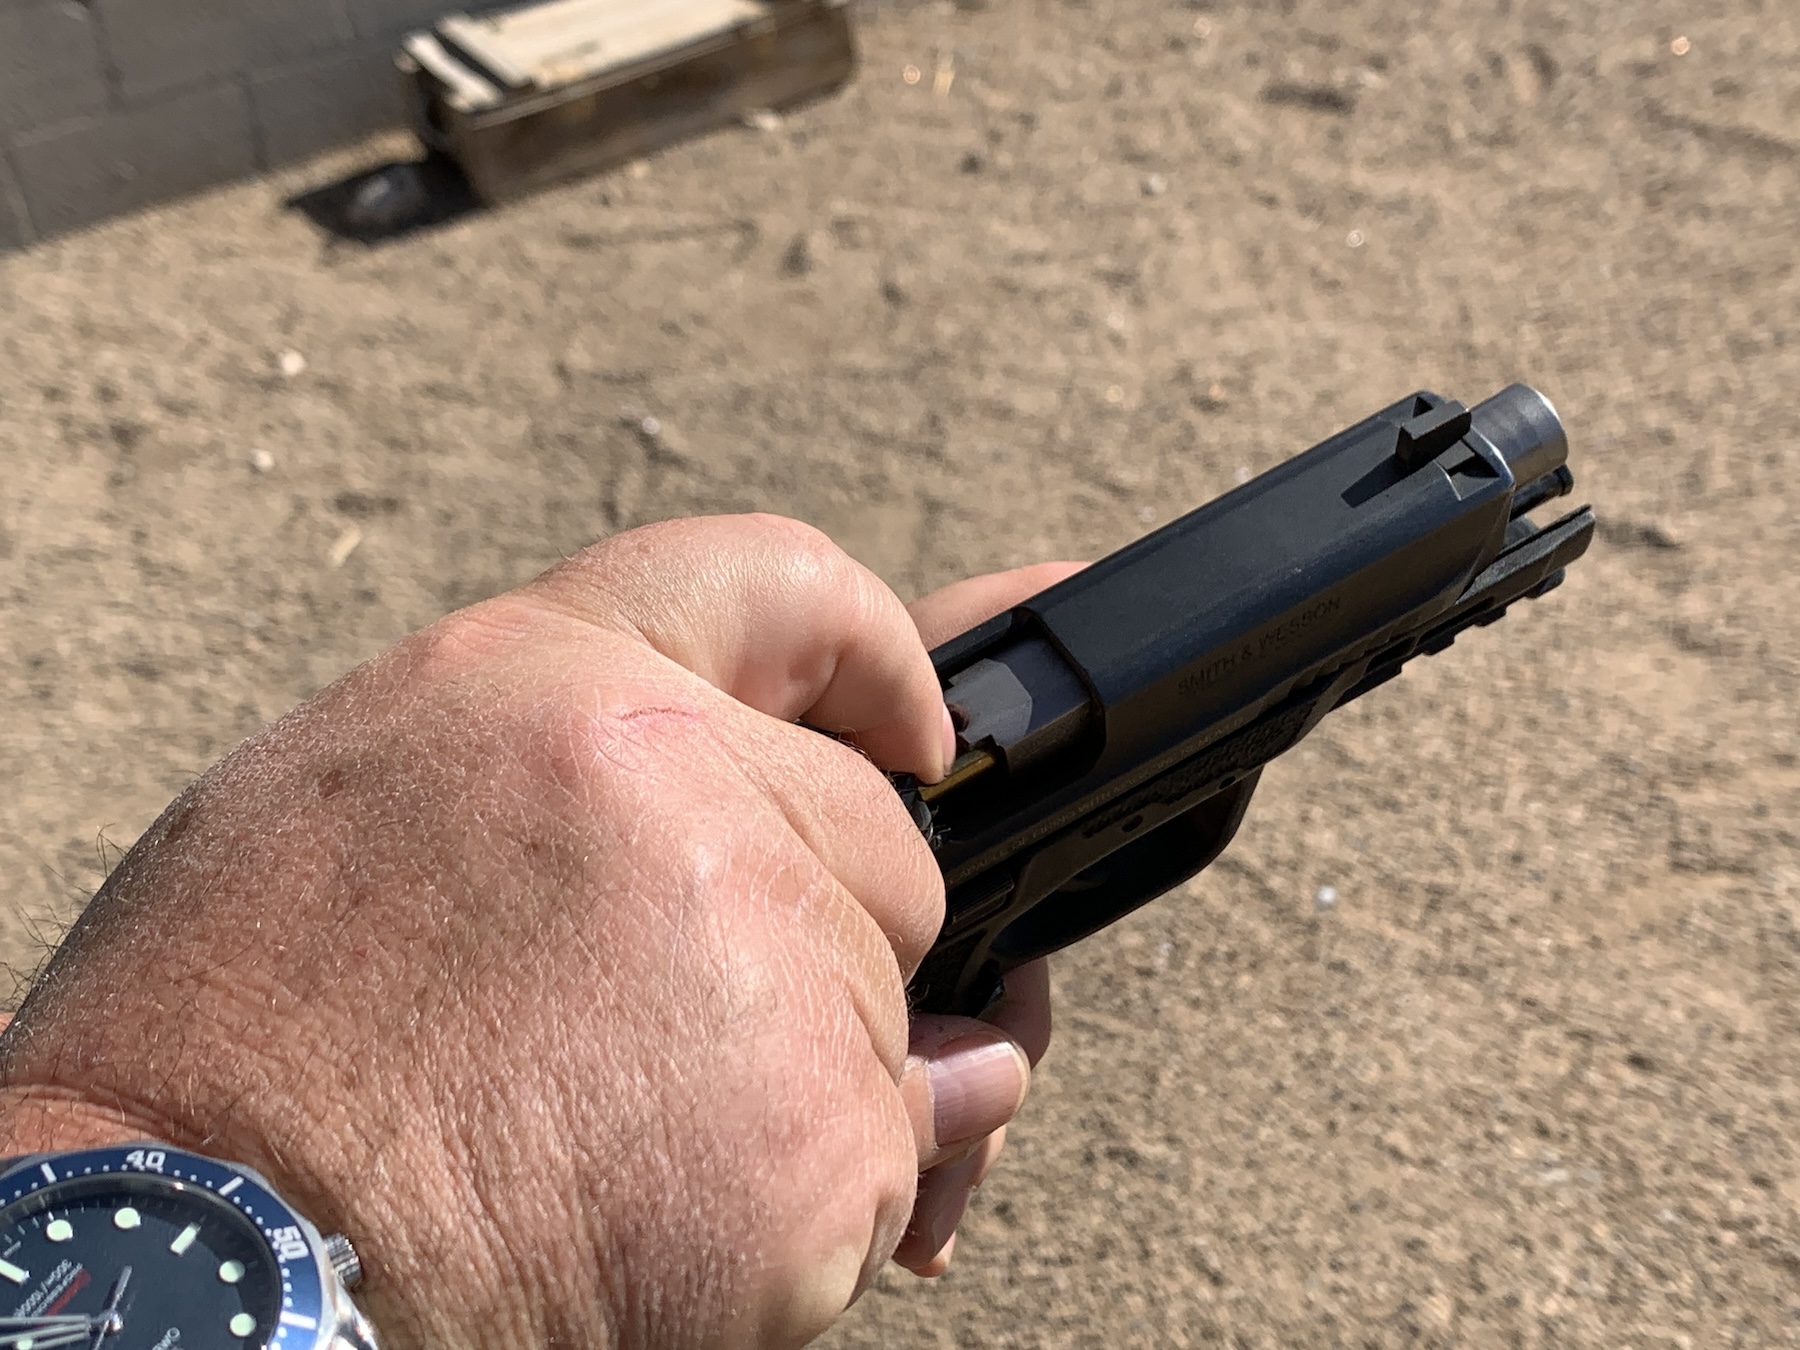
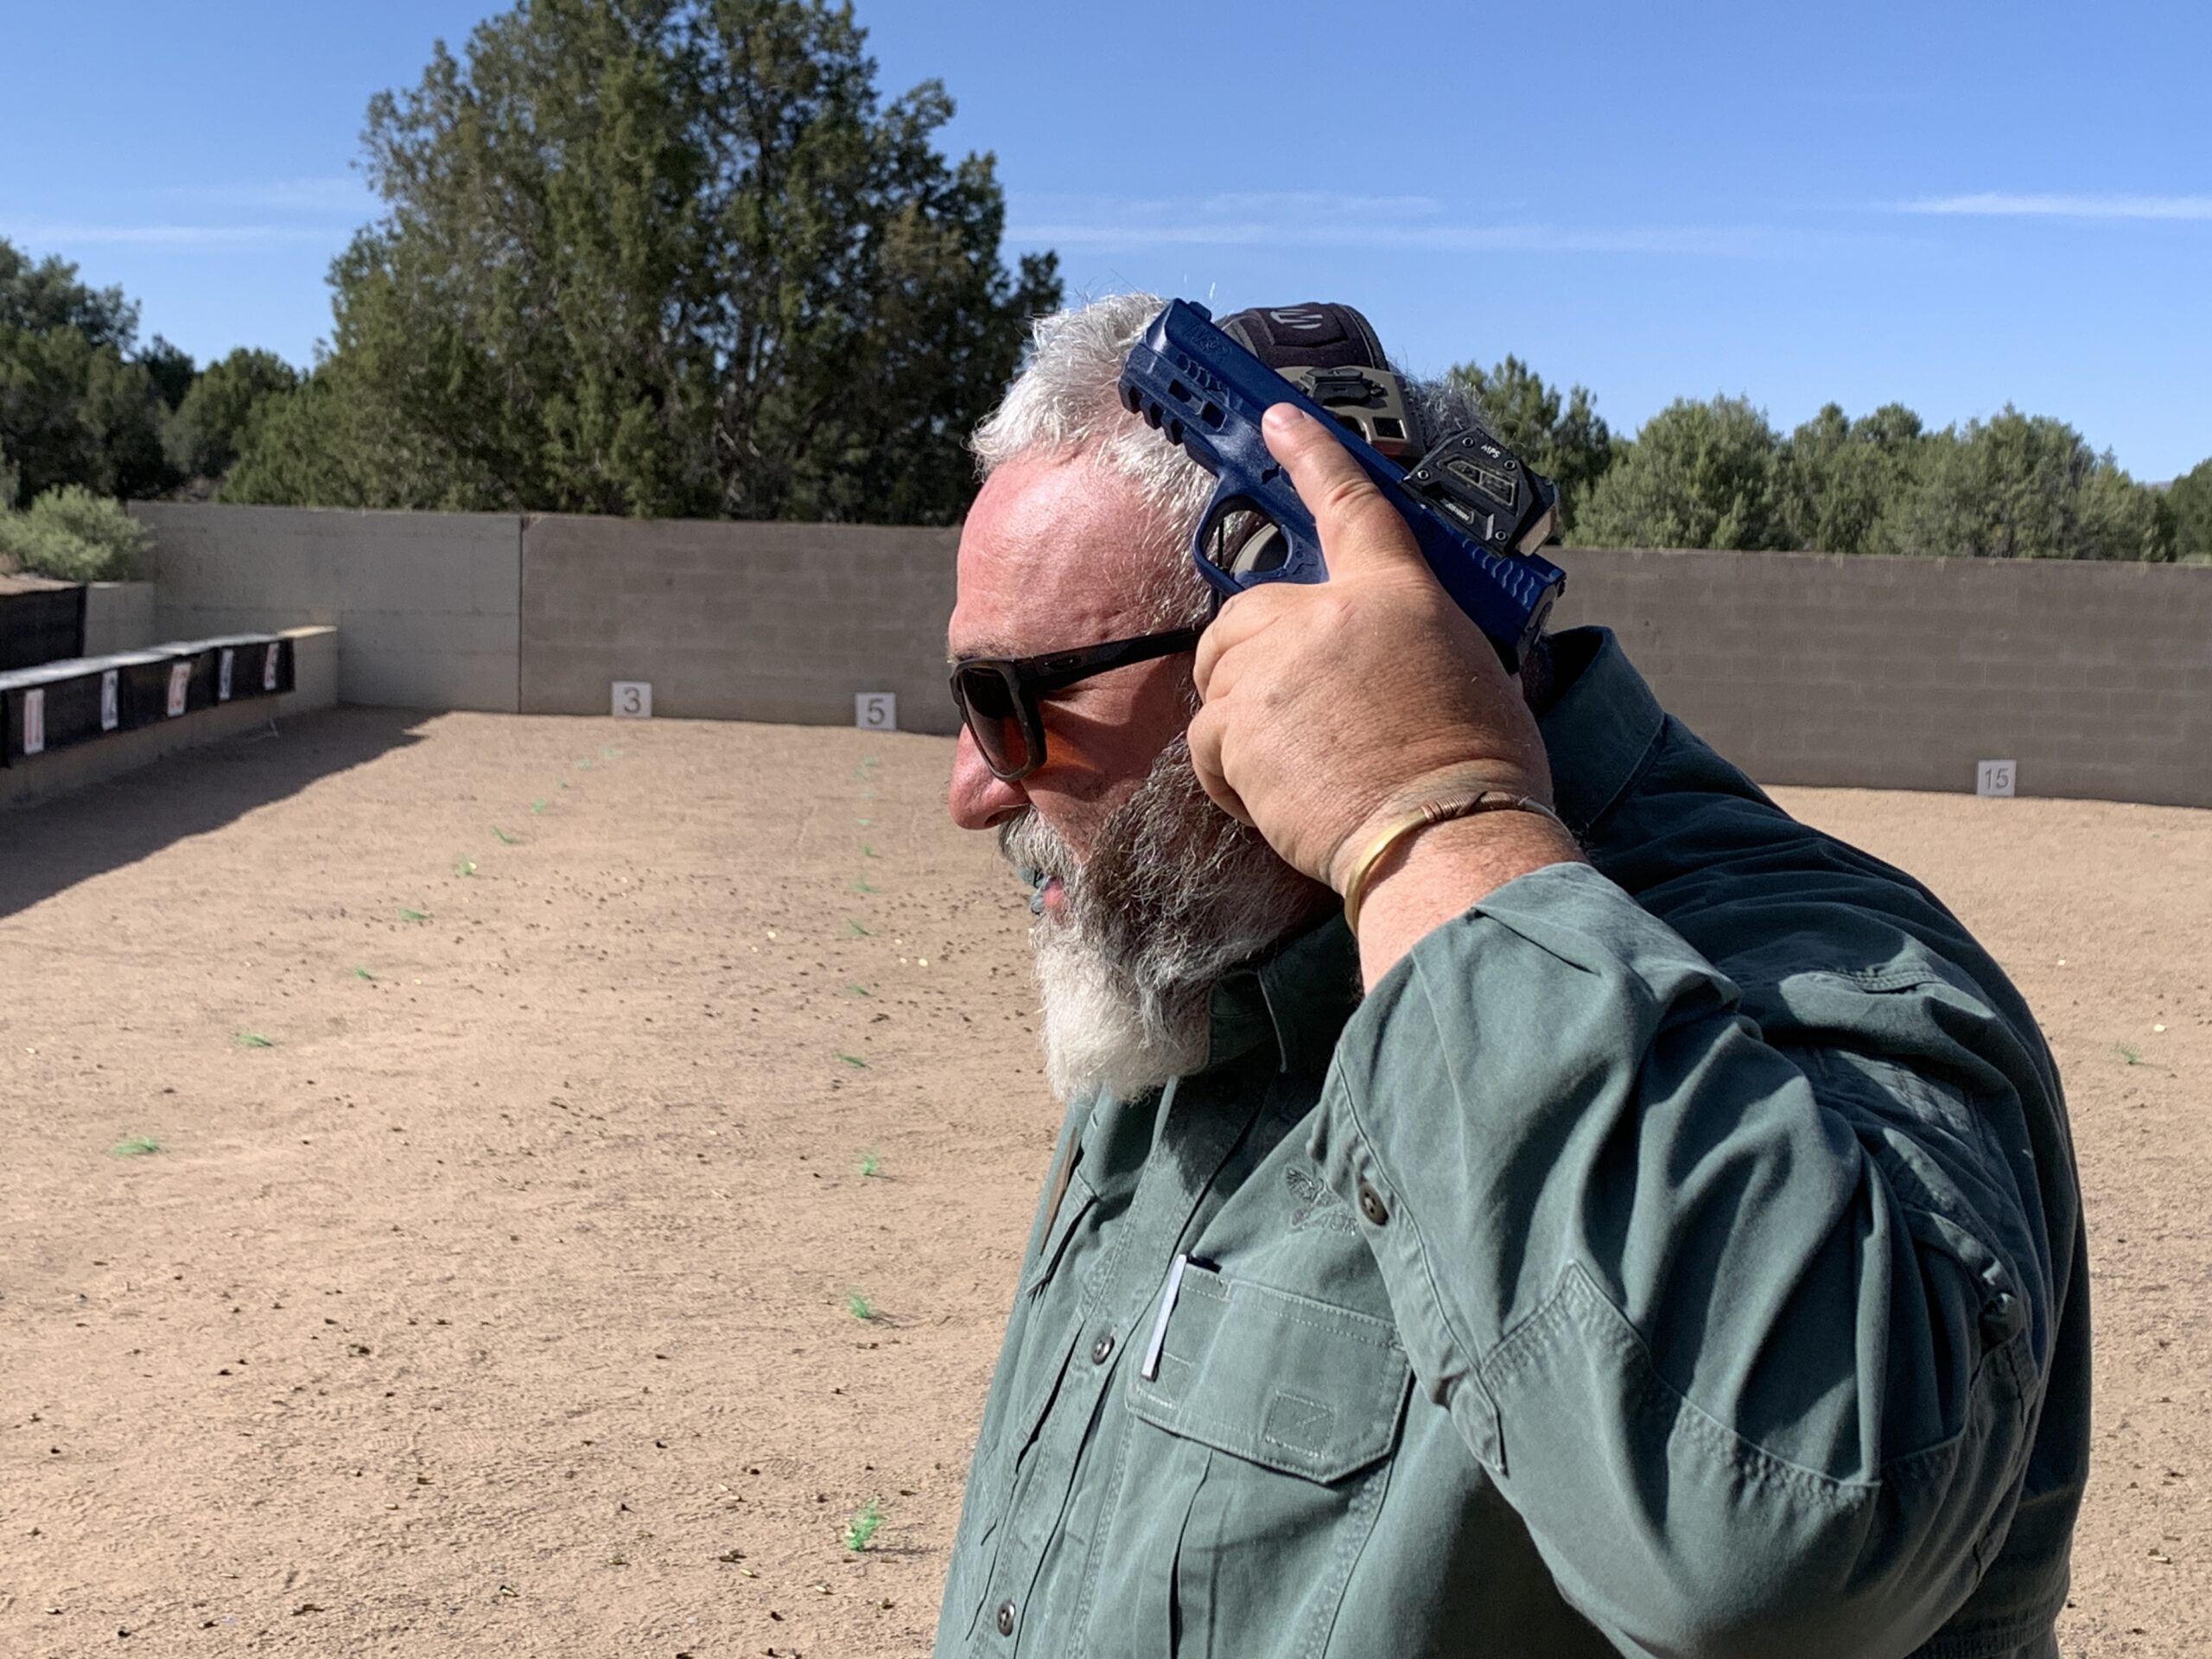
A method of verifying a loaded chamber – grip the slide with the thumb and middle finger of your support hand. As you retract the slide, touch the round with your index finger or look for it.
How do you verify that a round was loaded? Chamber checks with an optic can easily be done by left or right-handers by grasping the rear serrations on either side of and below the optic between the thumb and middle finger of the non-shooting hand while the shooting hand still holds the pistol. Retract the slide slightly. Then, reach over and down the front of the optic with the support hand index finger to feel for the chambered round and/or look for it at that point. It works for both a left and right-hander.
If you do not have an optic and you are right-handed, bring the pistol back to your torso. With your support hand, use an overhand grip on the slide behind the ejection port. Push the slide rearward between 3/8ths and ½ of an inch. Then, open the fingers of your right hand and rotate your index finger upward until you can feel the casing of the round in the chamber. Once you have felt or seen the casing, return your shooting hand fingers to their normal position while letting the slide go forward.
Now, if you are shooting a long gun – shotgun, carbine, or rifle, it is time to load it. Why not the other way around? Because those who leave the pistol for last often end up not loading it at all. Each of those platforms has its own chamber check – and that is for another article.
Now, this weekend’s question:
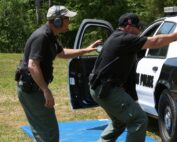
With a pistol-mounted optic, how does a patrol officer “Make Ready” to go out on shift?
After dressing and donning your armor, retrieve/acquire one’s handgun from the holster or wherever it is stored before the shift. To ensure it is loaded, perform a chamber check and a magazine check in that order. Why? Because if a round needs to be chambered, you will have to top off the magazine. So, chamber a round and then top off that magazine.

A right-hander conducting a chamber check.
Perform the Chamber/mag check and dot checks in a “safe” direction, one that will retain the round should one bugger the process up and ND.
Dot Setting
Next, ensure the dot/reticle is present at the desired setting and is in the same relationship to your iron sights as where it was when you last zeroed it.
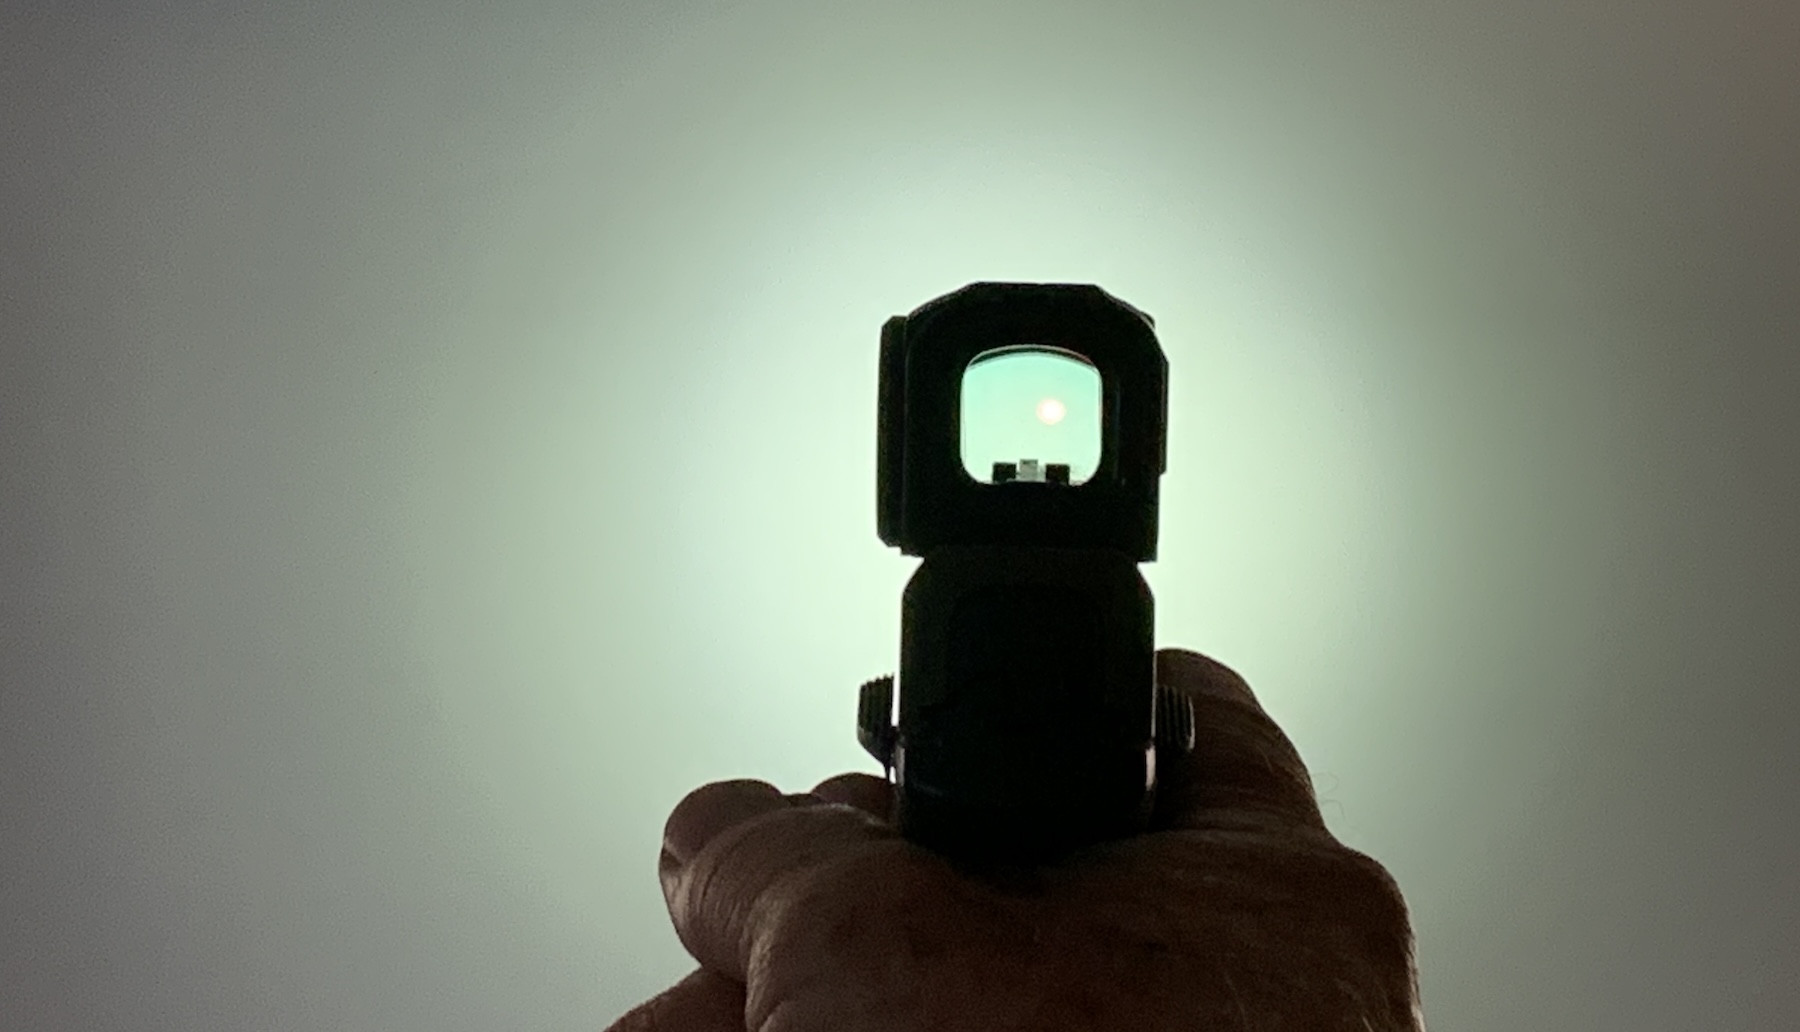
The optic’s reticle – an Aimpoint Acro P2’s dot – is visible over the light from a Surefire X300U on a light colored. That is part of making ready for duty.
How do you set the dot or reticle? As mentioned in a previous article, I use a room with light-colored walls. I can either turn the lights off or use natural light. Then, I will illuminate the far wall with a handheld or weapon-mounted light. The dot’s brightest is adjusted until it is brighter than the battery-powered light. There are two exceptions – in the desert during the summer (where you would blow the dot out) or when zeroing, as you will want to dim the dot as much as possible.
Regarding the battery, depending on the known life of that battery/optic combination, pro-actively change them early or every 6-12 months.
Final Thought
It’s almost like issues such as this should be covered in an optics instructor class.