
 (-1 rating, 1 votes)
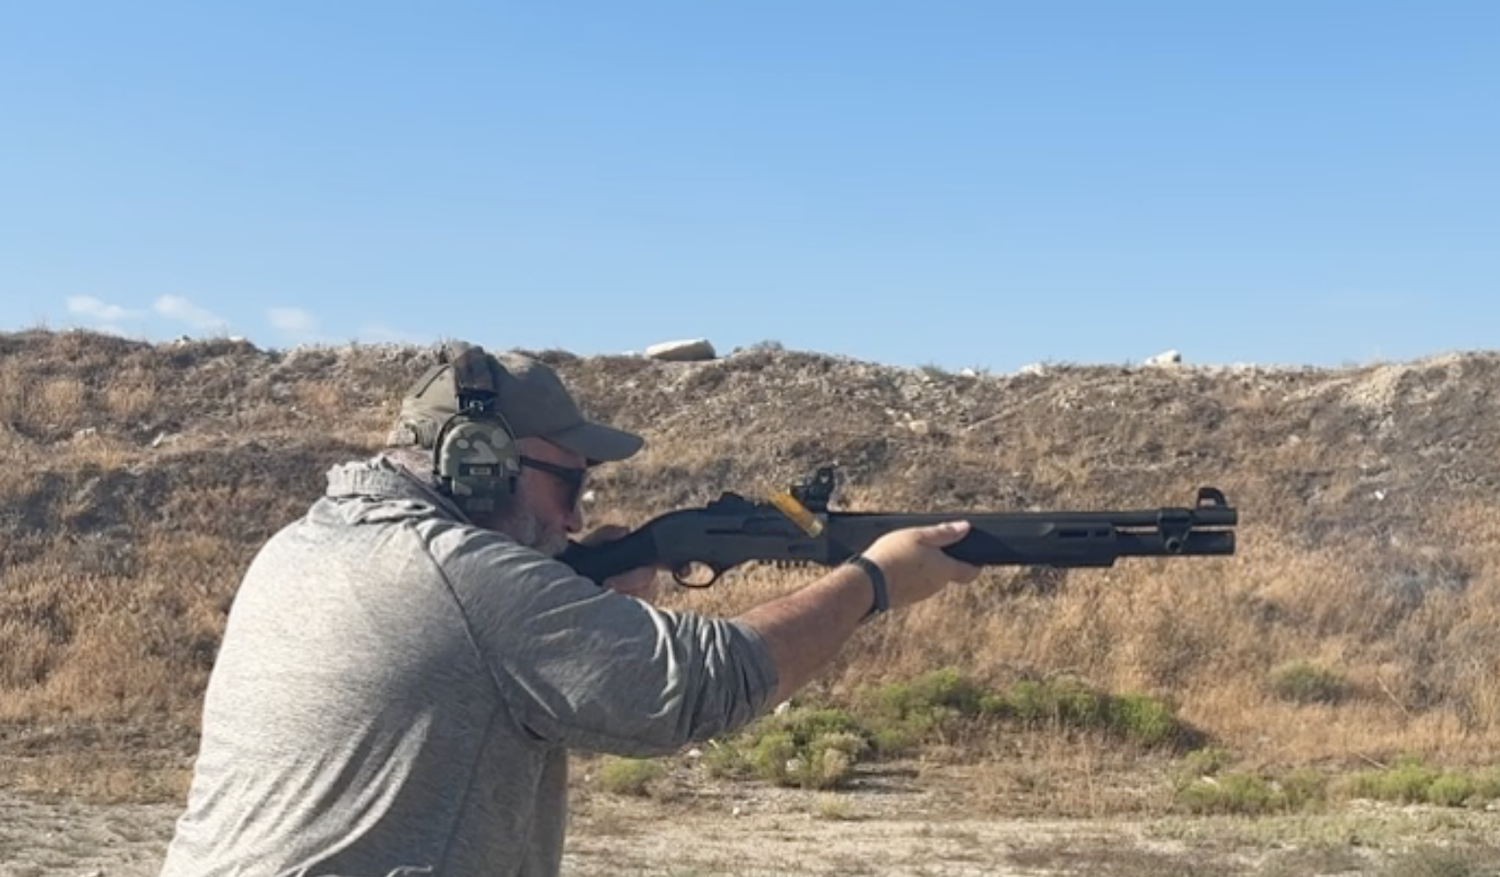
AC_Shotgn_102722
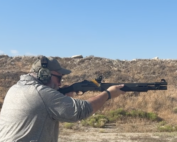
I spent most of my LE career teaching firearms skills to cops and repairing/maintaining agency guns as an armorer. We issued Remington 870s to every officer during recruit school. The training was intensive; recruits fired hundreds of rounds in a compressed time frame. Subjecting shooters and guns to that much recoil in short order revealed weaknesses in training and equipment. From a human standpoint- good technique can substantially mitigate recoil.
Modern gel recoil pads are a good add to save mileage on the shooter.
Shortening the buttstocks to better fit a shooter with good recoil pads and reduced recoil buckshot and slugs should be used. Mechanically, the shotgun should be diligently maintained and frequently inspected to guarantee that recoil doesn’t compromise its battle readiness. There are very few screws on a shotgun that 12-gauge recoil cannot loosen.
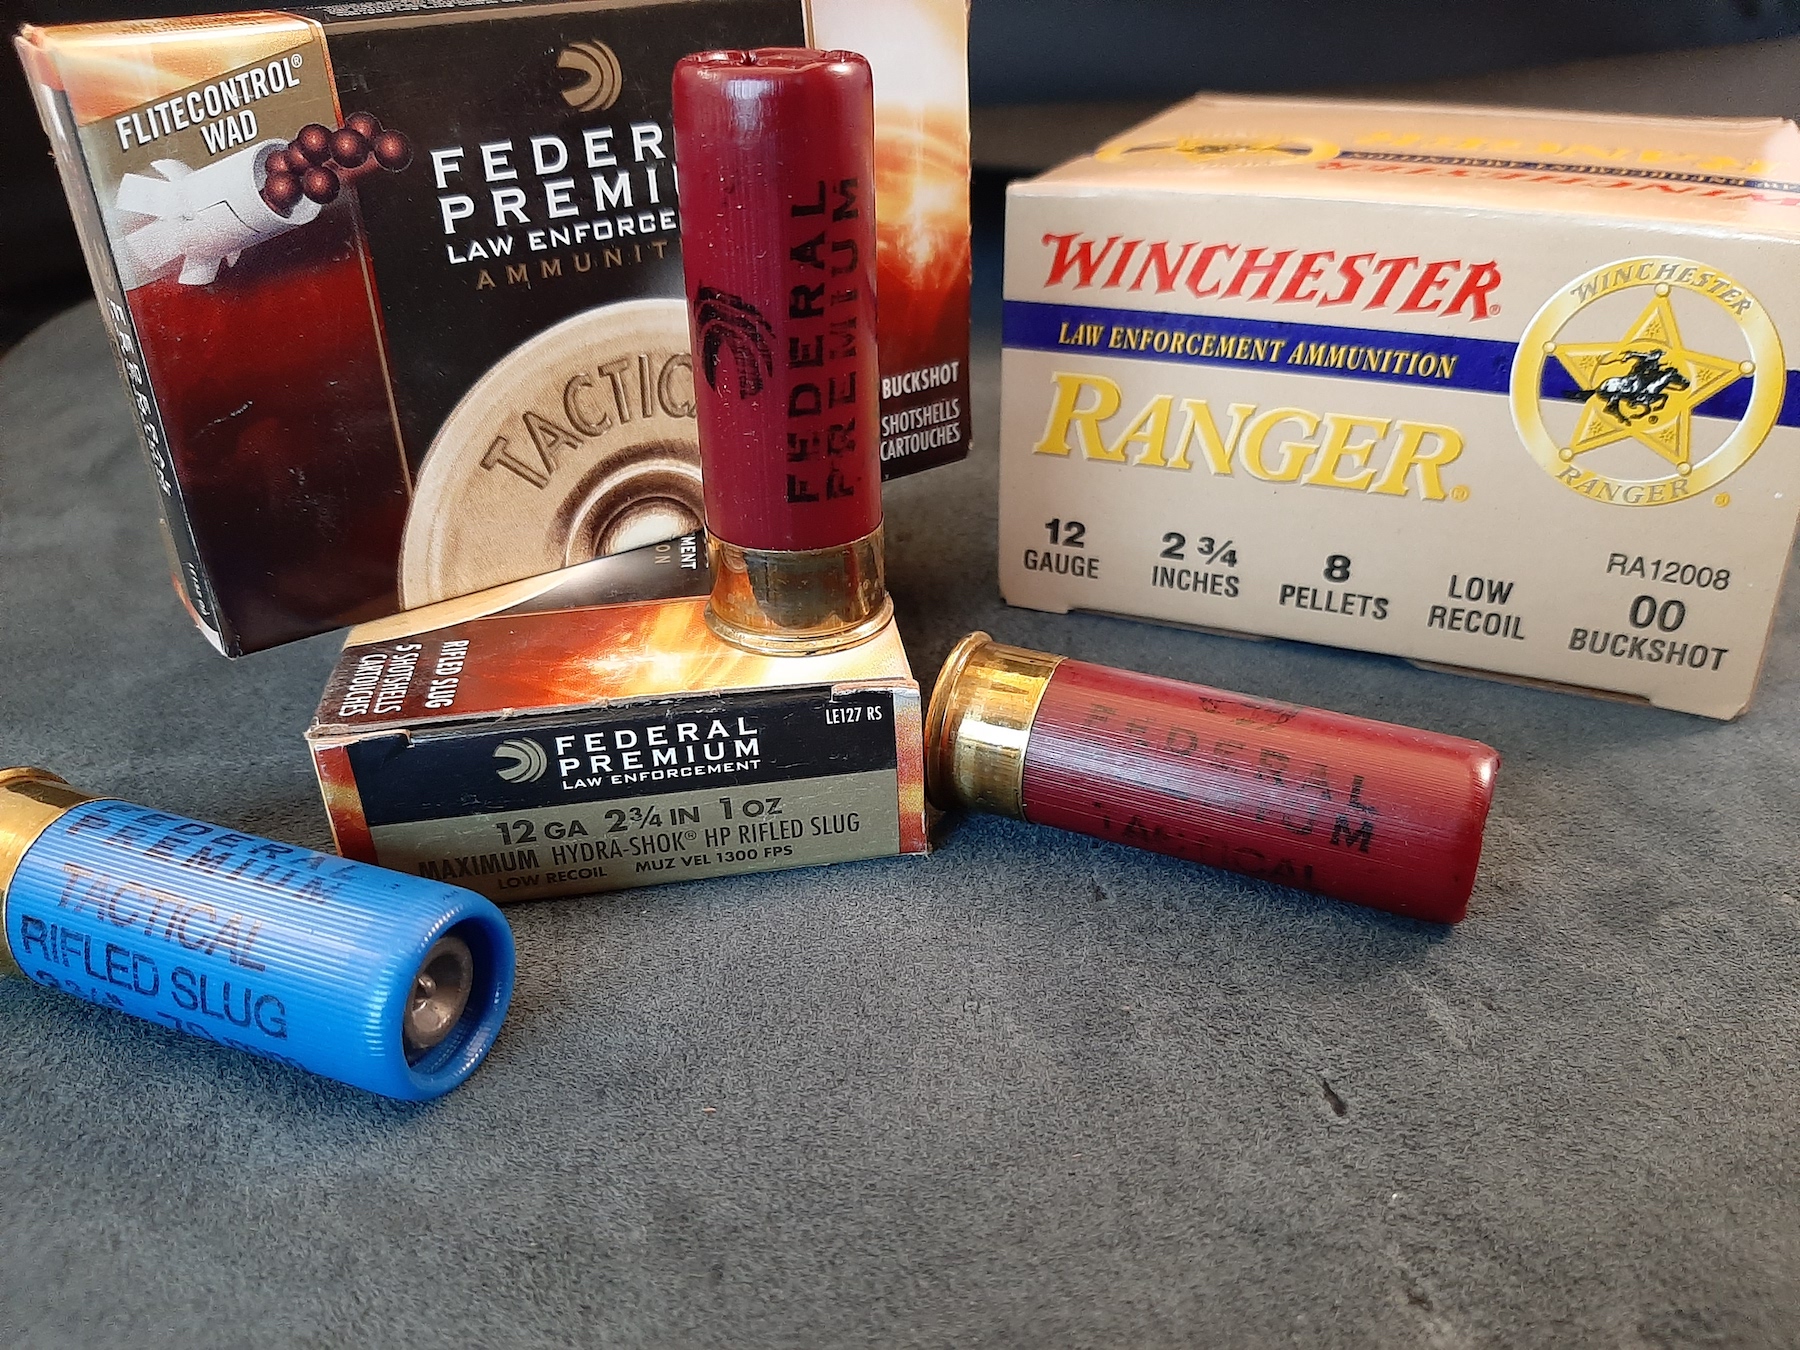
Low recoil slugs and buckshot ease the pounding on the operator but still deliver impressive terminal ballistics.
A bone stock 870 Police shotgun with a bead sight and 4-round magazine is a low-maintenance implement. The more stuff you attach to it, the more trouble you’re likely to have. There are some good and necessary add-ons – but be thoughtful in your choices. One of the biggest headaches I faced as an armorer was the 870’s factory extended magazine. It consisted of an extension tube, a longer magazine spring, a threaded coupler that replaces the magazine cap, and a barrel clamp and screw. The design wasn’t the best; it was easy to improperly reassemble after fieldstripping. Estimating conservatively, 70% of the 870s that were turned in or showed up for service had the magazines improperly installed.
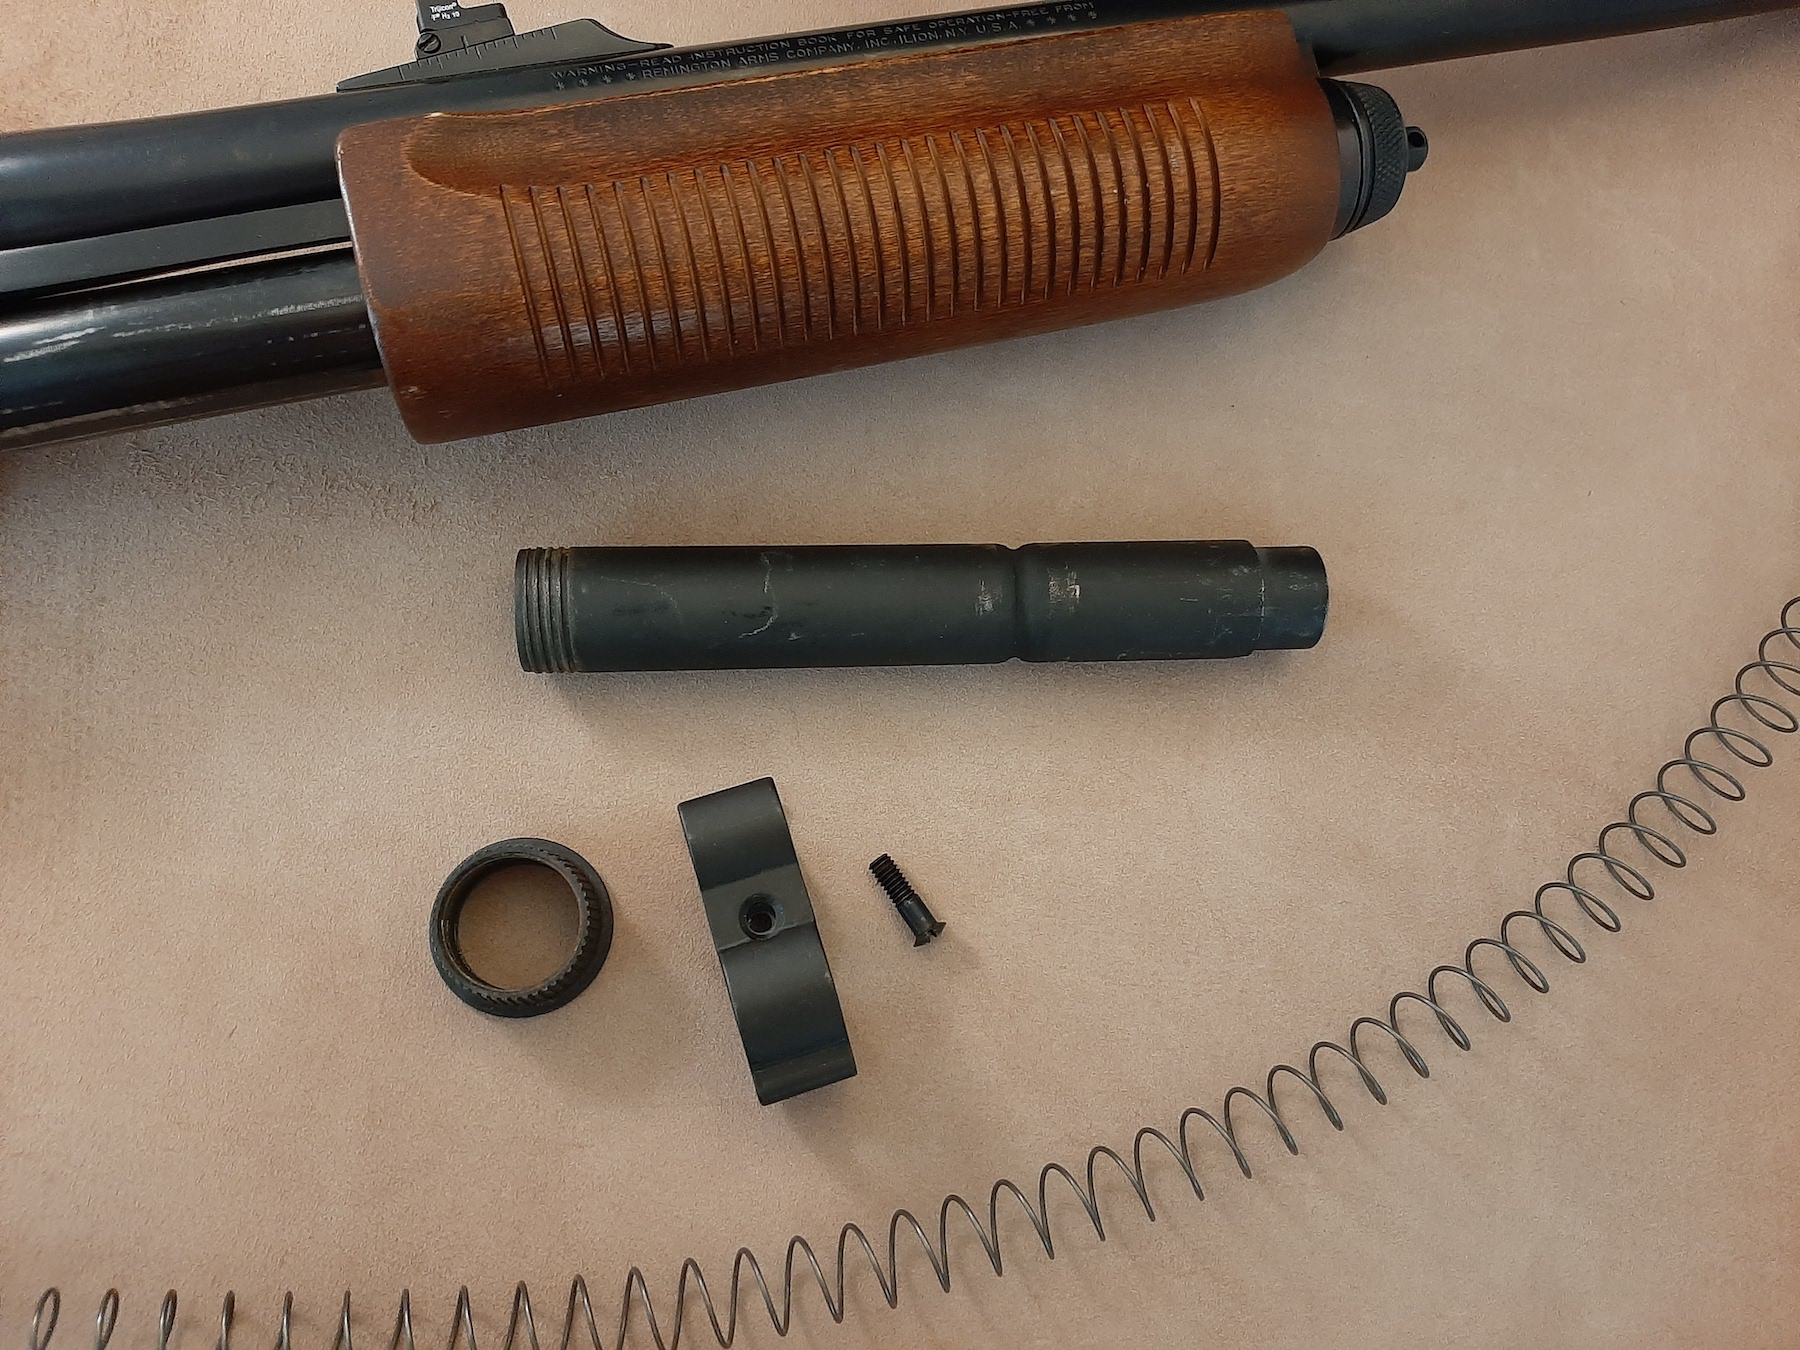
The factory extended magazine adds several parts to the 870 and can cause issues if improperly installed.
It’s critical to separate the coupler from the extension tube before reassembly. Partially opening the action allows the barrel to fully seat in the receiver. With the butt on a solid surface, guide the barrel extension into the receiver and align the barrel ring onto the magazine tube. The ejector slides into a notch cut for it on the barrel extension. Grasp the barrel, apply downward pressure, and firmly tighten the coupler against the barrel ring. This achieves proper barrel/receiver lock-up, and there should be no play between them. You can then place the follower and magazine spring into the magazine tube. The extended tube can be tightened to finger tight. The barrel clamp is slid onto the barrel and magazine tube until the screw hole on the clamp aligns with the cut-out in the magazine extension tube. The screw may then be inserted and snugged- it keeps the extension tube from loosening up and falling off.
There are two parts here: the coupler and the extension tube. Trying to install them as a pair is asking for trouble.
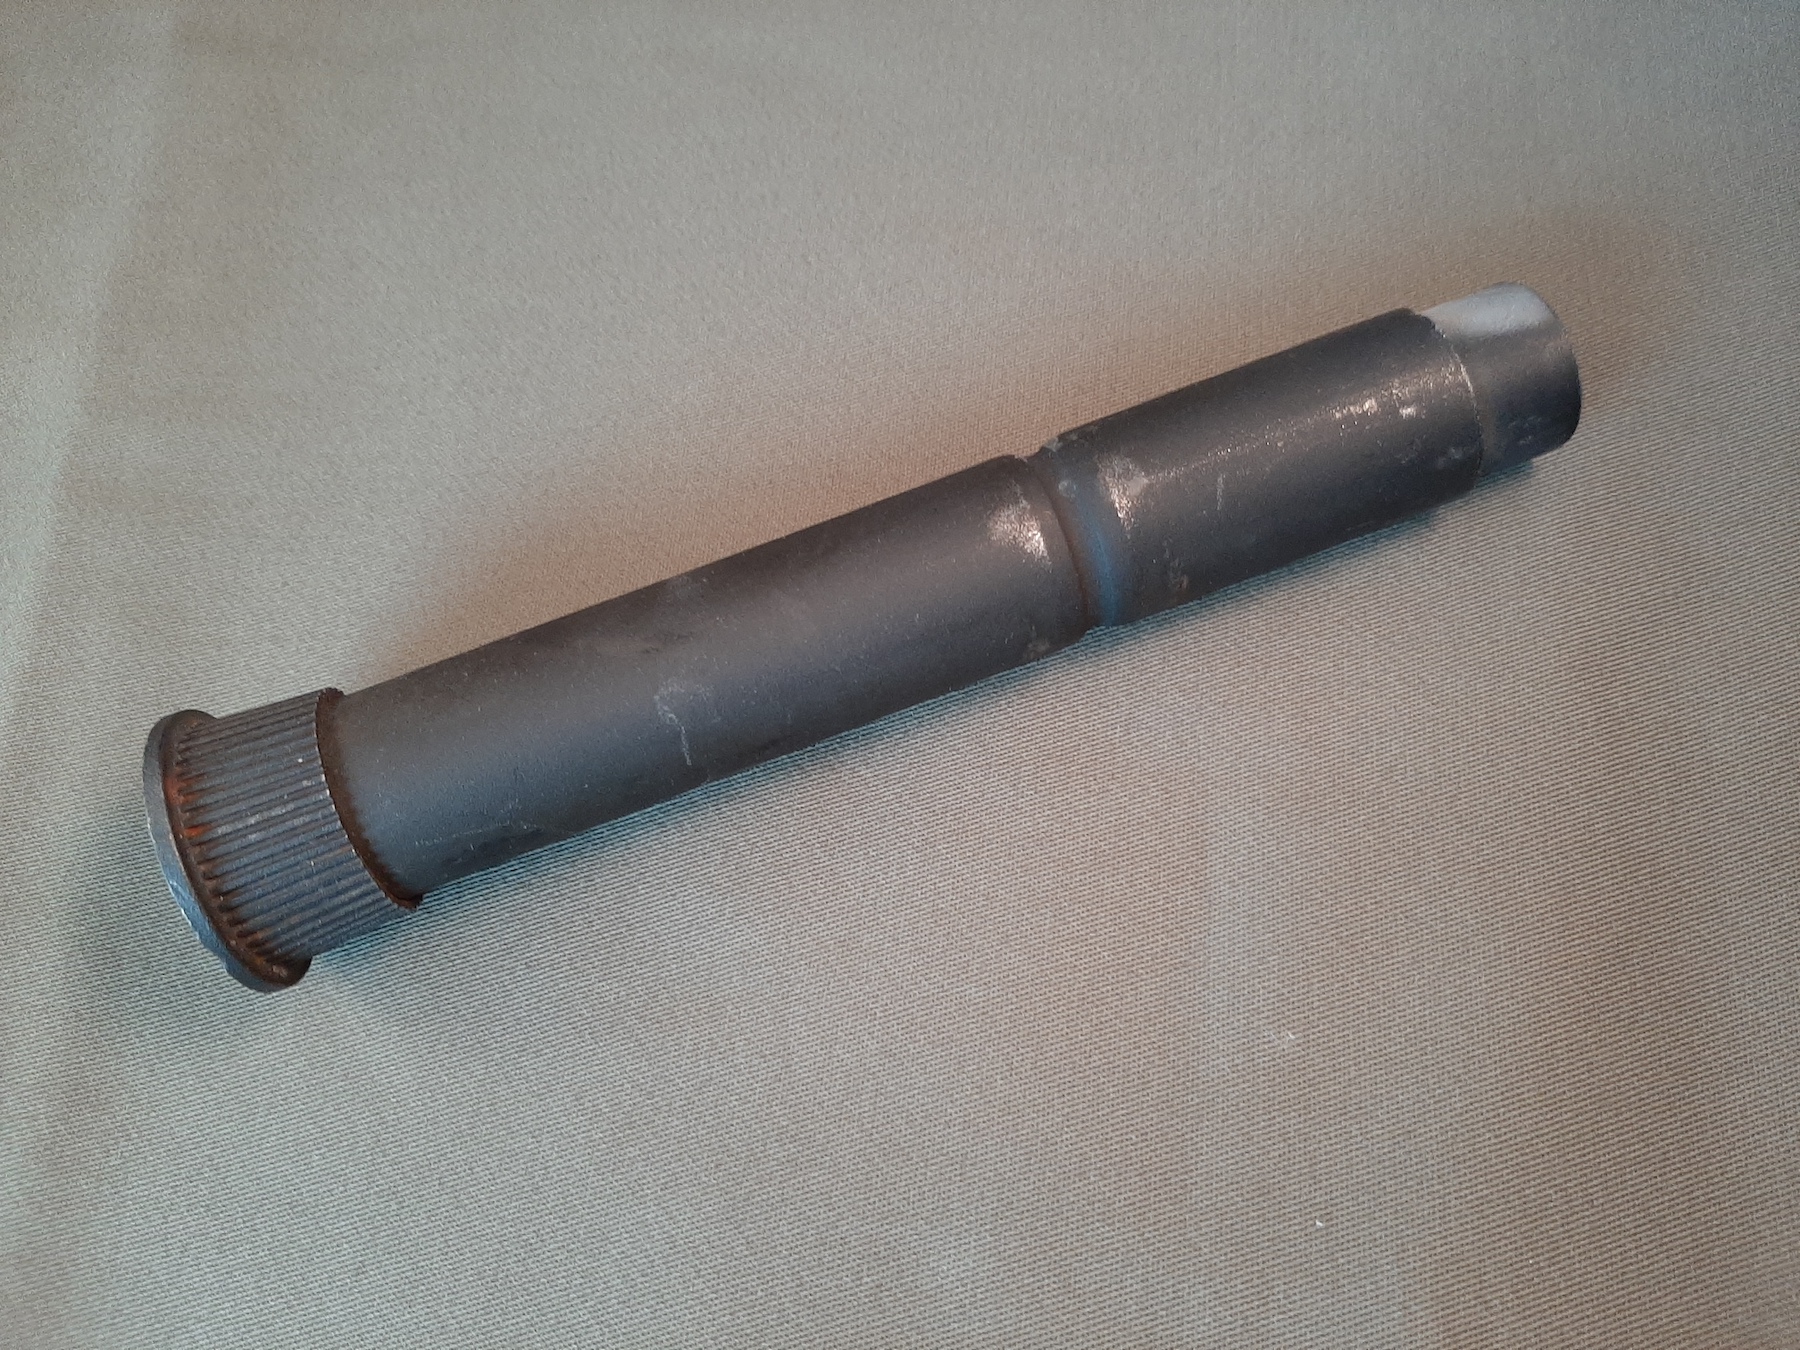
The threads on the extension tube are long enough that if it’s fully assembled and then reinstalled as a unit, it may prevent the coupler from fully seating the barrel in the receiver. Many people make this mistake. The resulting play between the barrel and receiver allows the barrel extension to slam into the receiver when fired. This condition is readily apparent: grabbing the barrel and twisting it will reveal a wiggle that indicates that the lock-up isn’t tight even though the coupler feels snug on the barrel ring. This will eventually peen the rear of the barrel and damage it.
Remington’s website shows they’re finally offering a “Tactical” 870 with an 18 ½” barrel and a one-piece magazine holding six shots instead of four. It’s about time! If you have one of the older models and want to increase magazine capacity, look at the aftermarket extension tubes that are one solid piece. I like the one-round extensions; they give six rounds in the gun (when the chamber is loaded) and no drama. They also prevent the gun from becoming muzzle-heavy. An 870 with a 20-inch barrel and a three-shot extension is cumbersome and handles sluggishly for most people.
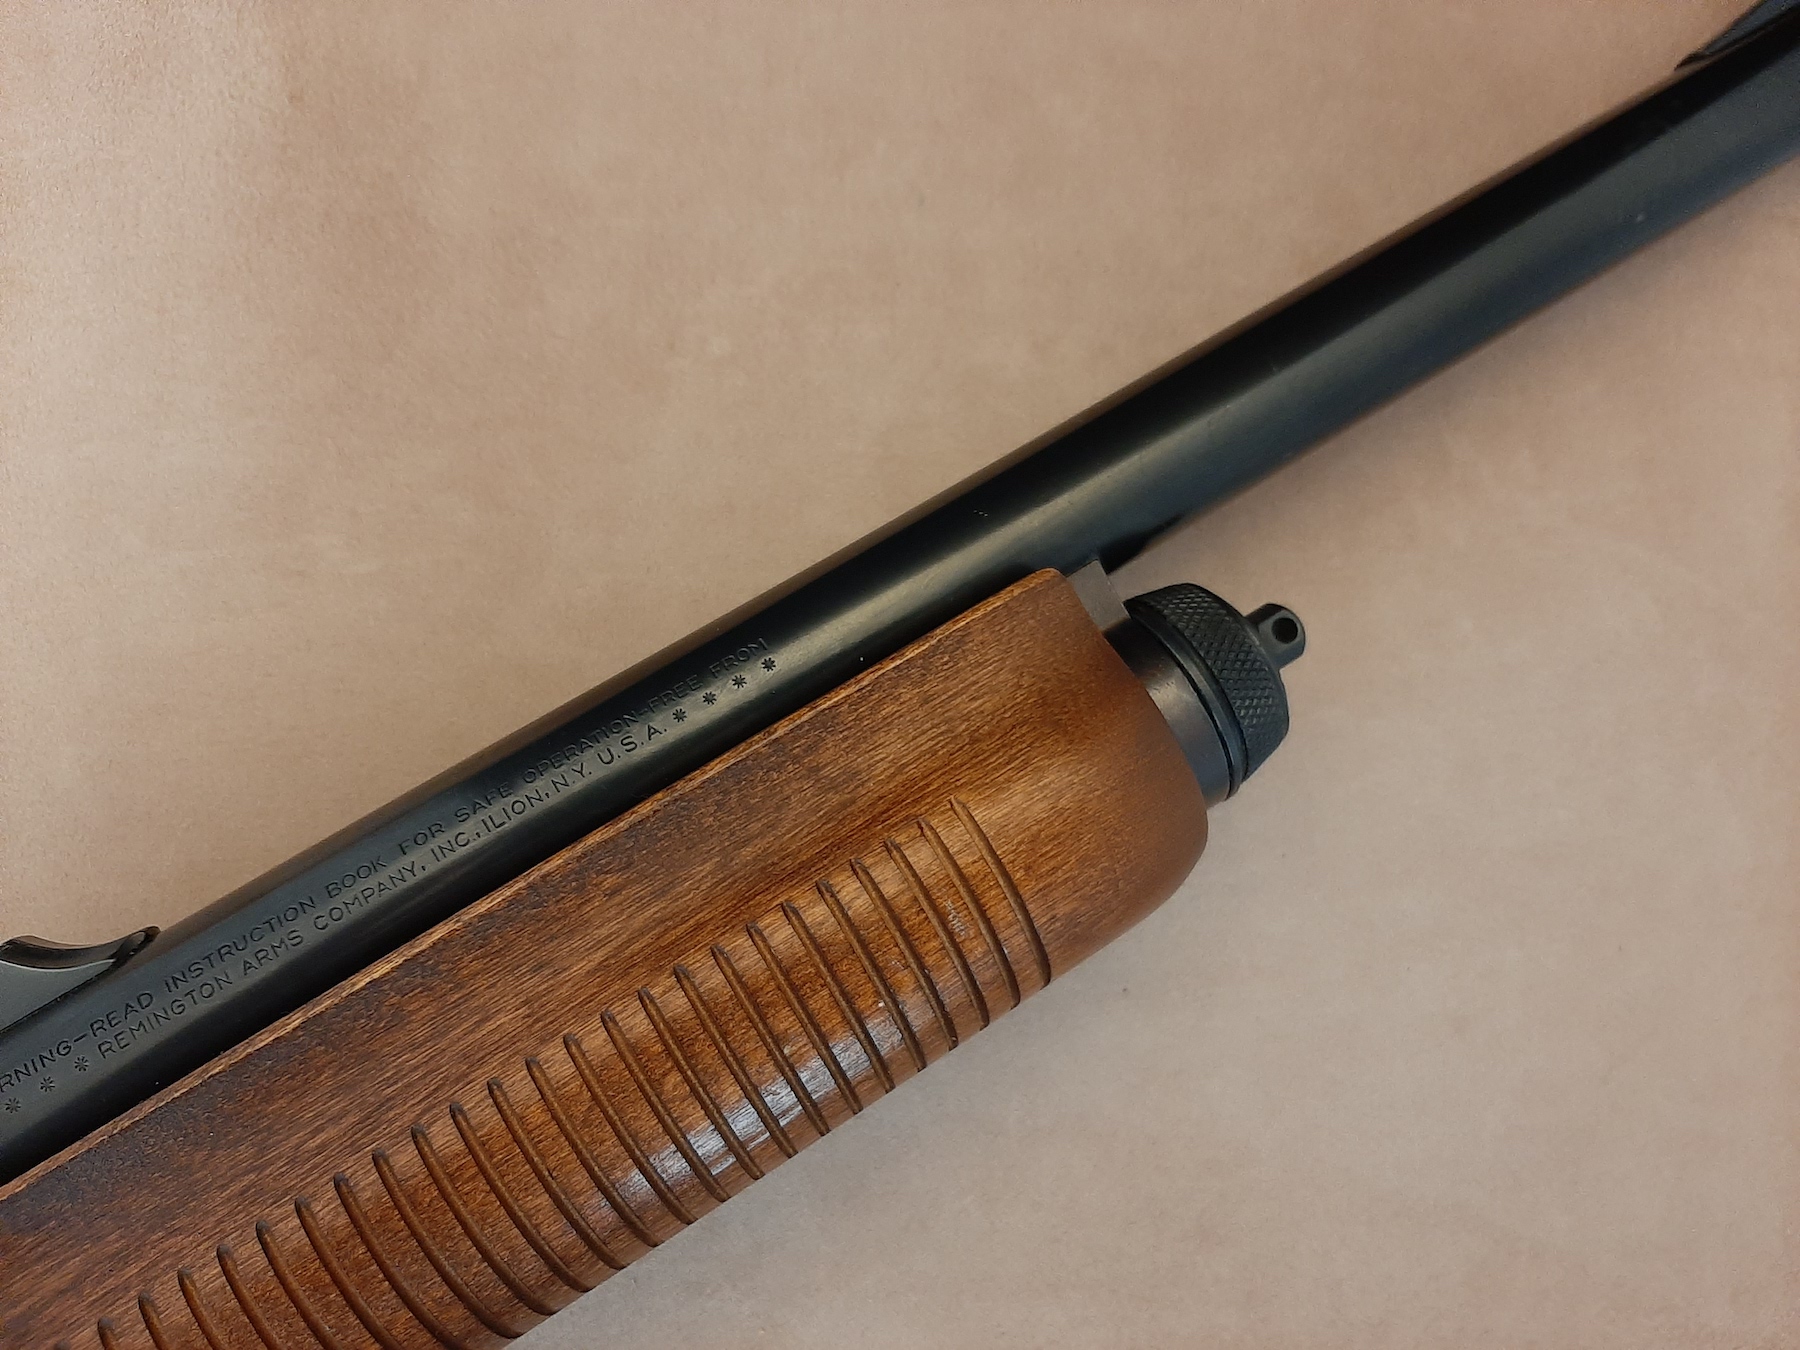
Stock 870 four round magazine is simple and trouble free.
Extra ammo on the side of the gun doesn’t affect the shotgun’s balance and handling like a magazine extending slightly past the muzzle. The original Tacstar Sidesaddles were installed with threaded bolts that replaced the trigger mechanism pins. These bolts tended to work loose in recoil. They were only meant to be tightened until they contacted the supplied washers and met resistance. If over-tightened, they could flex the receiver’s walls and impede the smooth motion of the action bars (not good!). Carrying the supplied hex wrenches with the shotgun was good practice for keeping them tight for extended shooting sessions. The newer systems that use hook and loop (velcro) patches to affix a “card” with shell loops to the gun are likely a better option. Six rounds in the gun and 4-6 on the receiver always struck me as enough ammo for most days.
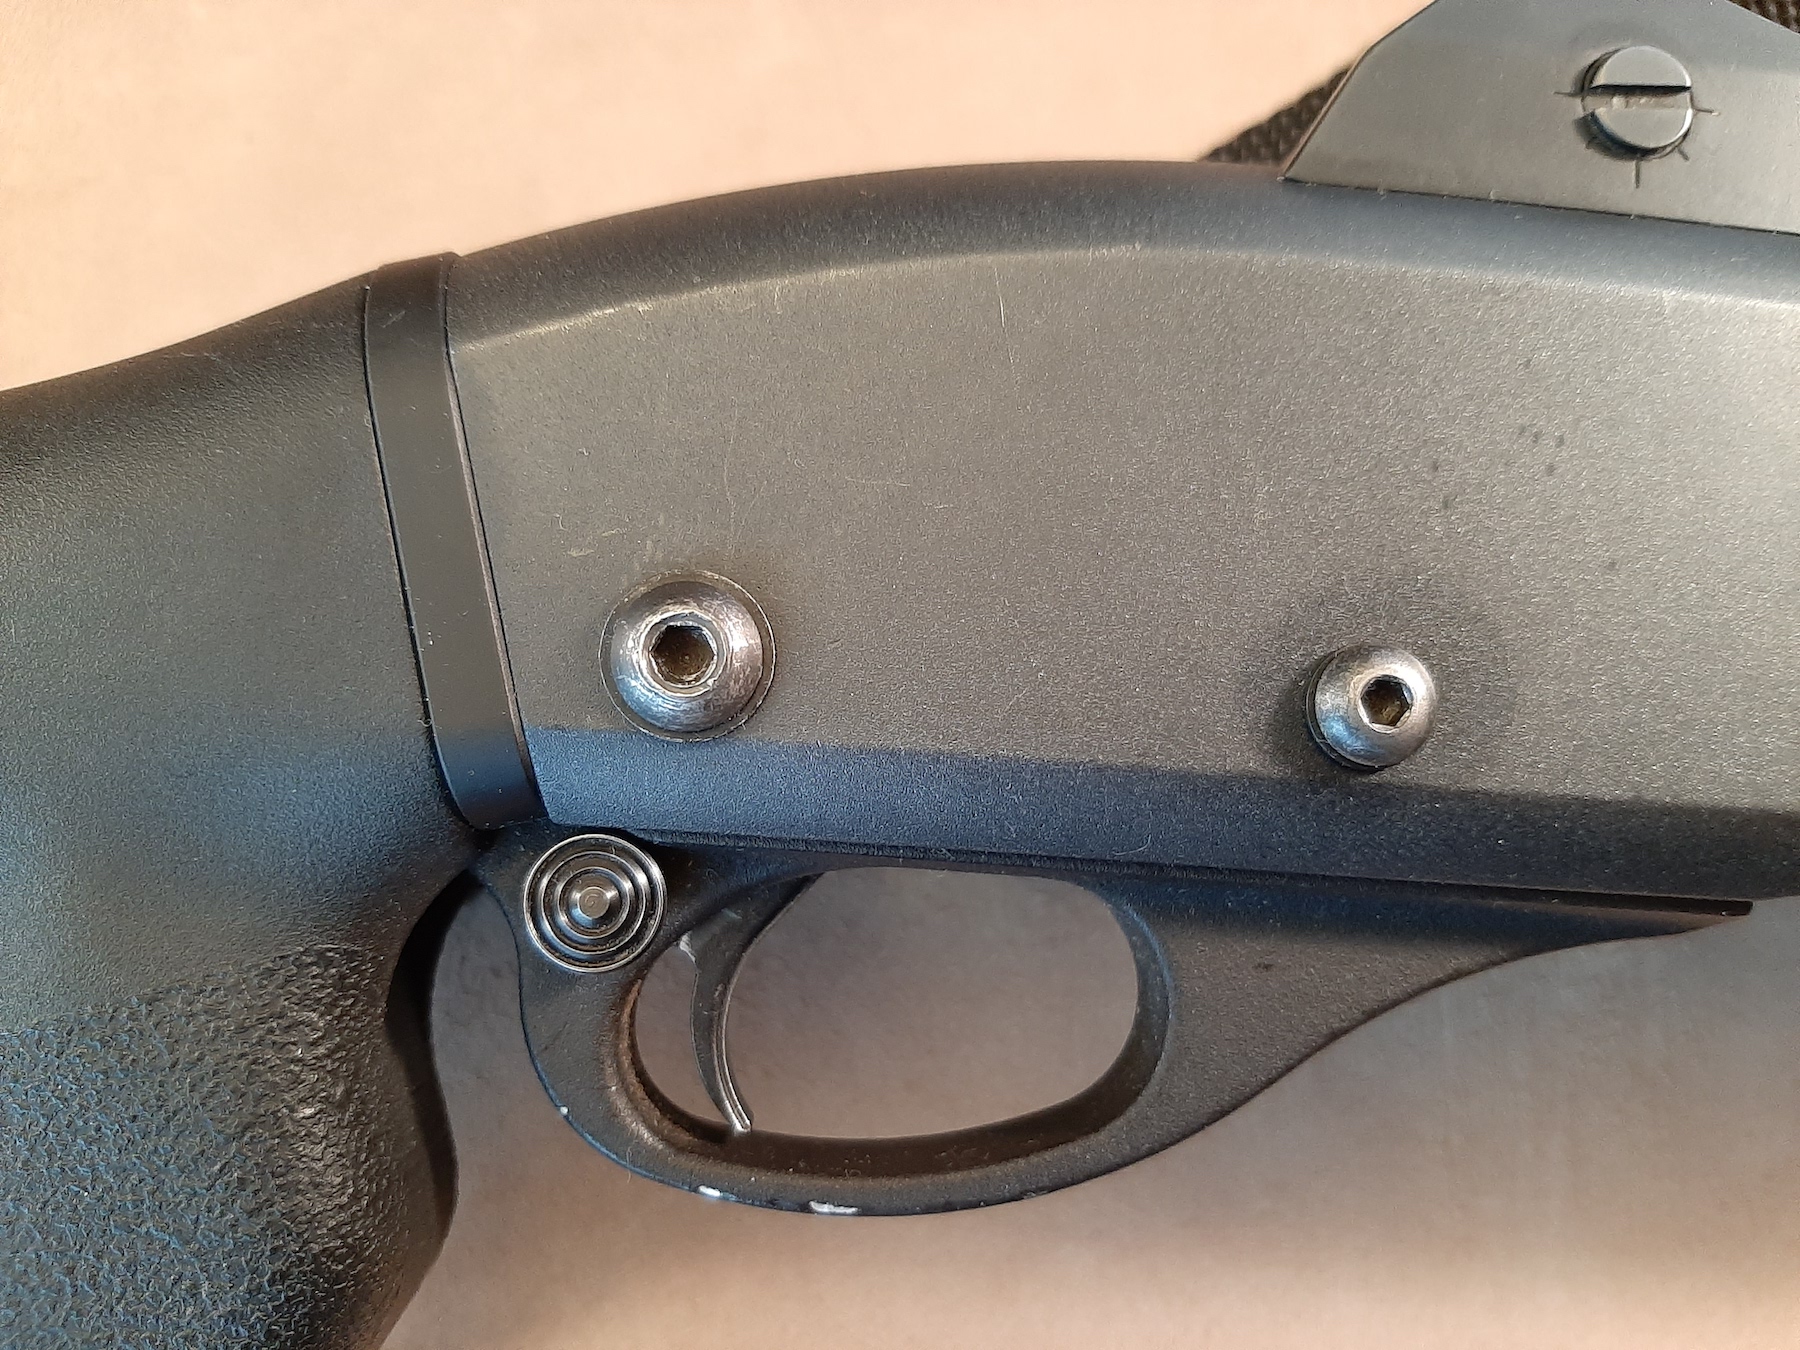
Overtightening the bolts on a Tacstar Side-Saddle can compress the shotgun’s receiver.
Trying to carry too much ammo on the gun may add to your problems more than it helps solve them.
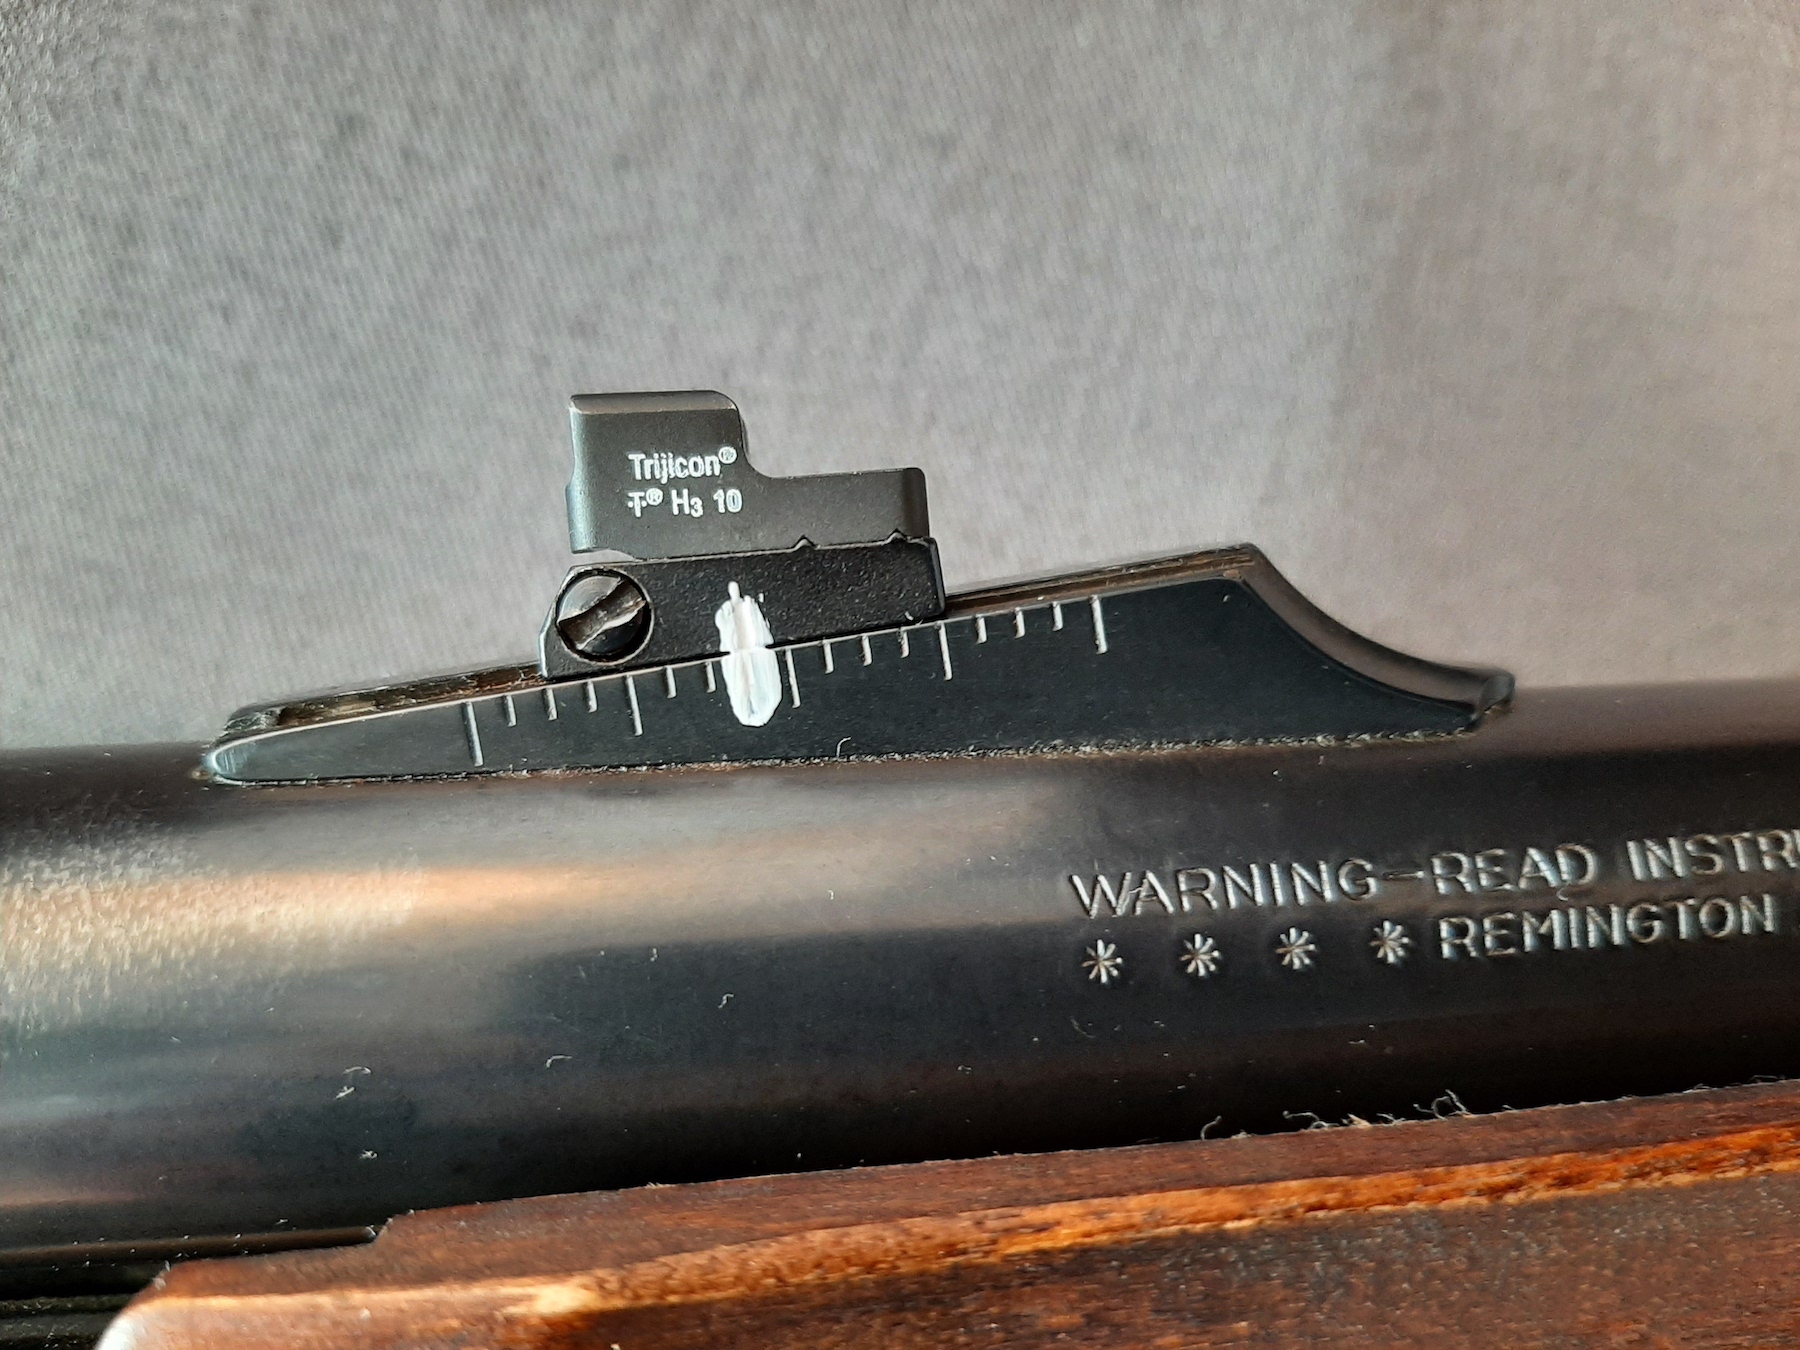
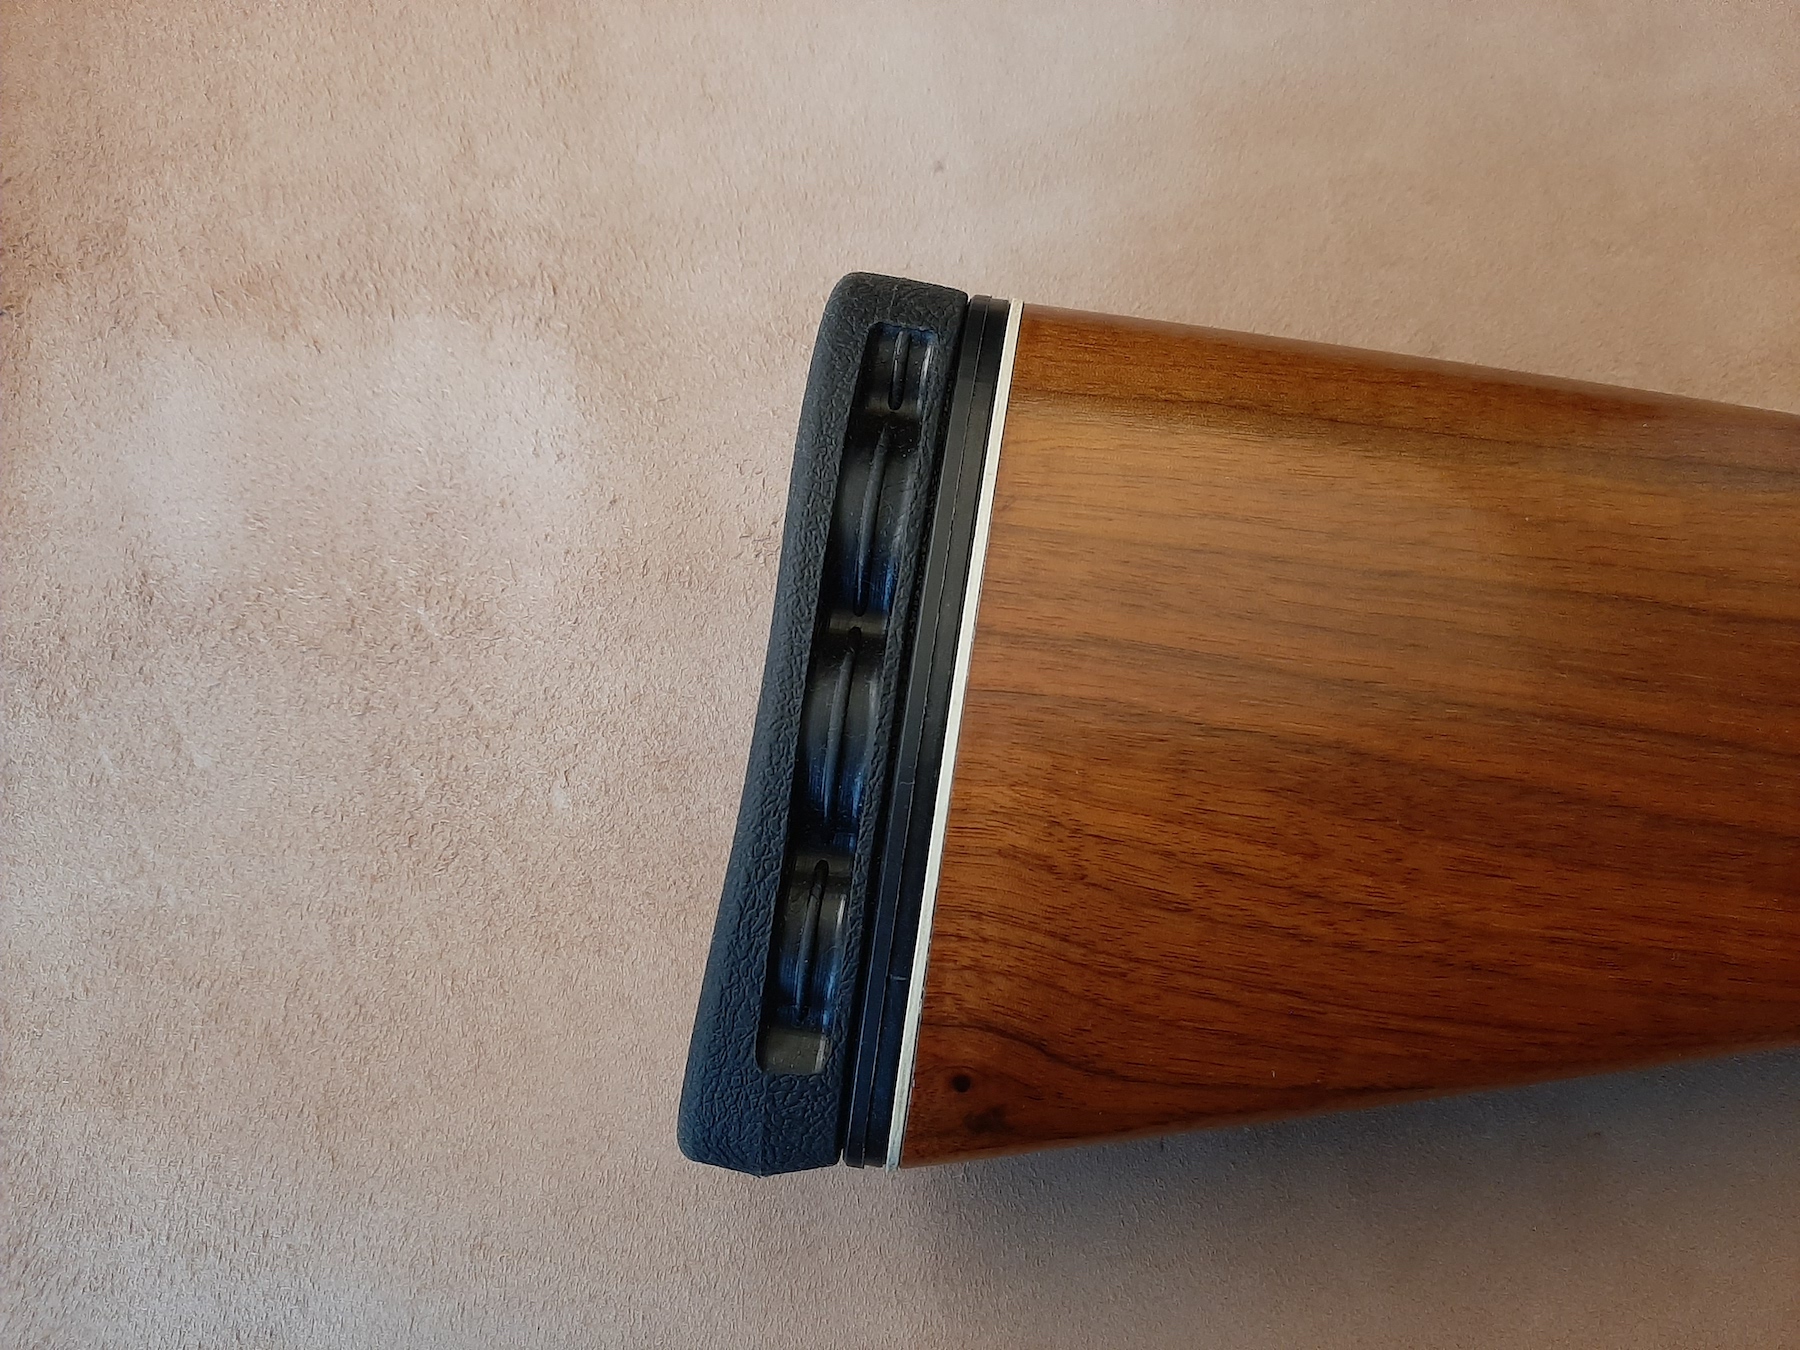
Marking sights with a Sharpie or paint gives a visual reference to guard against the sight becoming mobile from recoil.
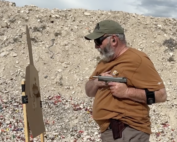
Finally, recoil is brutal on mounted rails, optics, and sights- blue Loctite is your friend for these applications. It’s also a good idea to mark the screws on adjustable sights with a silver marker to give visual reference against them working loose and costing you your zero.

There are many screws on this optic-equipped Mossberg for recoil to loosen. Inspect frequently and use Loctite as recommended.