
 (+11 rating, 11 votes)
feature2026-03-23 at 10.35.29 PM
Where are the majority of those hits?
What are our precise aiming points for projectiles, and how do these choices affect training and outcomes?
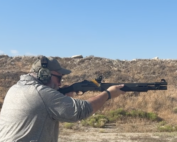
When pressure is involved, what or where are we actually hitting?
Are we aiming for center mass or the center of visible mass?
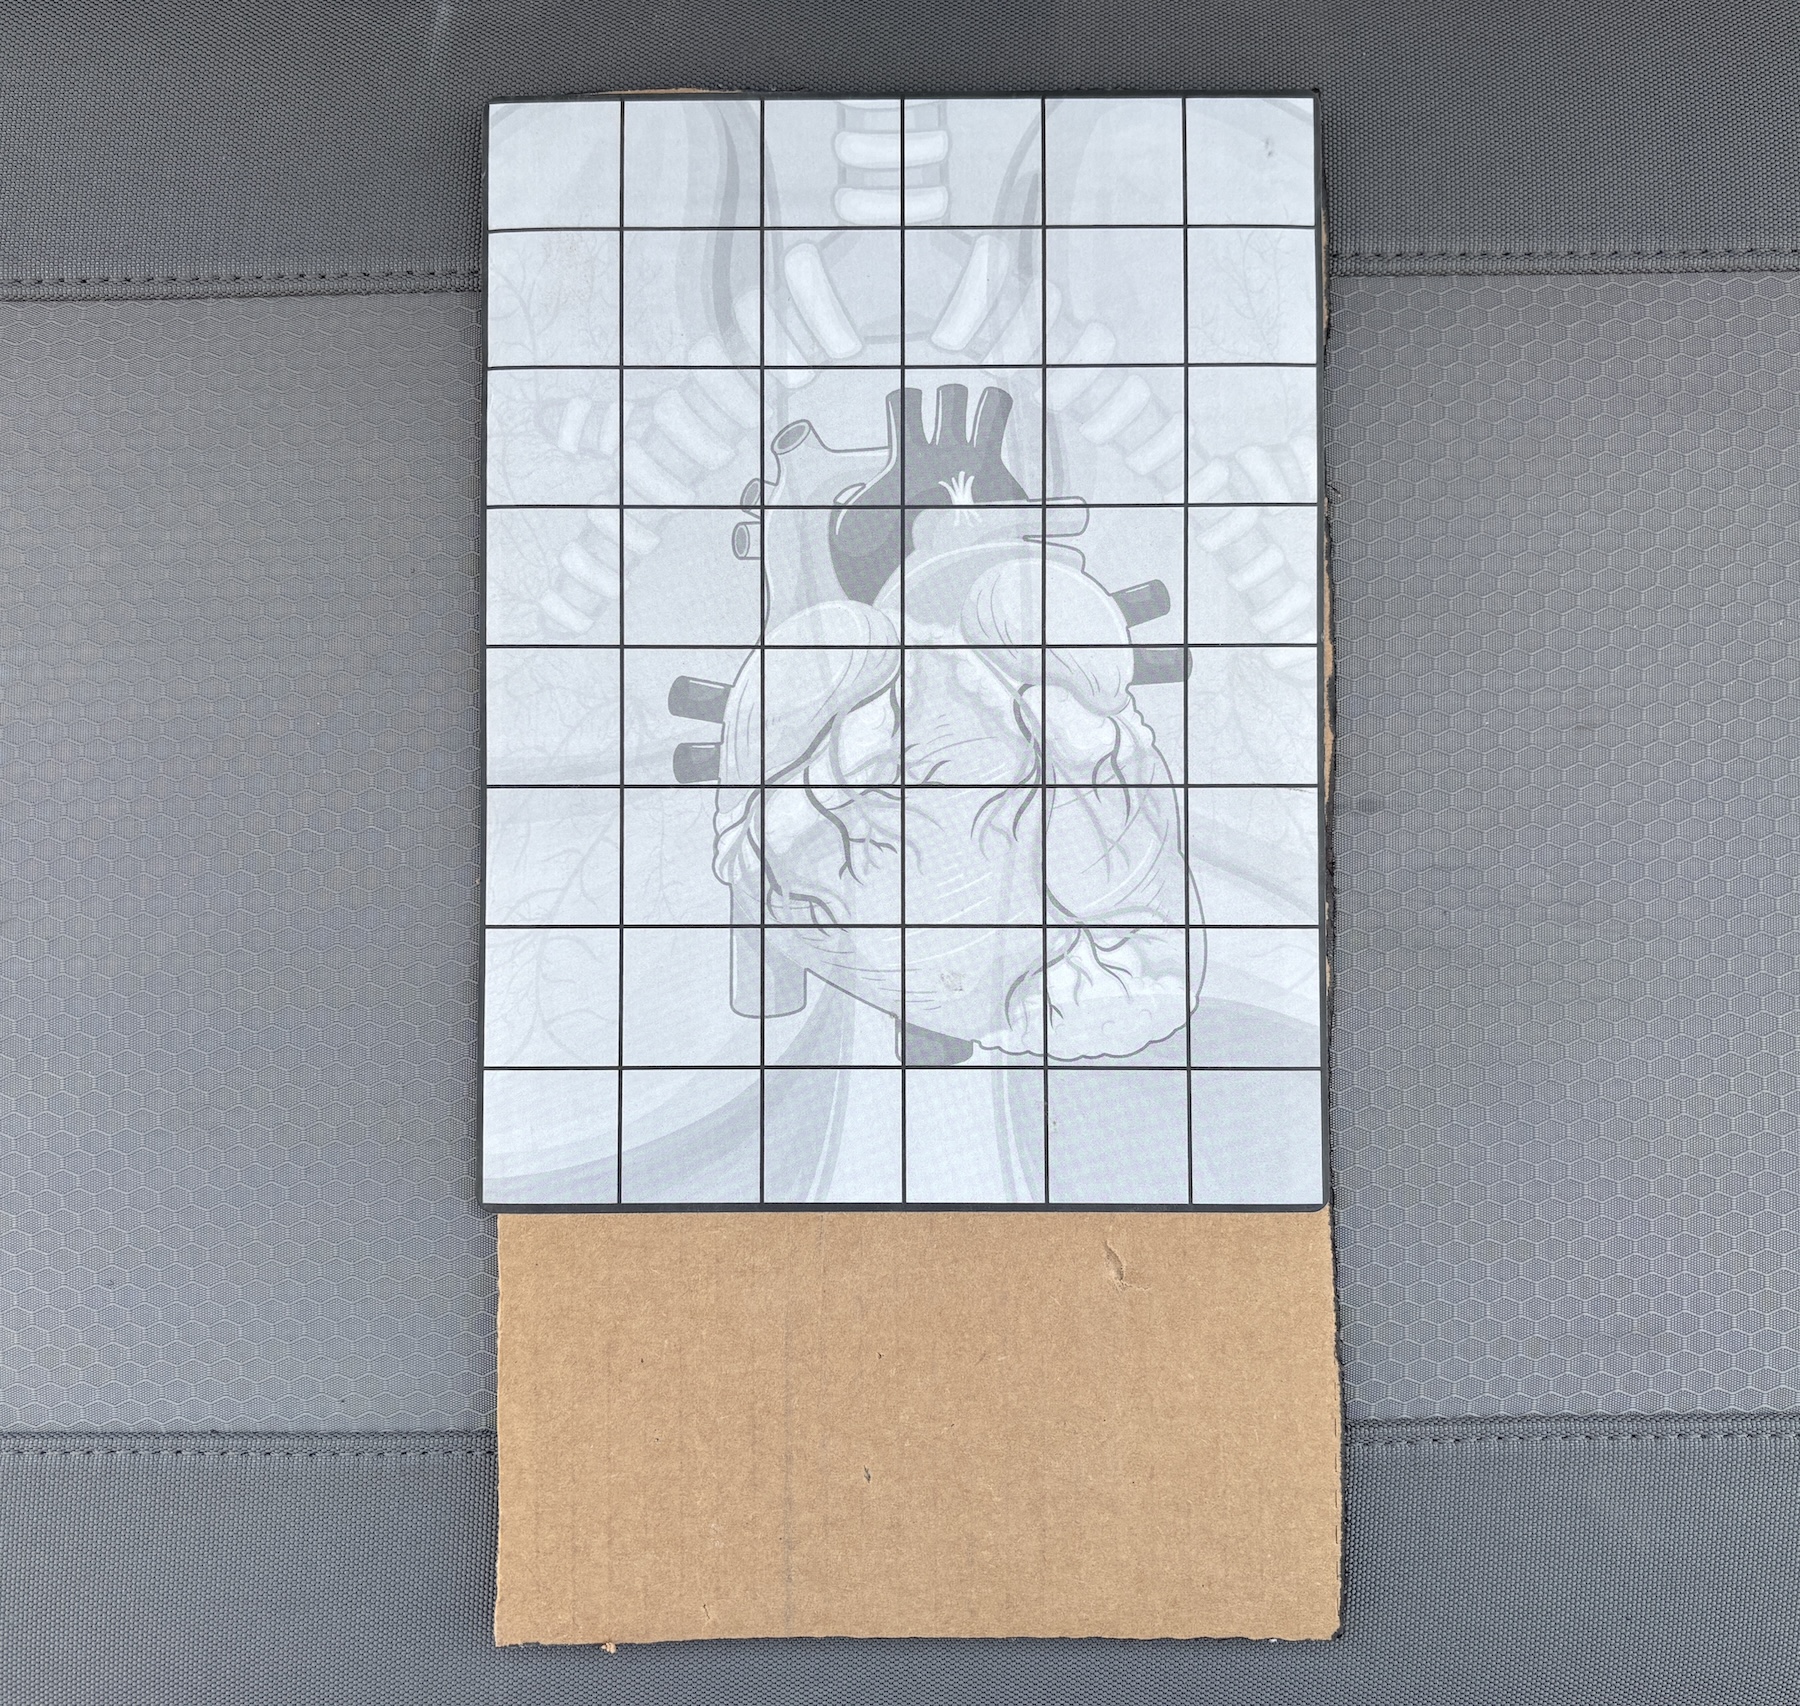
STKY’s 1″ gridded repair rectangle on an A zone.
Do you have a pre-visualized reference for aiming at the body or head?
Though I lack the deep background of my friends at the Tactical Anatomy Summit, I have trained with some and have limited pre-hospital medical experience.
Reference Points
For this discussion, I visualize the intersection of the armpits and spine for body shots without barriers.
If the head is the best (only) available target, I am looking for the eyes and temple before following that around the skull. I want the point of impact to be as perpendicular to the skull as possible to avoid skidding around or off it.
A USPSA target utilizing STKY Target’s anatomical repair sticker with a negative target. Is that too low?
Also, consider the course work of occasional AmCop contributor John Hearne and his tactical anatomy handgun courses.
With those starting points, how do we get there beyond mastering essential shooting skills?
Targets
If I wrote that there was a metric buttload of target designs out there, I am likely underestimating the total number. For the record, buttload is a technical term for measuring liquids, specifically 126 imperial gallons of wine.
Most targets are two-dimensional and full-frontal, made from die-cut cardboard or printed paper. Scoring zones range from obvious to subdued.
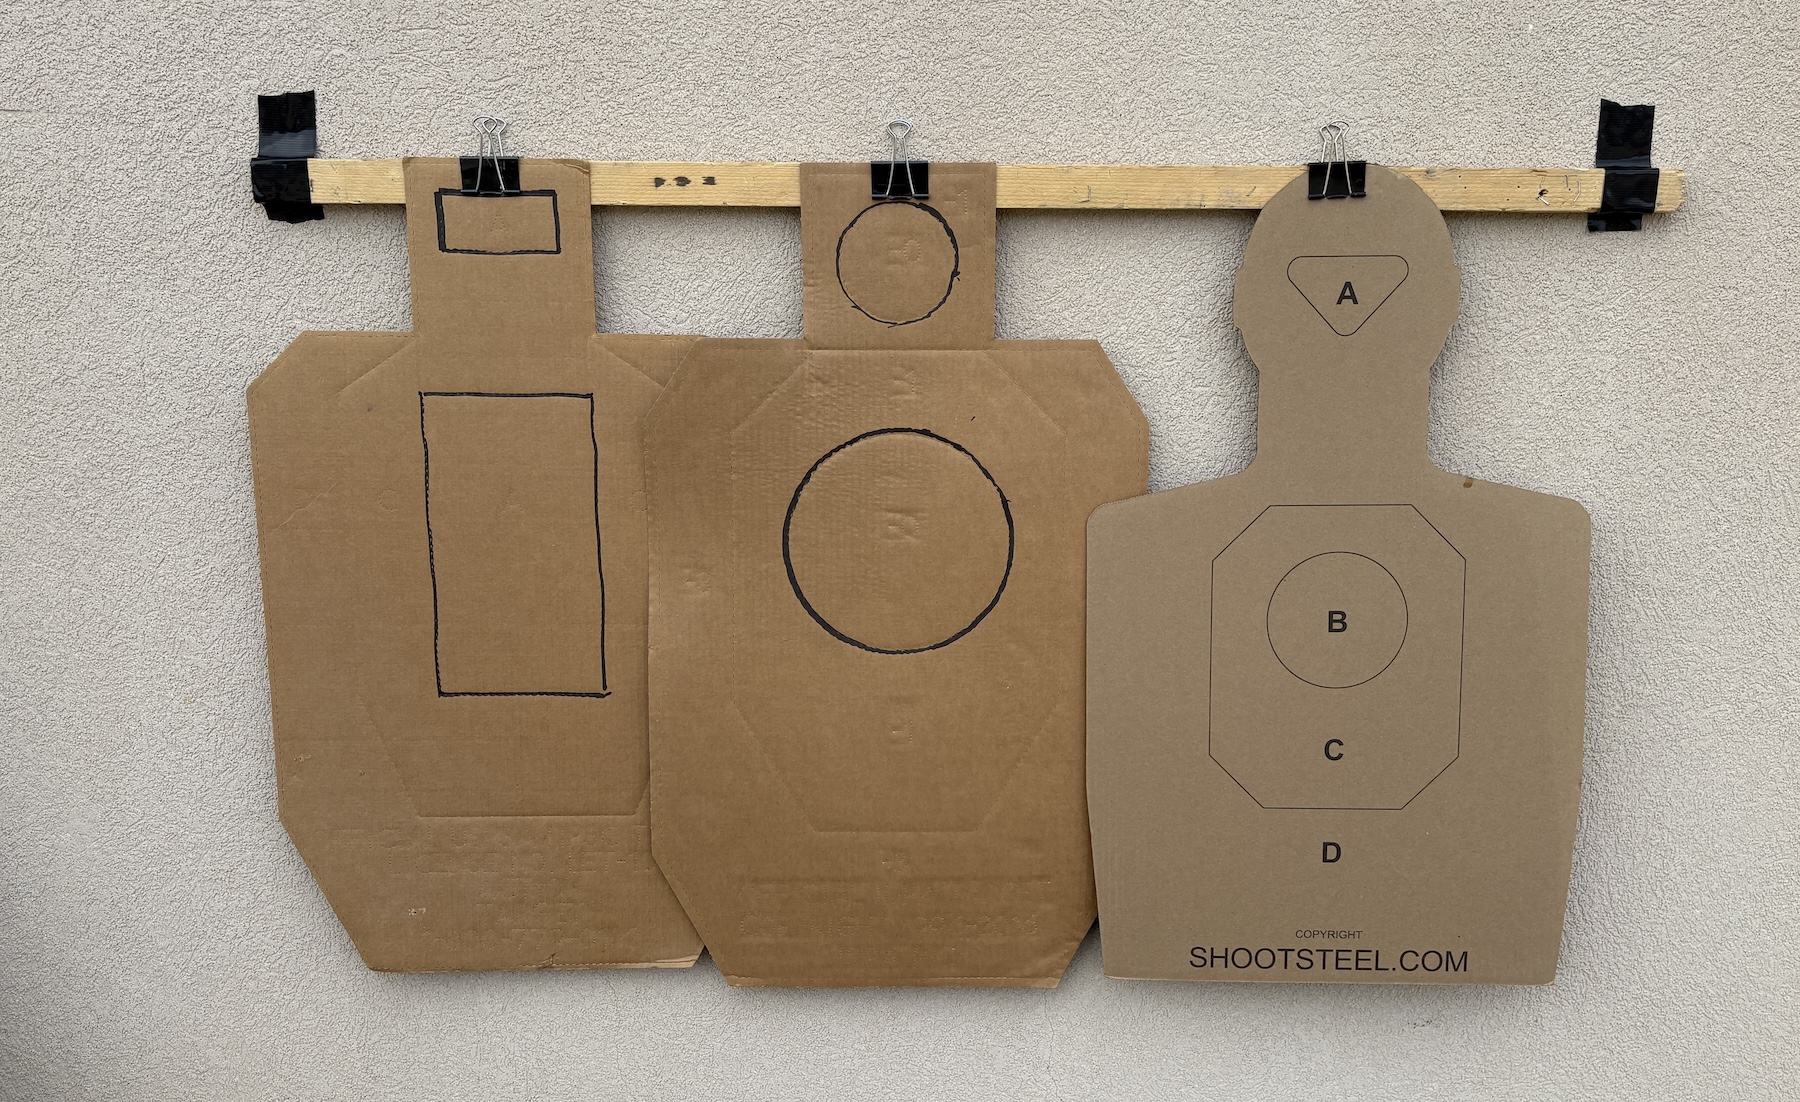
For ease of manufacture, most are not anatomically correct. USPSA, IDPA, and PCSL (not shown) targets have distinct heads but lack necks.
Printed targets offer greater variety and anatomical realism; they are still two-dimensional. To create bulging, they can be stapled to the sides to keep your shooters from being exposed to the body’s full thickness.
Let’s look at a key problem that arises from current target designs.
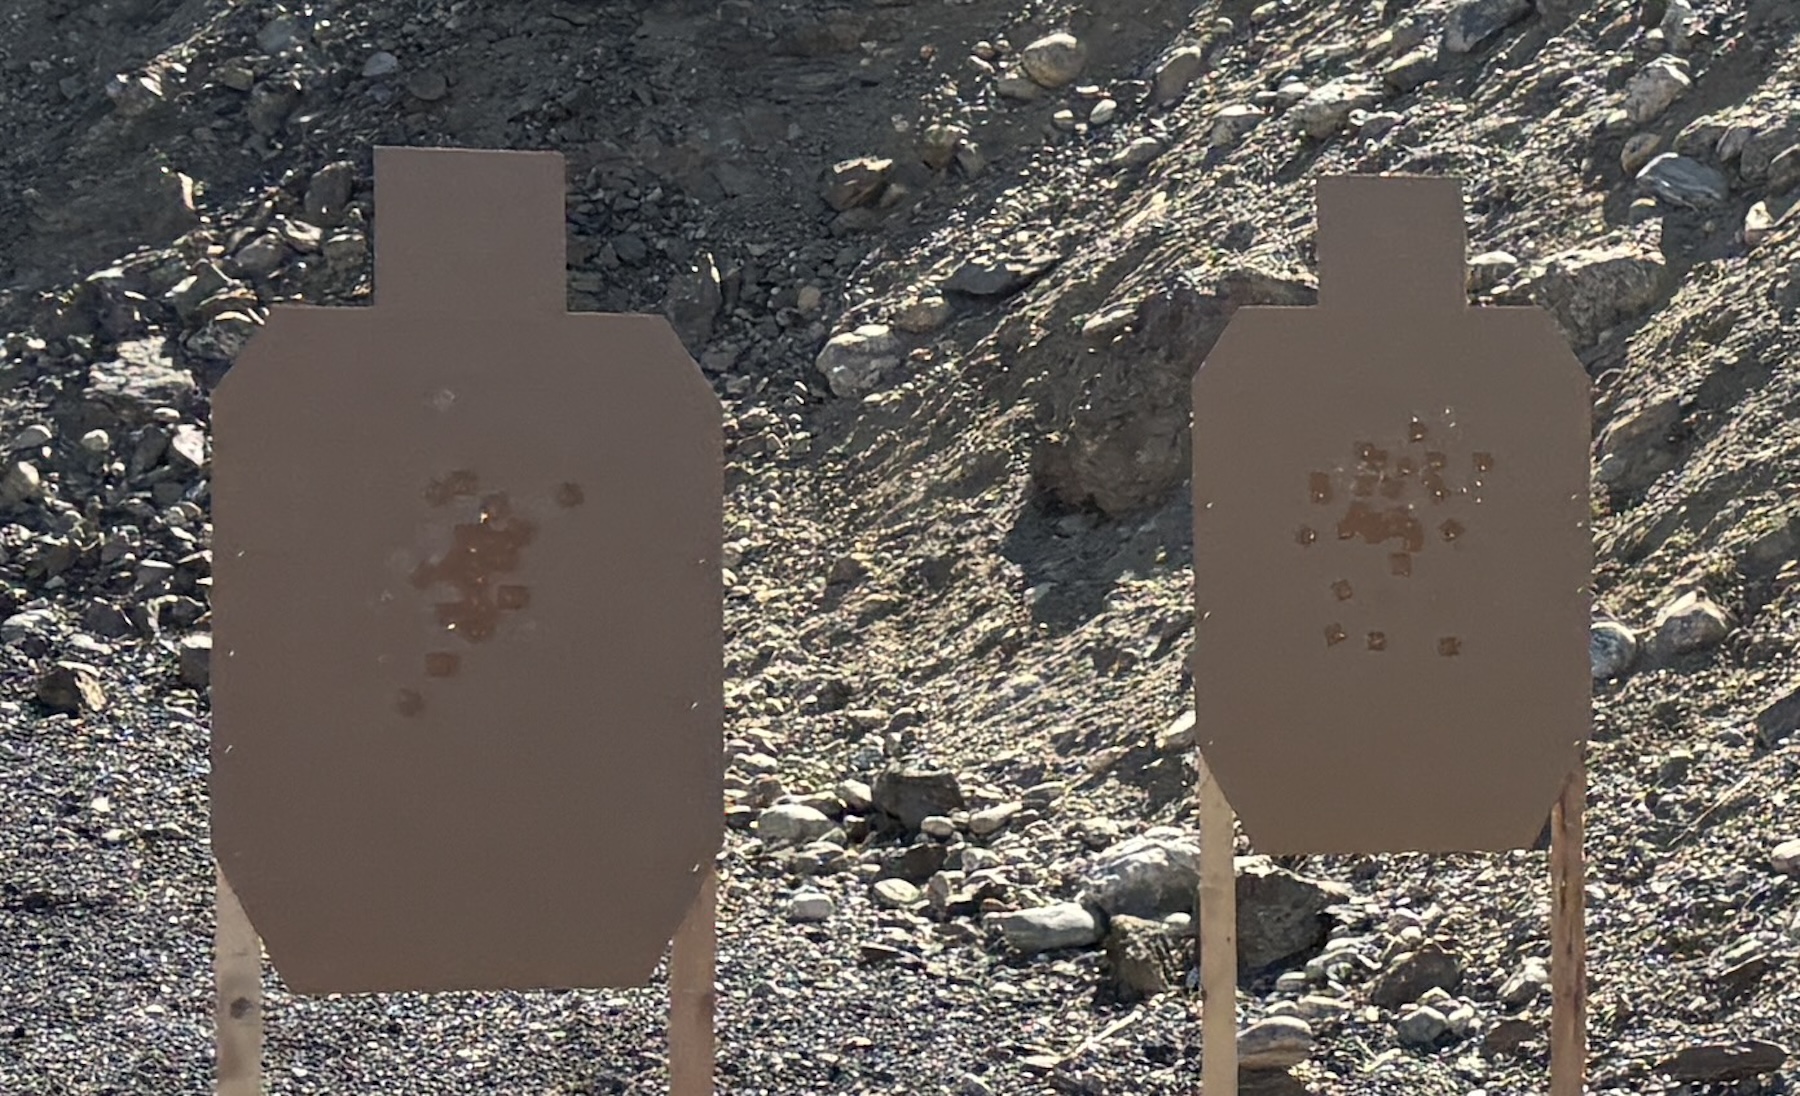
Two targets with a significant percentage of lower hits, from a recent match.
I’ve seen this for decades, especially in pistol matches: the problem of low hits. It’s not just a few shooters anticipating recoil; many aim at the center of the torso.
Overly Generous Scoring Areas
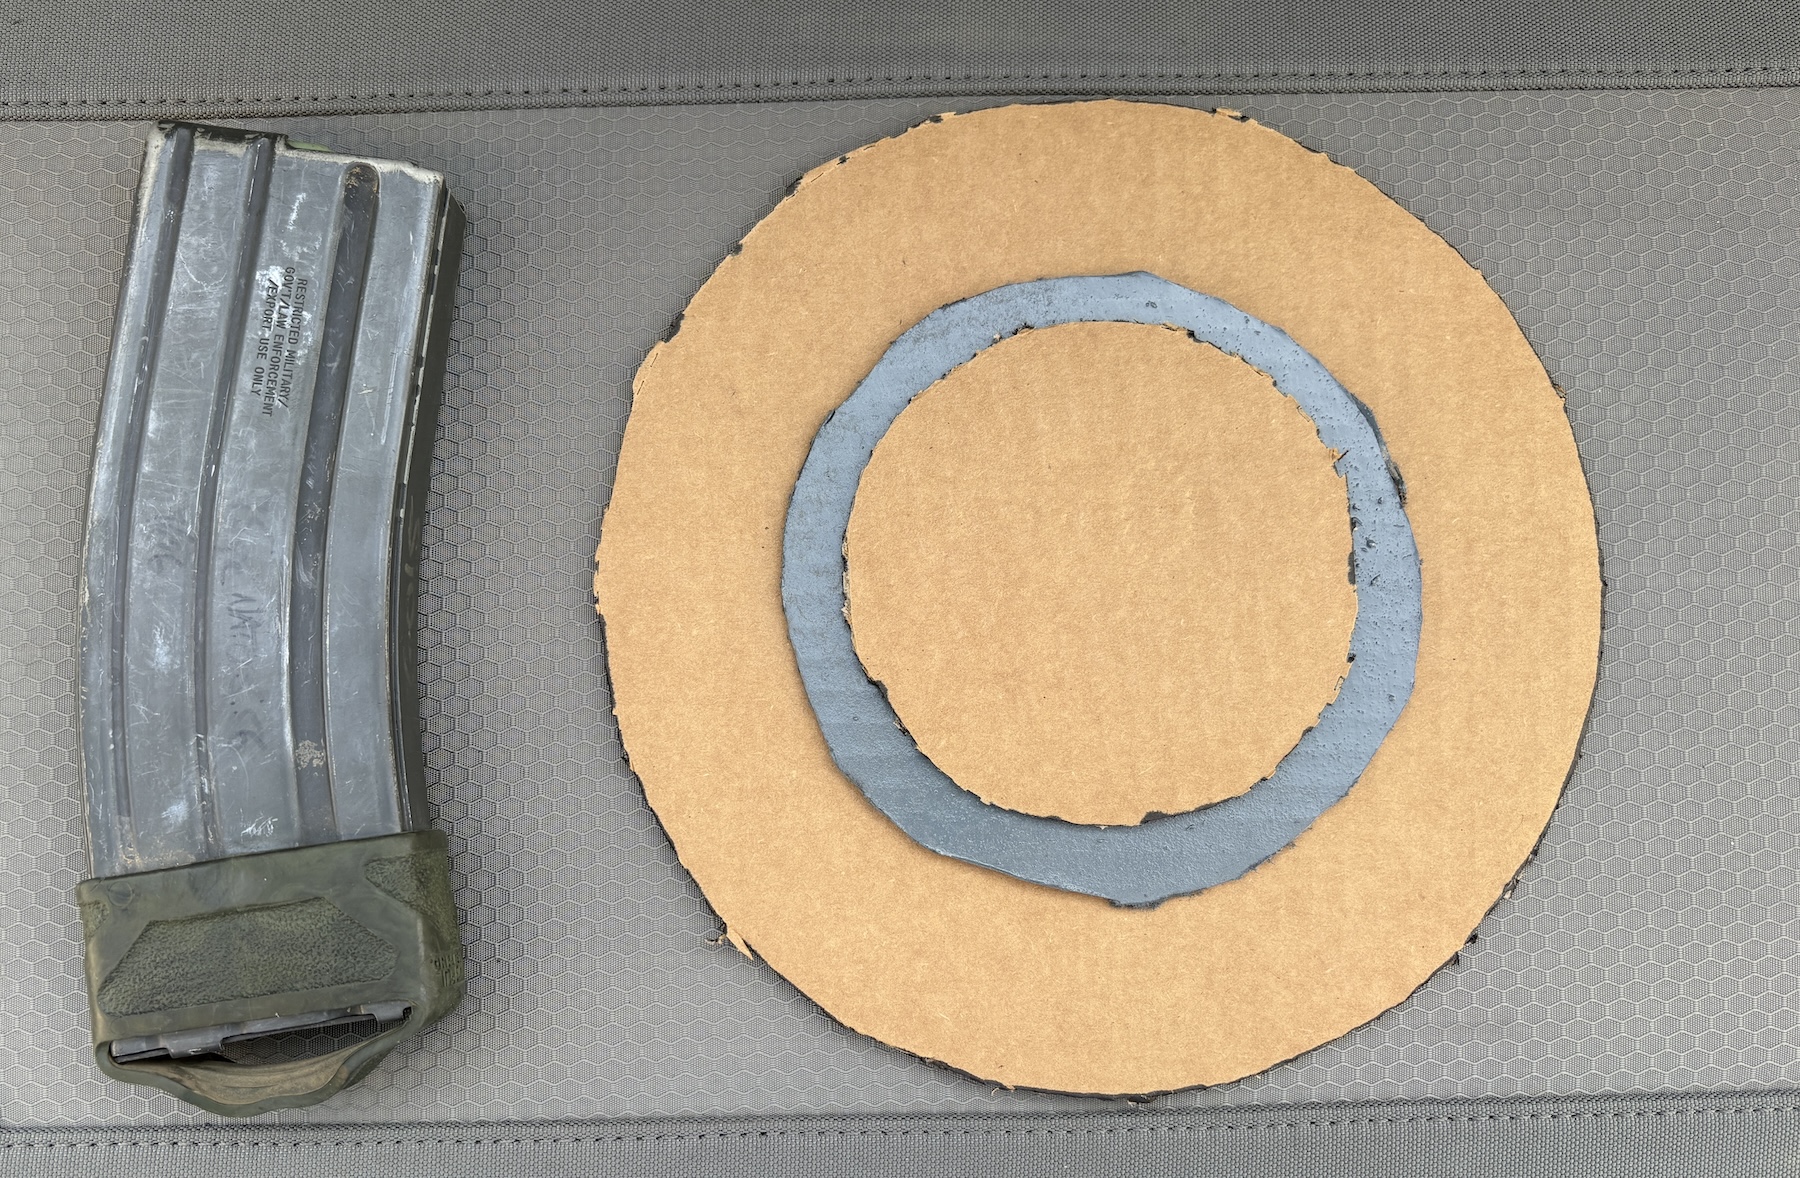
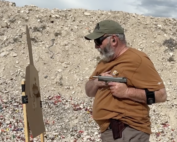
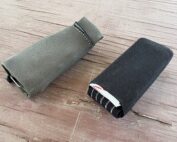
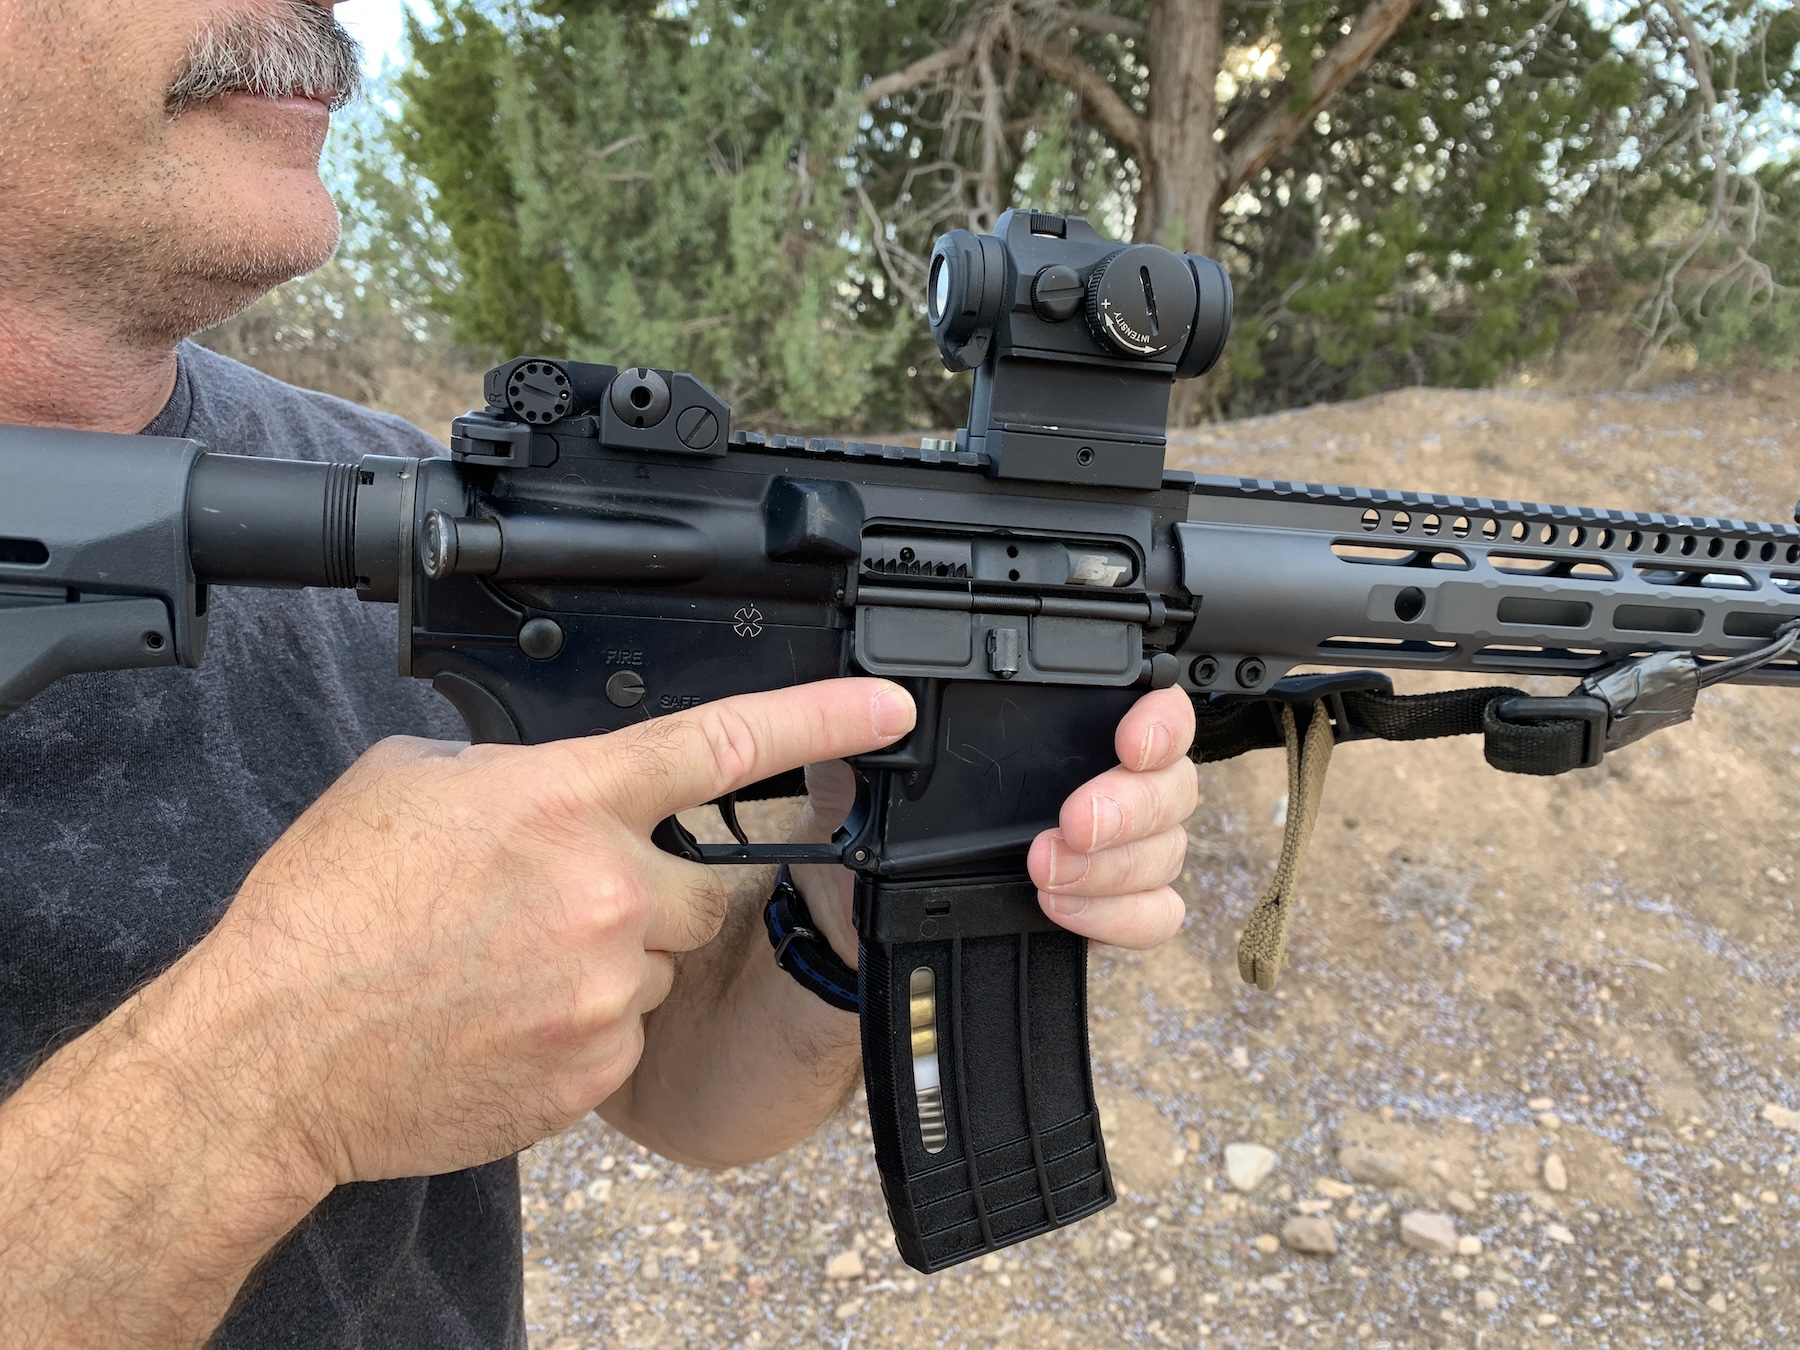
For comparison, IDPA’s -0 scoring area in the back, ShootSteel’s B zone in the middle, and IDPA’s -0 headshot on top with an AR-15 magazine for reference.
This is often more pronounced in government targets. Compare your department’s scoring zones to actual human anatomy. Are we training students to hit where it matters?
Favorite Quick Fix
A quick fix dates to the 1920s or 30s: place a B-8 repair center on the upper chest of a silhouette target.

Two ways to the same destination – make the IDPA target into a negative and add the B-8. Or, buy the CSAT target (right) with the B-8 already on it.
I center the B-8 side-to-side and align its top edge with the target’s shoulders.
USPSA’s A zone is 11”x6”; the IDPA -0 has an 8”; and the ShootSteel B zone is 5” wide. Meanwhile, the black of a B-8 is 6”.
Interestingly, Chris Sizelove with CohortOps and Dustin Salomon of Building Shooters independently settled on a 3” diameter full value scoring area.
We’ll discuss target scoring methods and criteria another time.
Modifications
The STKY target sits better when paired with IDPA’s target.
Trauma doc Andy Anderson from Mississippi showed an easy-to-reproduce design using the anatomical repair section from STKY Targets (STKY makes adhesive target overlays). Put the STKY Target on any of the common cardboard targets (USPSA, IDPA, ShootSteel). Then cut out the high value areas on another target (A/A, -0, A/B, etc.; these refer to specific scoring zones on competitive targets). Overlay the cut-out target onto the first. It provides a visually distinct aiming area that has just a touch of depth. Just enough depth, I think, to introduce a 3D effect without the required space.
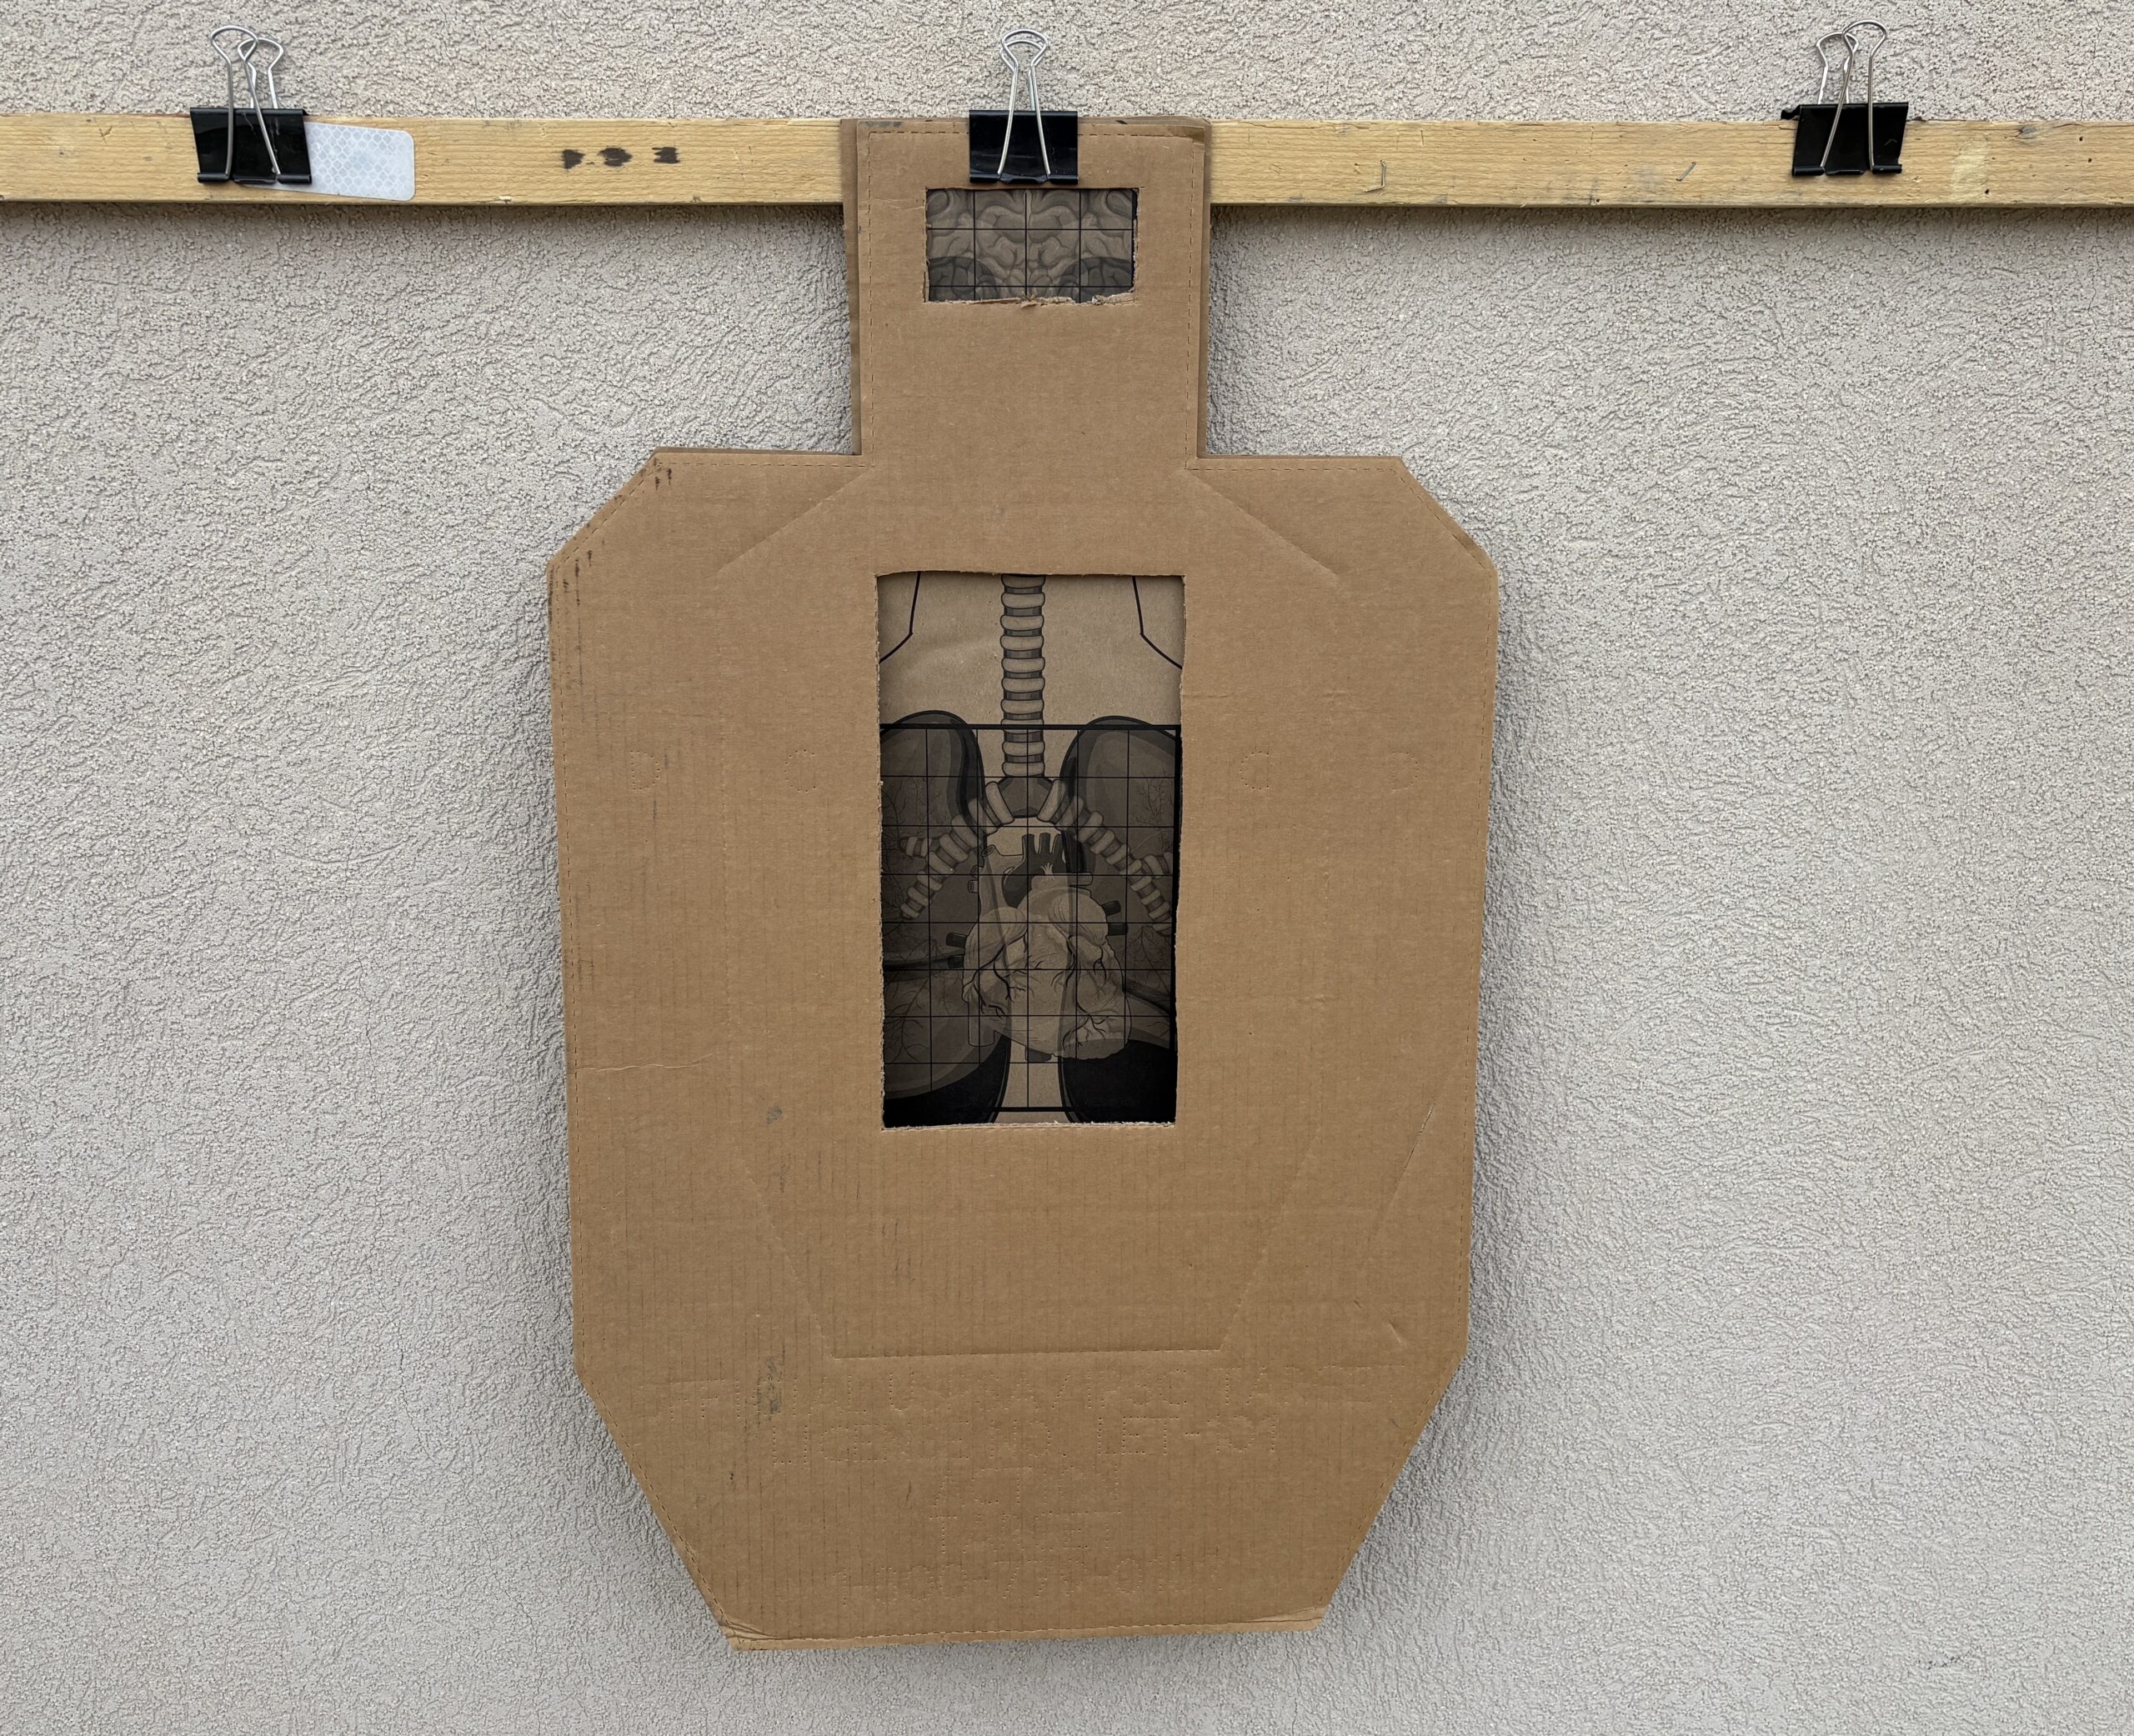
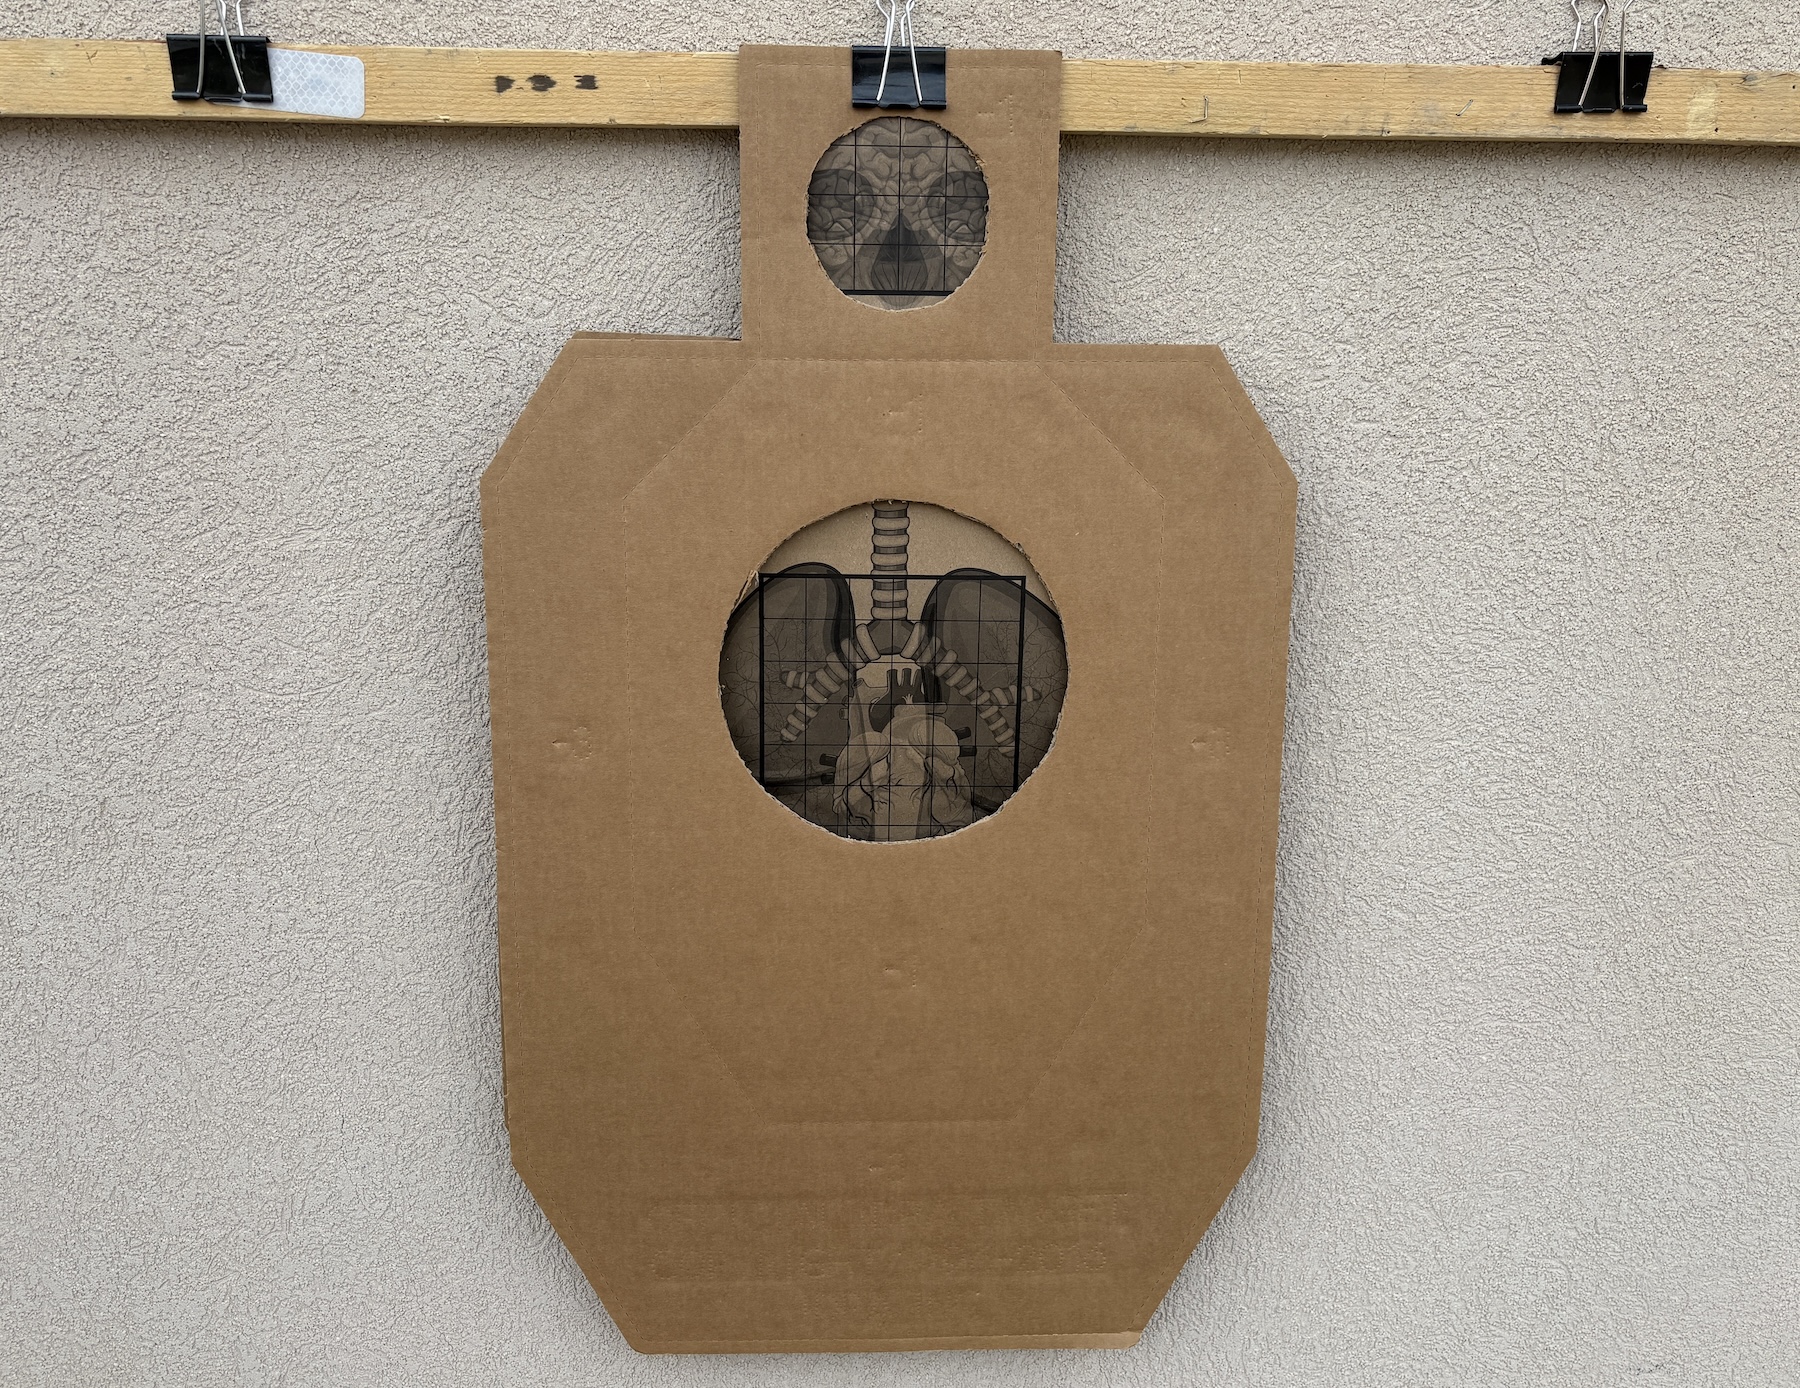
Another STKY product, a gridded 2/3 A Zone repair piece with heart/arteries/veins, fits the upper 2/3 of a USPSA A Zone for more realism and encourages better shot placement.
The question of humanoid targets also arises in this context.
Actual 3D targets will be addressed in a future article.
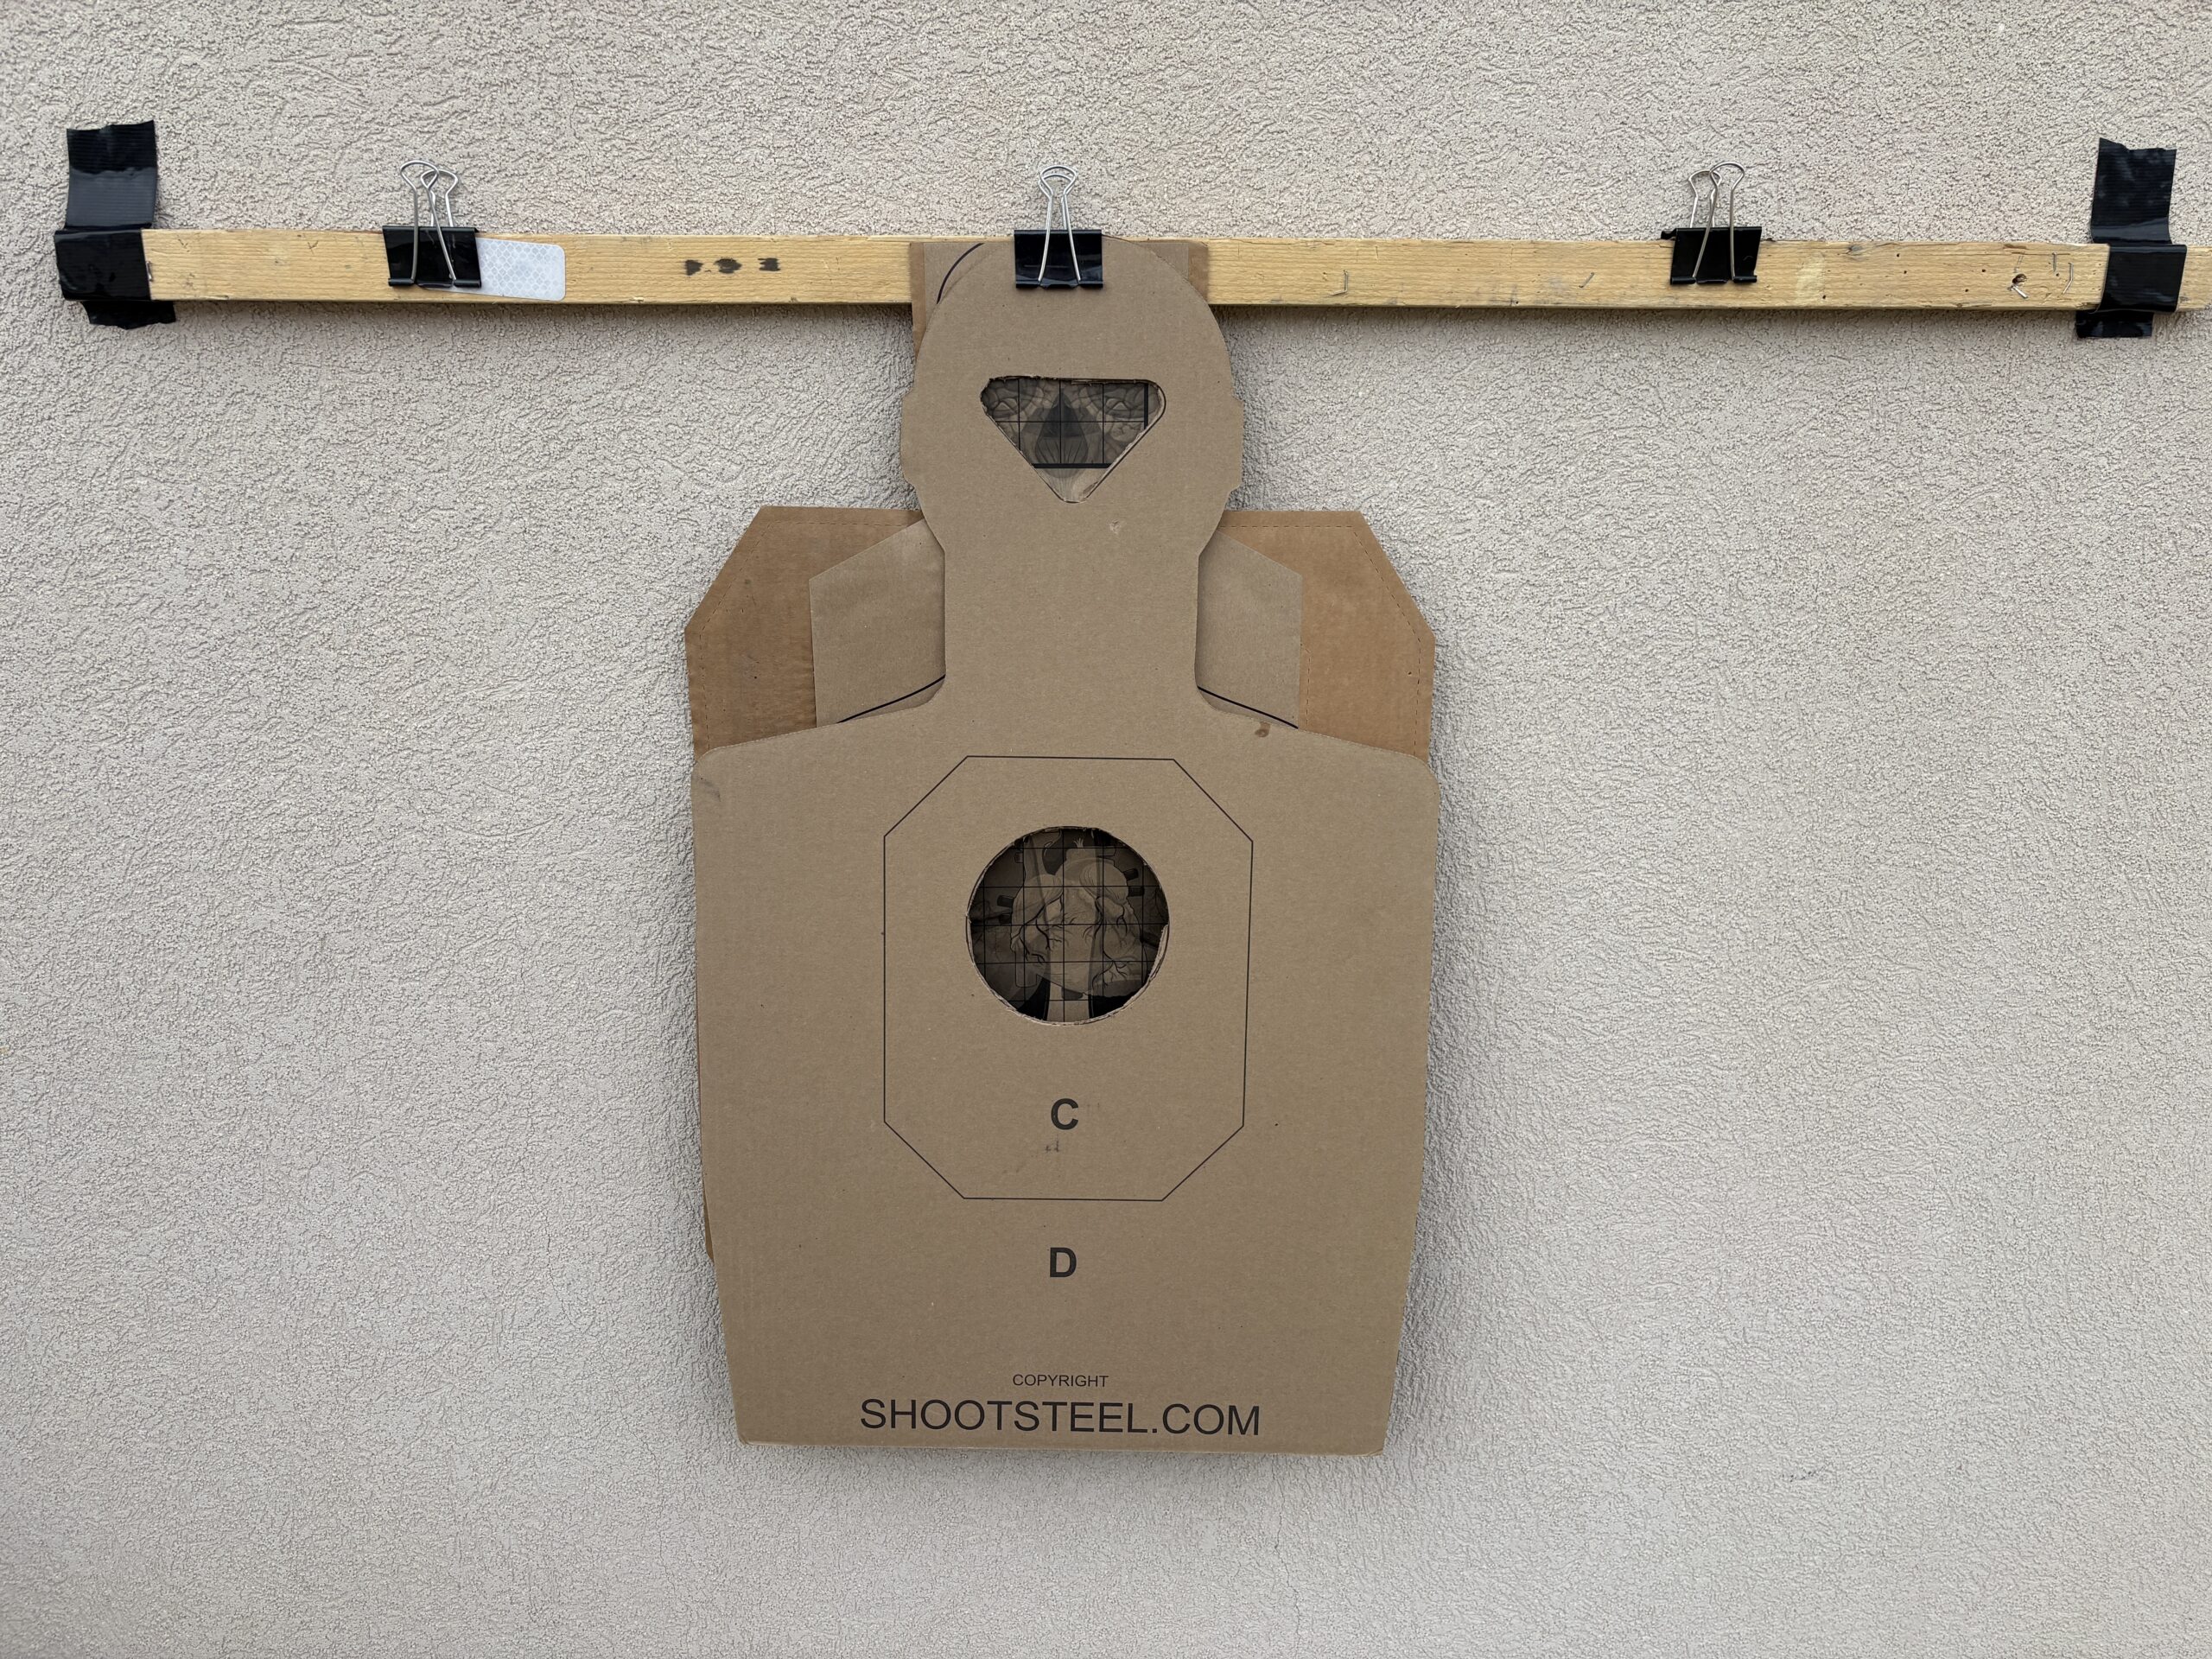
STKY Target’s repair center with the ShootSteel target. With these, I’d use two ShootSteel targets.
Light Reading
Regarding targets, there is one reference that you would be served to acquire – Louis Awrrbuck’s Hit or Myth – An Analysis of Target Systems for Practical Training in Defensive Shooting. The original first edition came out in 1990; Paladin Press updated it in 2007; and Panteao Productions released its version in 2017, three years after Louis’ death.
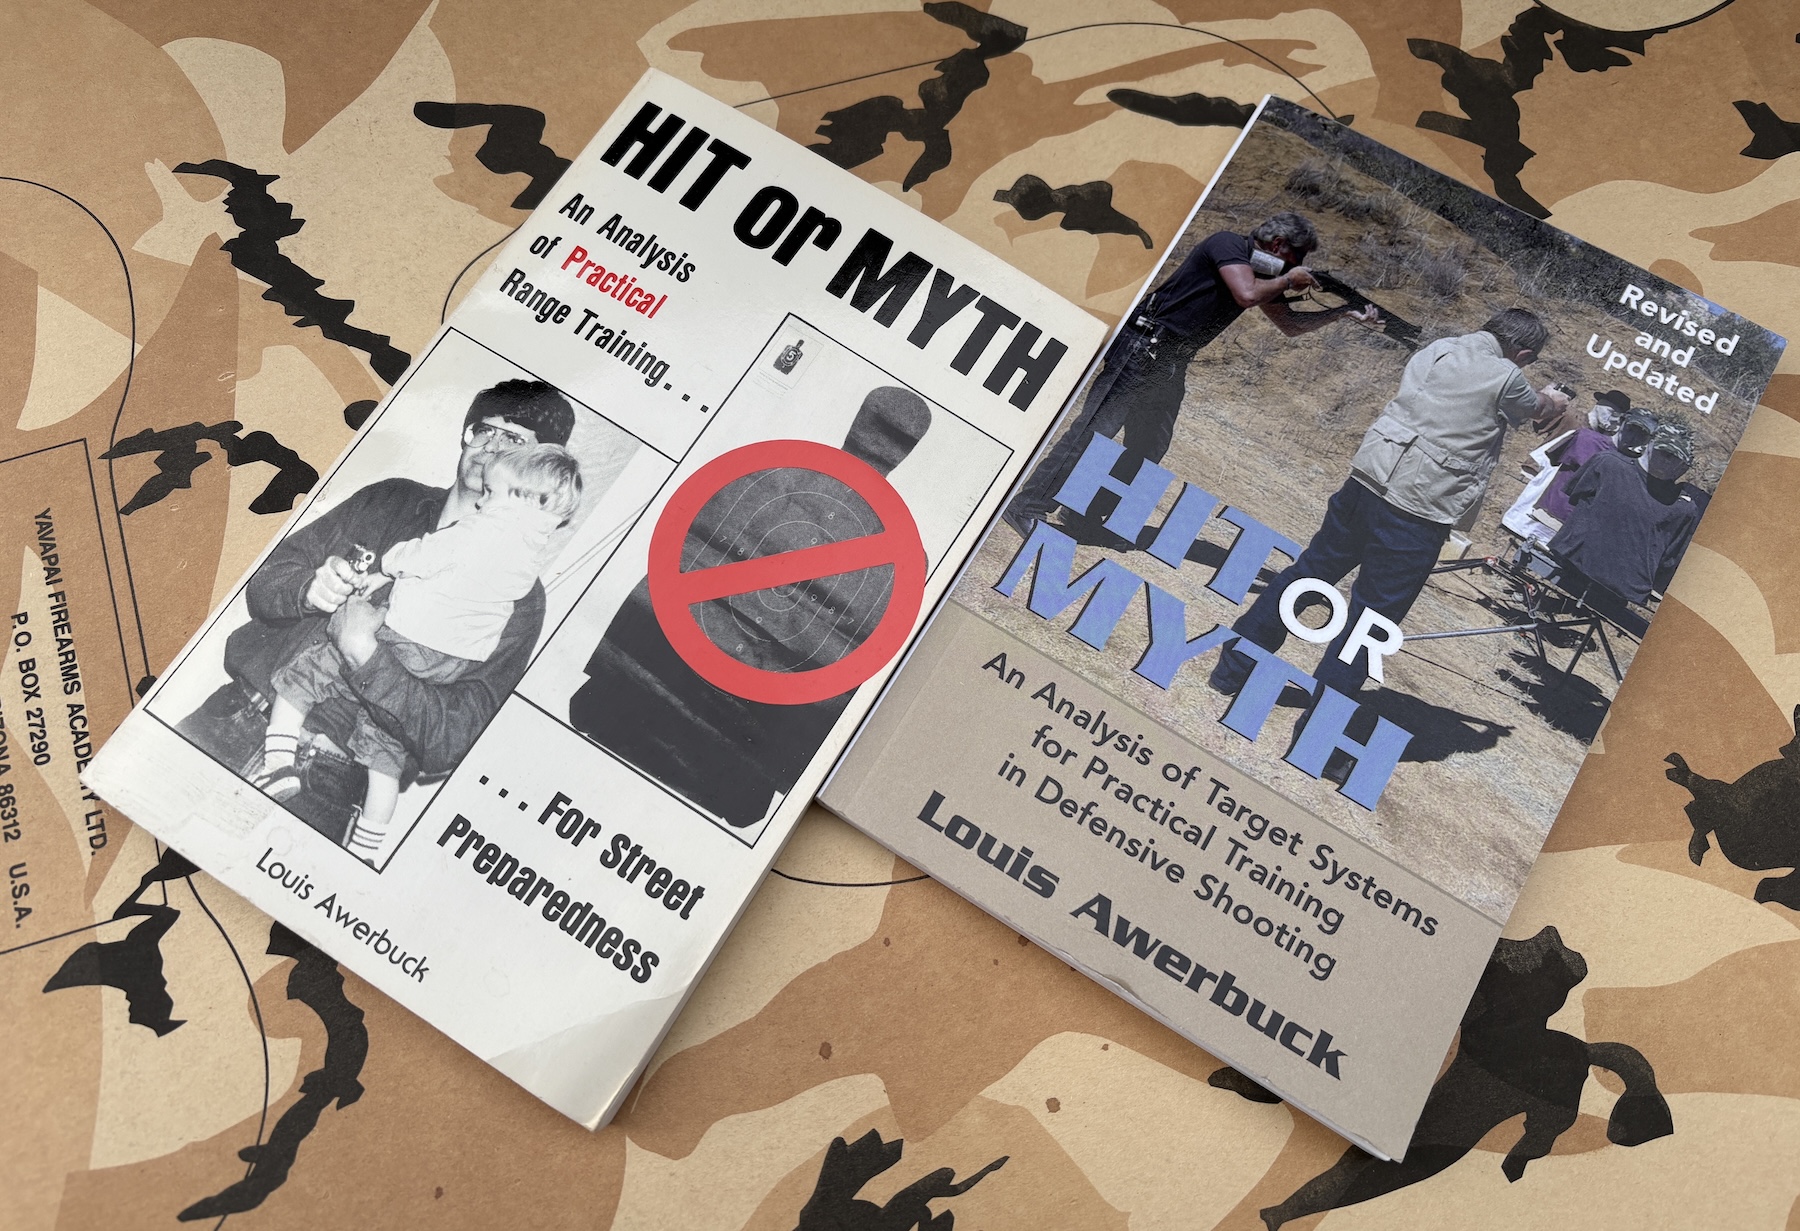
The first and third editions of Awerbuck’s Hit or Myth book on target and training design.
Final Thoughts
From years of square-range training, coupled with the use of poster targets in shoot houses and standardized targets with nearly indiscernible scoring areas, a very consistent trend has emerged. Without enough visual stimulus, many have difficulty delivering hits to the high thoracic cavity, where a lot of the vital anatomy resides. Like other essential skills, grip/trigger press/etc, we need to revisit that. From there, we can shift to targets that are more consistent with what they will encounter in the wild.