
 (No Ratings Yet)
 Loading...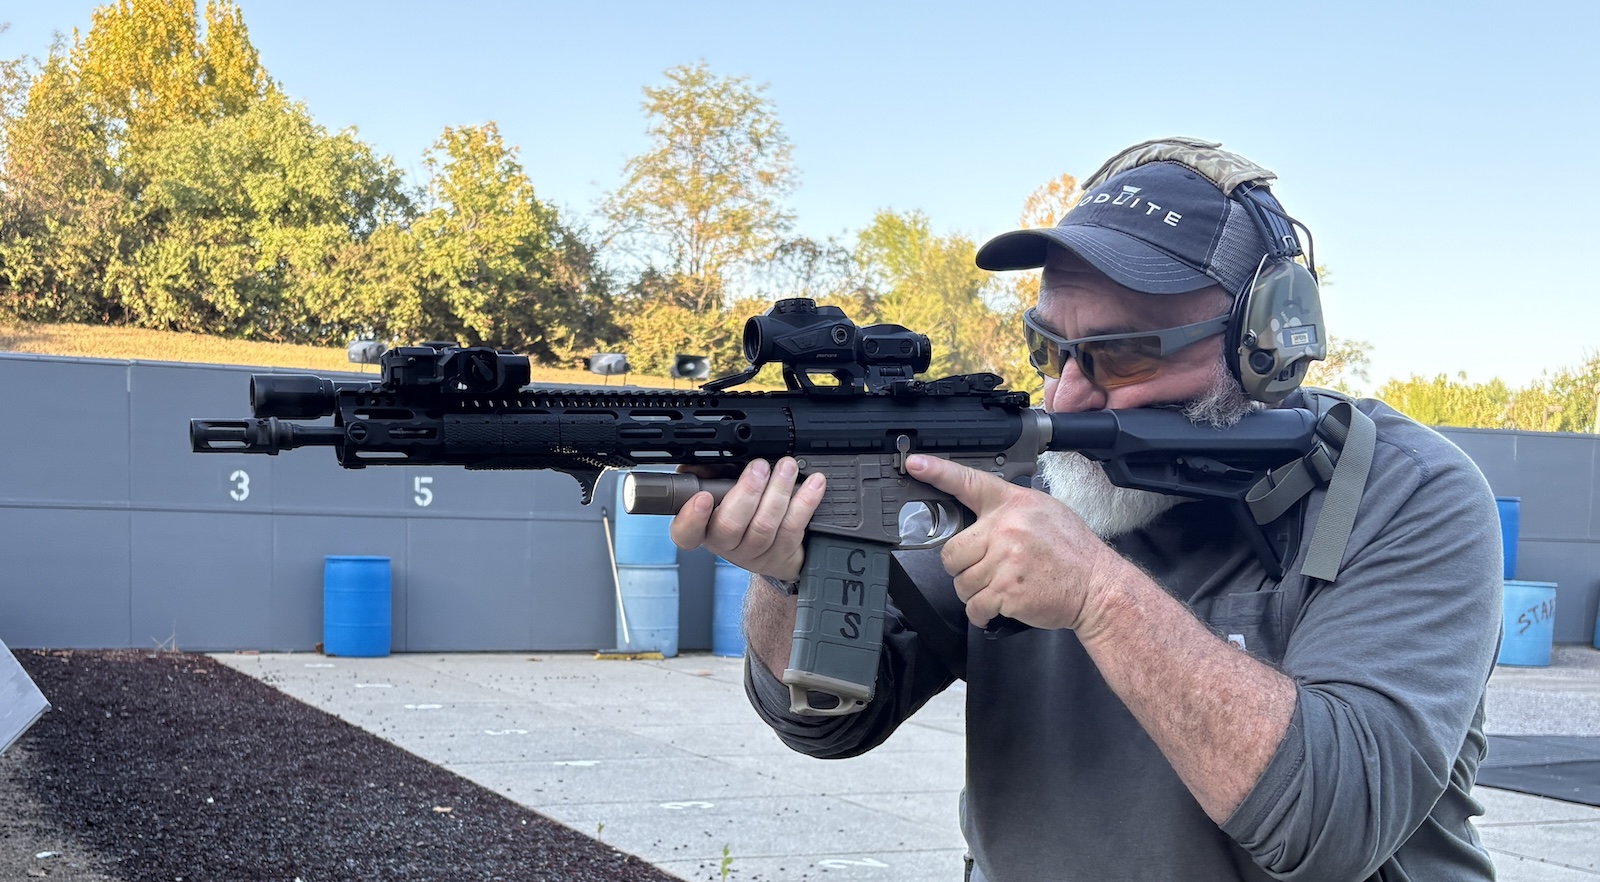
featurMagWellLeft_4389 copy
We are in a golden age of equipment, both on-duty and off, for ending the threats posed to our communities and us by the collective “BadGuys.”
We’ve gotten better lights with higher output, especially compared to what I used early on. Batteries have improved significantly in output. These rechargeables have some awesome light cycles I couldn’t have imagined before.
However, everything fails. You just plain forgot to pull the batteries and put them on the charger after shift. Or over the weekend. The search didn’t end quickly and has been going on for over an hour. And your spare batteries are back in your patrol vehicle. Or worse, the station.
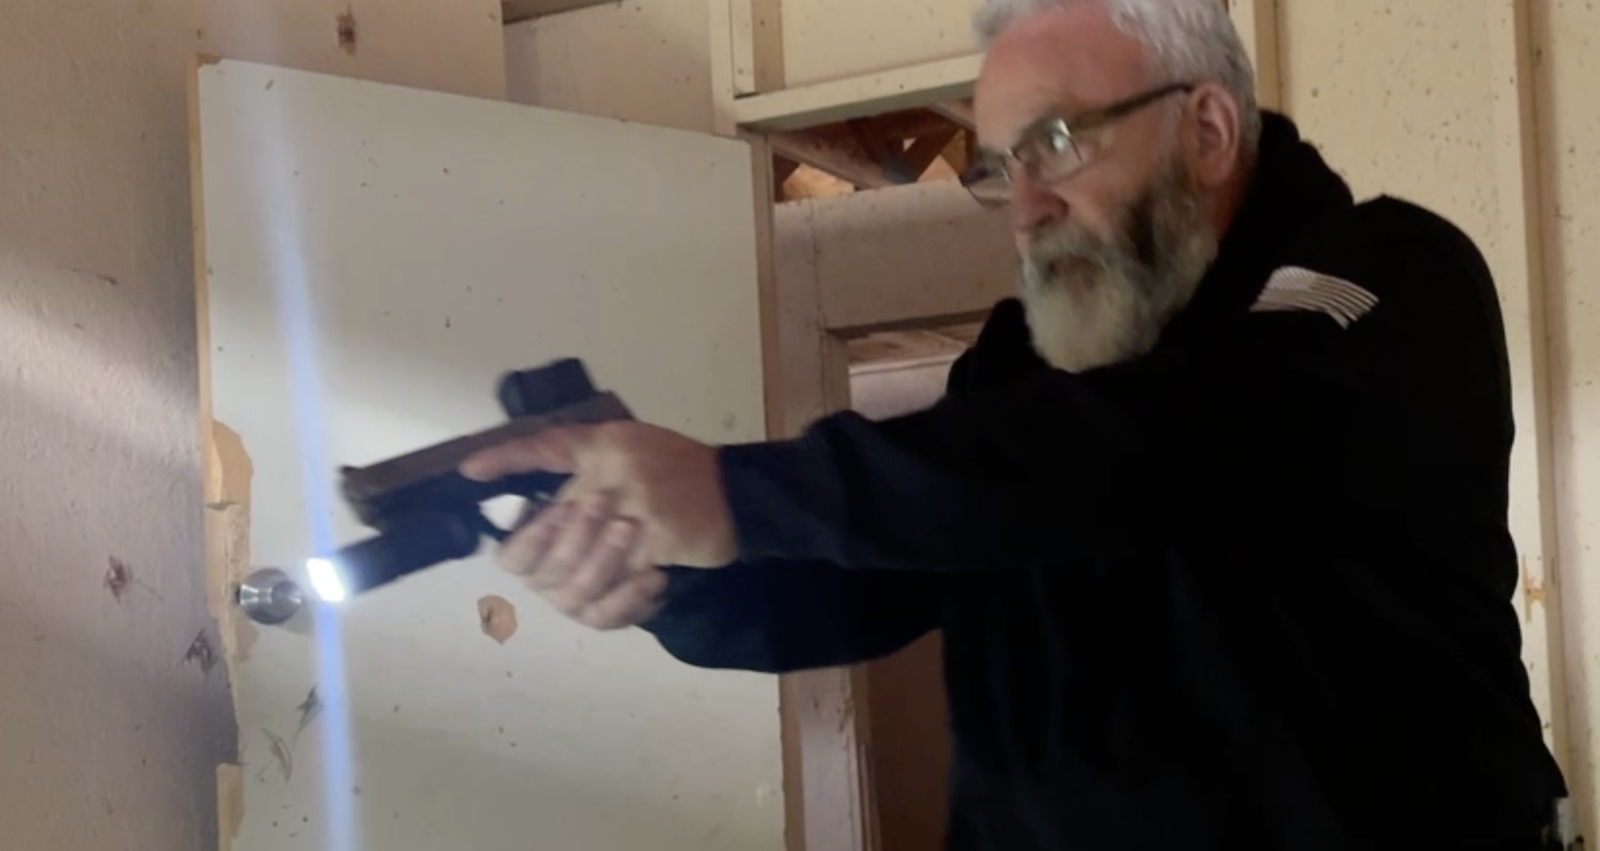
If this happens with your pistol light, switch to your handheld. Wait, you are carrying a handheld in addition to your pistol light? Remember the old “Two Is One, One Is None” line.
What if your long-gun light suffers that fate?
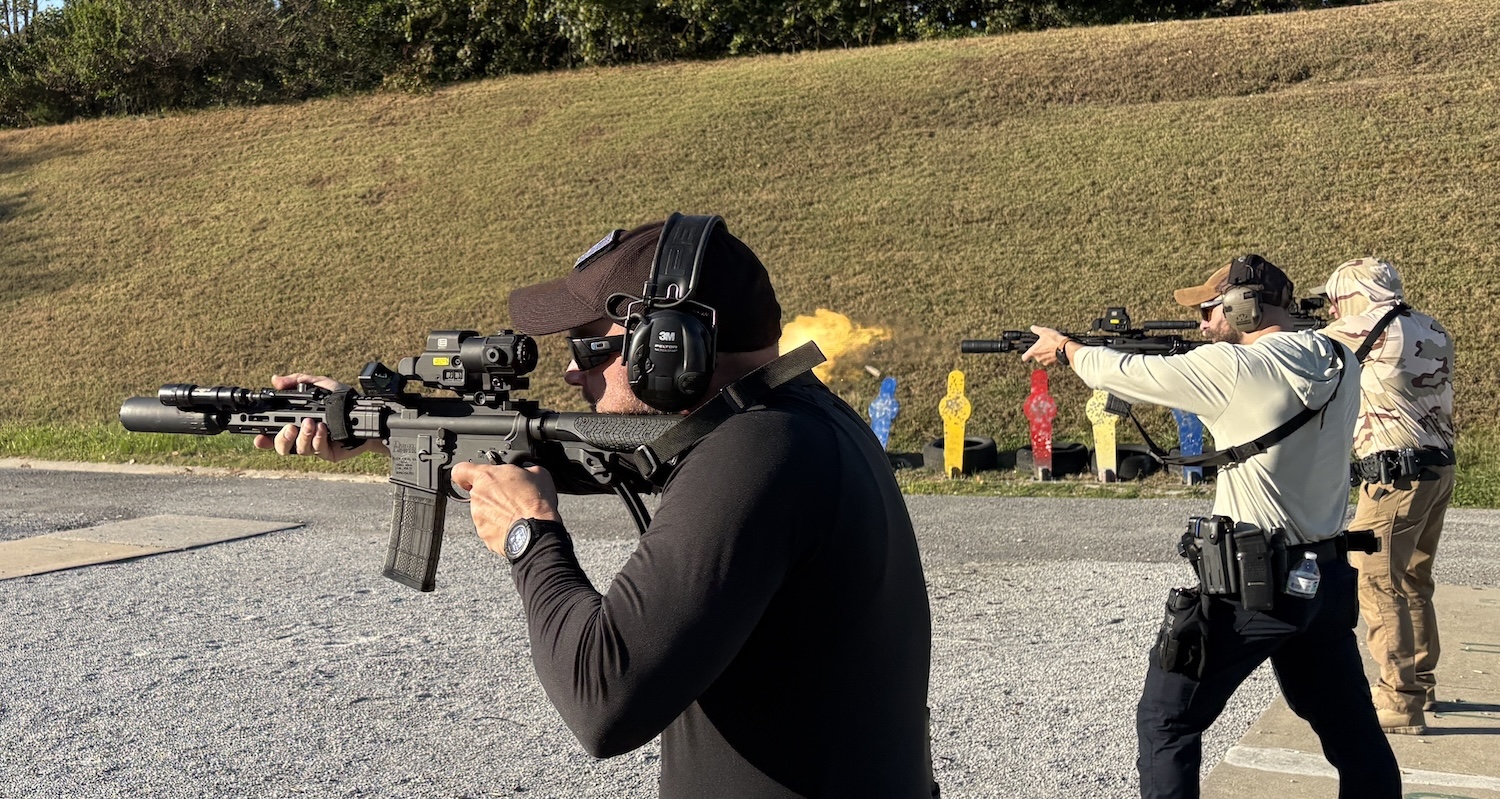
Yes, we would all prefer the lights we mounted on the gun to work. That doesn’t always happen.
Evolution
Back in the Dark Ages (late 80s, early 90s), very few small handheld lights had sufficient output. One was the Surefire 6P.
One trick was to tighten the tail cap until the light just came on. Then back it off a quarter turn or so. Once there, you could hold the light in the groove on the Remington 870’s forend. Then you would activate the light by applying lateral pressure. This combination gave you momentary on-and-off. Not ideal, not constant, but an option.
You could also use a Harries technique with the shotgun. However, you had to take the light off the target/threat/suspect every time you worked the action.
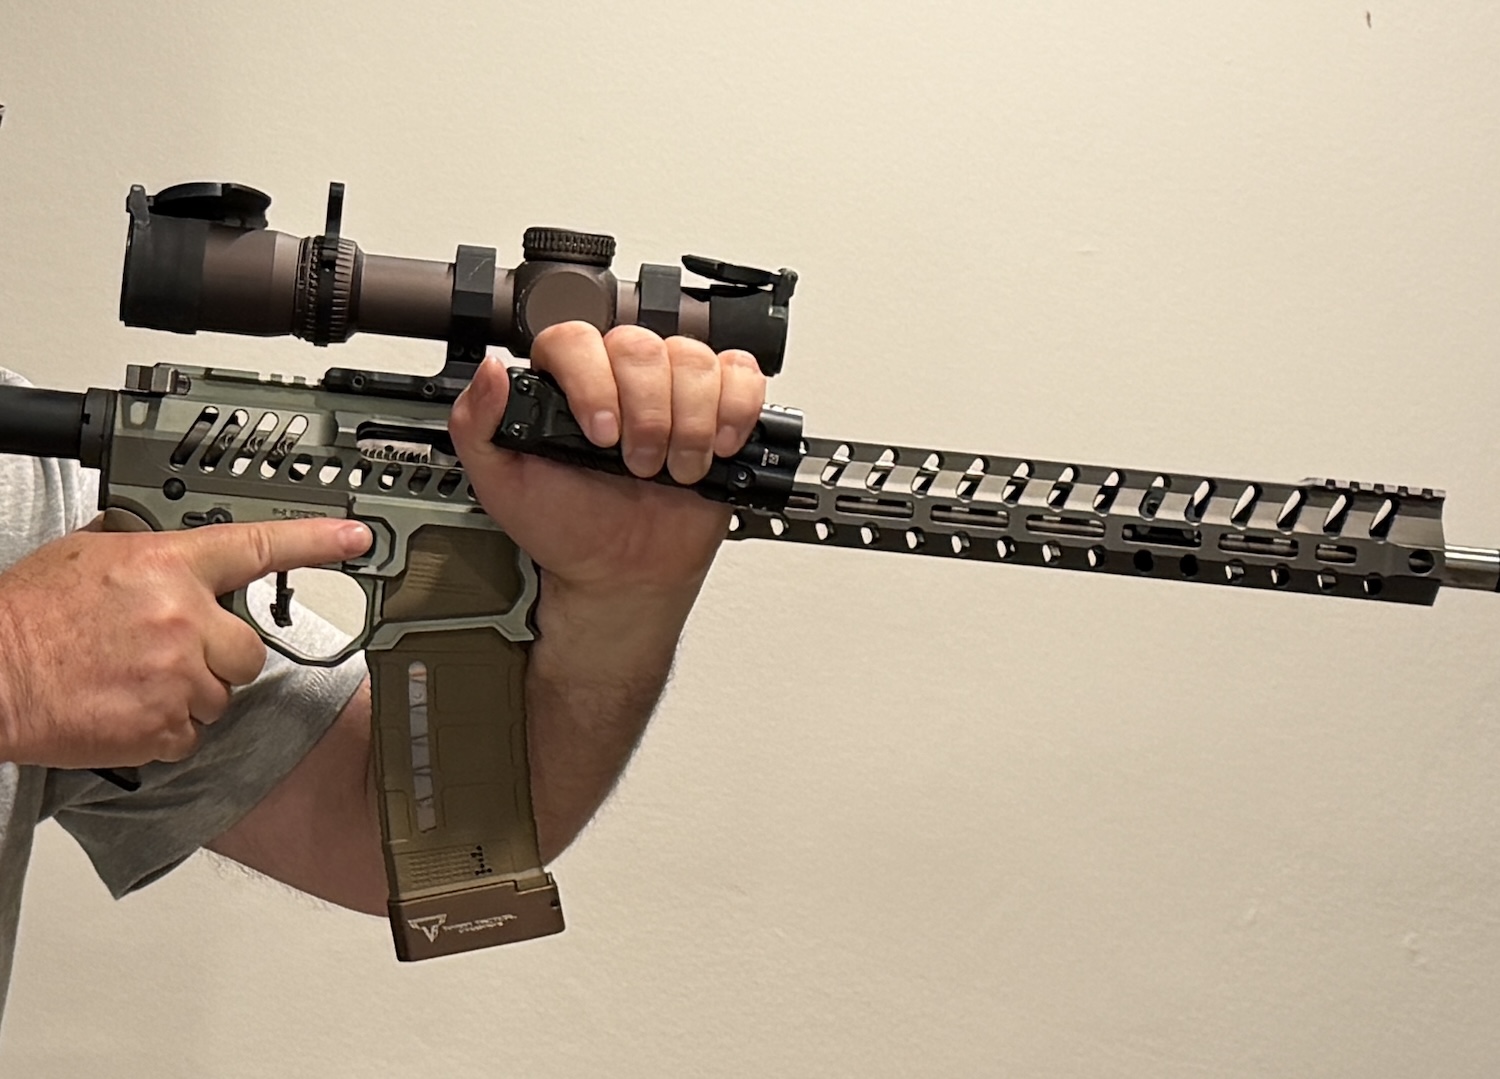
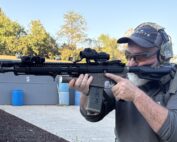
Working the Harries technique with an AR15 platform. Keep the light and the hand from blocking the rearward ejection path.
Continuing
Talking about that Golden Age, look at how they employ lights with their patrol rifles.
Alas, all those same issues I mentioned at the beginning will come back with a vengeance.
Harries
Michael Harries, of American Pistol Institute and South-West Combat Pistol League fame, created the flashlight technique now bearing his name. One holds the light like an ice pick. The bezel protrudes from the bottom of the hand. With a larger light, the shaft rests against the shooter’s forearm. With most modern lights, the support-hand thumb rests on the tail cap. If you’re using a light with a side-mounted button, you are best served by manipulating it with your ring or pinkie finger.
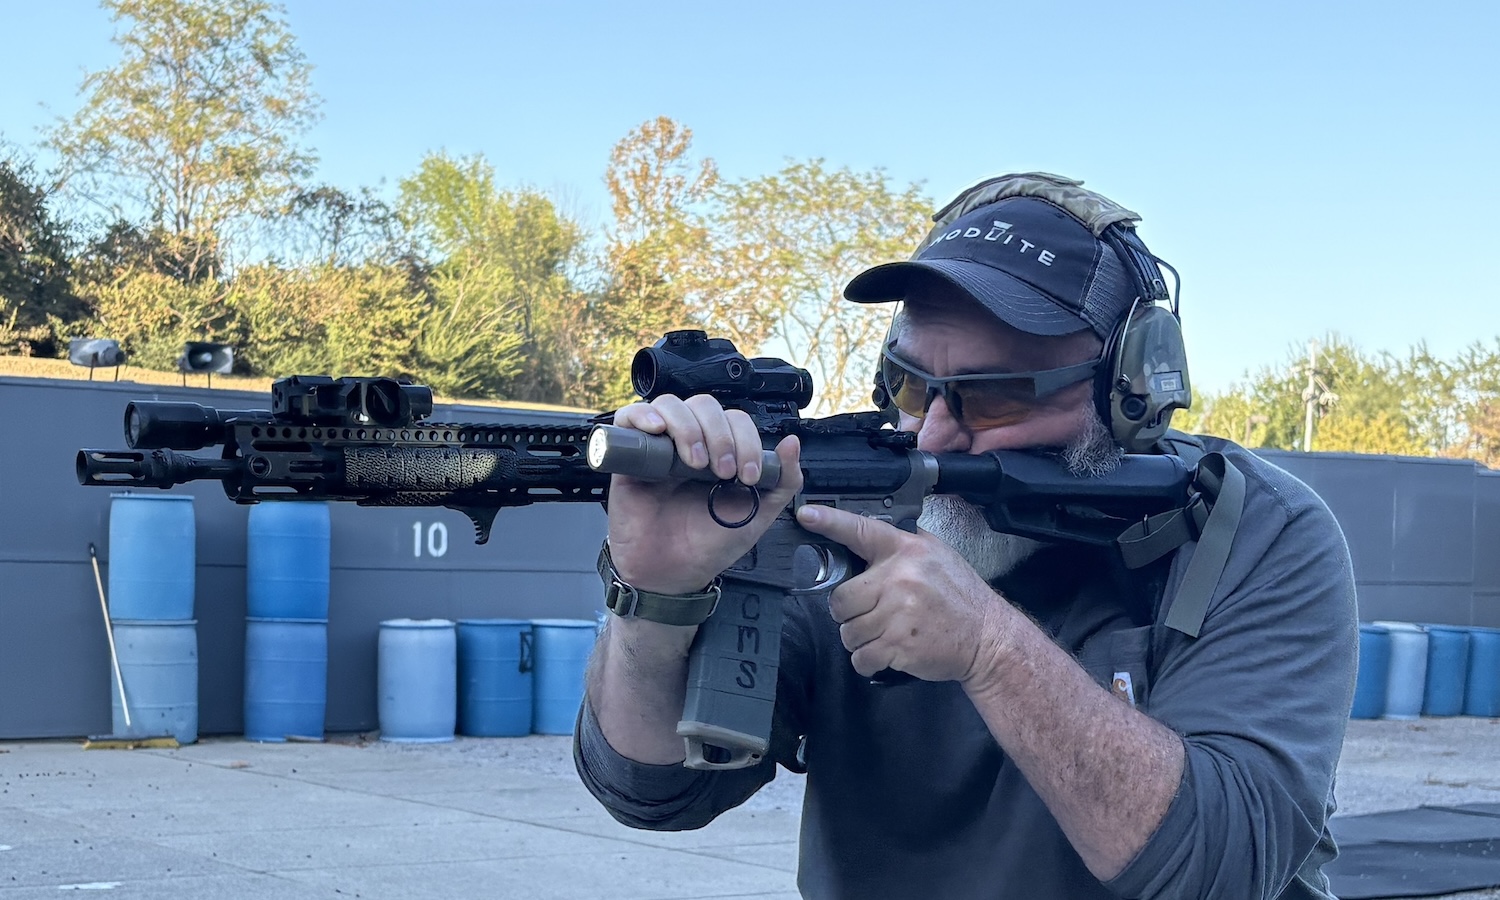
Left-handers’ method of employing the Harries with a patrol rifle.
When employing the Harries with your patrol rifle, wedge your wrist bone against the front of the magazine well. As you drive your support elbow down, roll the back of your support hand up and back into the rail. That combination works for you.
Another benefit of this technique is that you can roll your hand, so the light is oriented forward while the muzzle remains depressed. This mitigates potential Rule #2 concerns.
It can also be employed when working from an outdoor ready. The light is pointed forward while the muzzle is elevated.
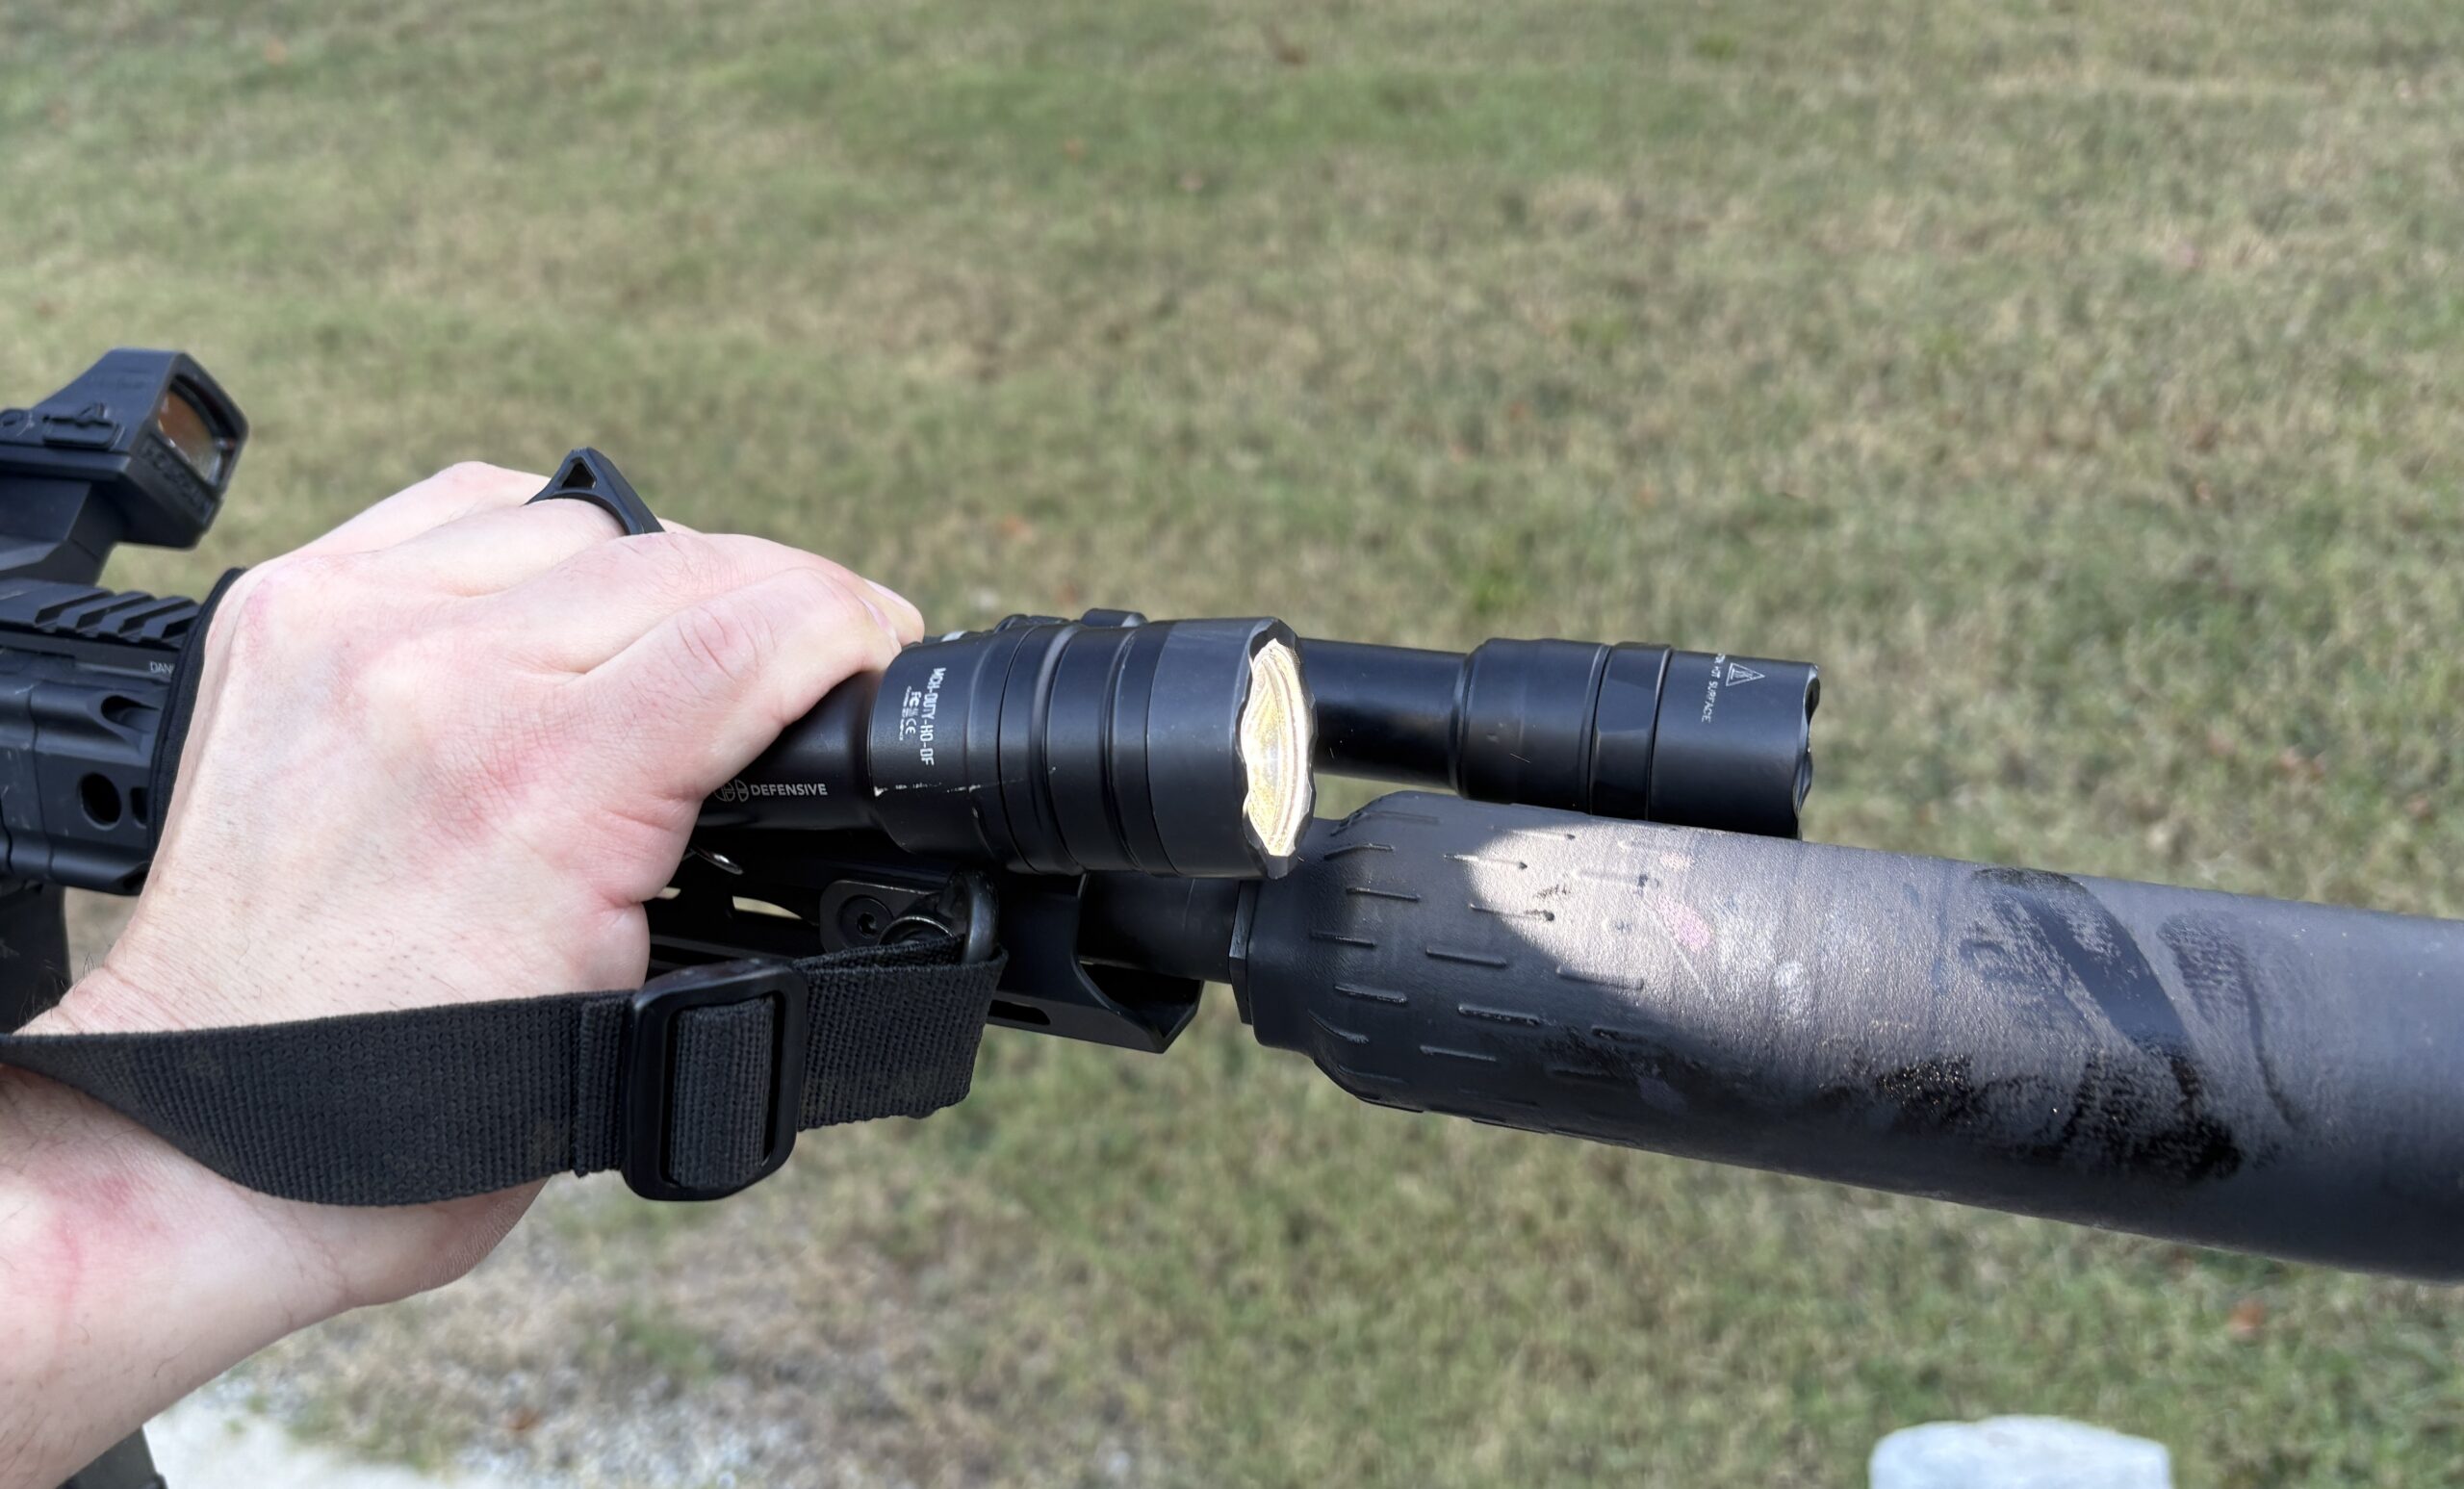
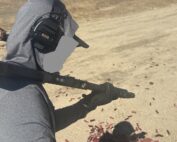
C-Clamping the light to the forearm – as a lefty. He’s controlling the light with the Thrym ring and activating it with the tail cap.
C Clamp, Cigar, et al
There are several individual user-centric ways to do this. You may need to experiment to find what works for you. Until then, essentially, your goal is to hold the light in your support hand against the forearm. To do so, activate it by pressing the tail cap. Both intermittent and constant on are acceptable, depending on the circumstances.
I prefer this method when I have a rubber grommet (Raven Concealment) or a rigid ring (Thyrm) on the light to help me hold it.
The other model in the photos, a Tennessee cop, used a reverse grip (thumb rearward) on the light rather than the thumb-forward method I favor.
Both work.
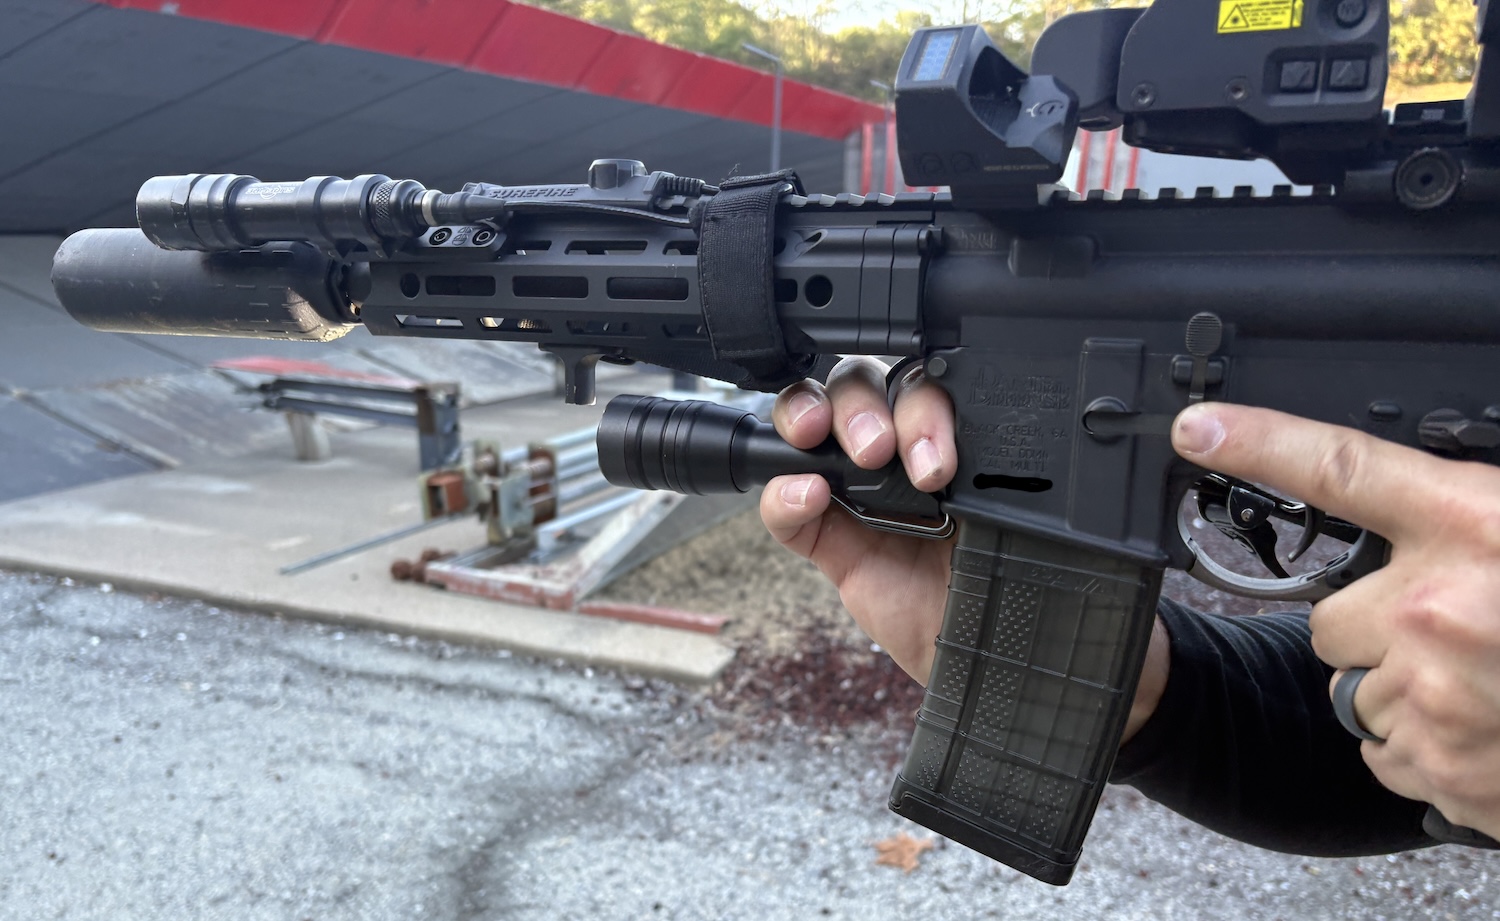
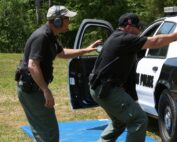
The officer uses his usual ice pick grip when holding the light’s tailcap against the magazine well.
Mag Well
While I’m not a fan of using the front of the magazine well to grip my rifle with my support hand, this technique can have merit.
Place the light’s tail cap against the front of the magazine well and pull it rearward. This only works if enough of the tail cap is exposed to activate when you push it back. I find it works better for getting some illumination than for getting second-, third-, or fourth-hits.
Also, anything on the bottom rail or underside of your forearm may block the light.
You can also use this with a vertical foregrip or a hand stop. How it will work depends on how much of the tail cap you can keep on those attachments.
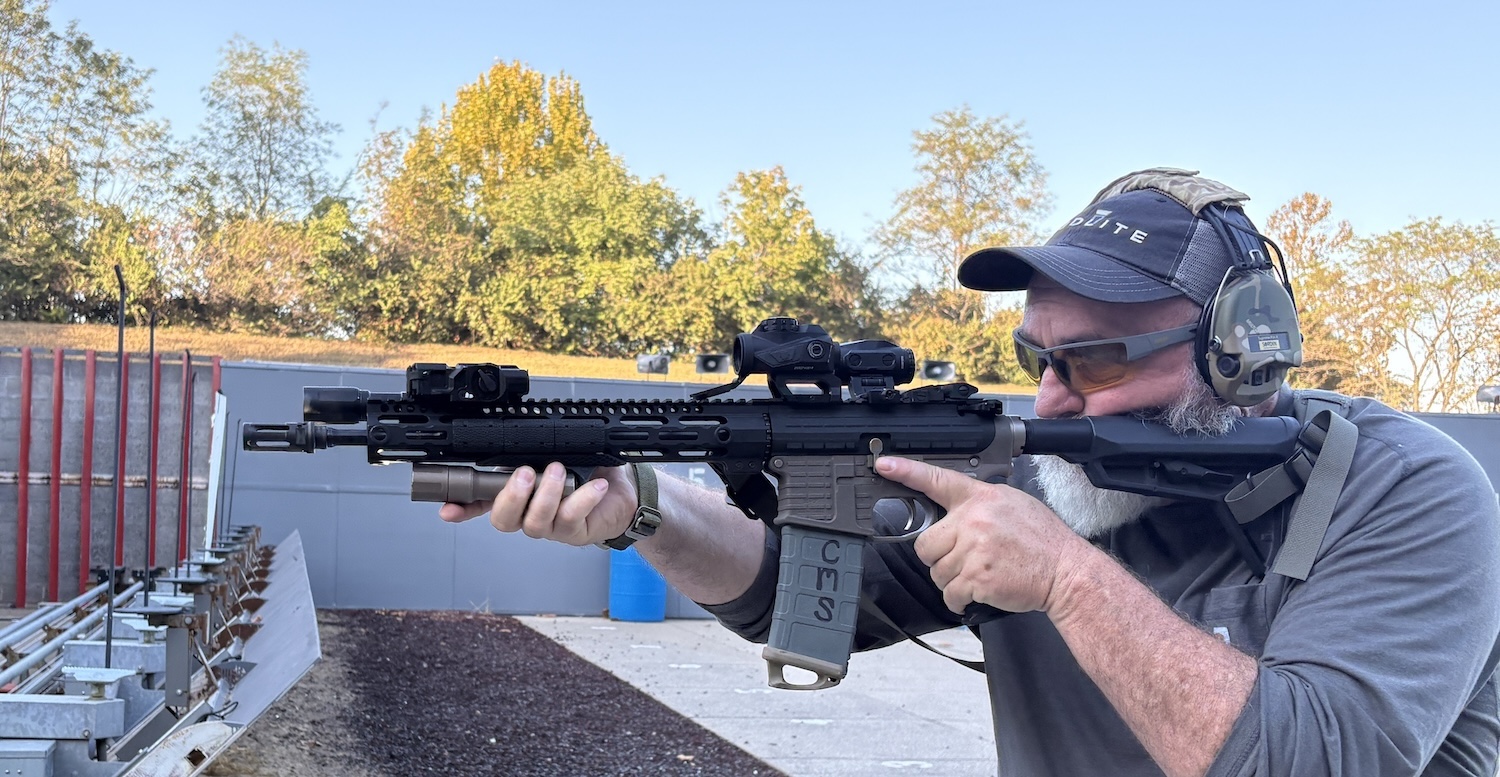
Activating the light with the hand stop, rather than the mag well.
Of the Three?
I am happy to work with either the Harries or the C-Clamp cigar methods.
Experiment with all of these. Then practice with them. You must be able to move the muzzle around while activating the light and using it as intended. Then, you must be able to manipulate the rifle’s controls and the light’s switches.
Final Thoughts
None of these should be considered the primary method for using a light with your long gun. These exist and should be practiced for when you lose your primary light.
You’re in a low-light fight; that makes for a bad and complicated evening, no matter how much training you have. You have lost your primary illumination tool; it’s getting worse. Now you have to use an improvised, secondary method to find and identify the threat. Then you need to engage them and end the danger they have created.
RESOURCES
Lights from these manufacturers appear in this article: