
 (+8 rating, 8 votes)
 Loading...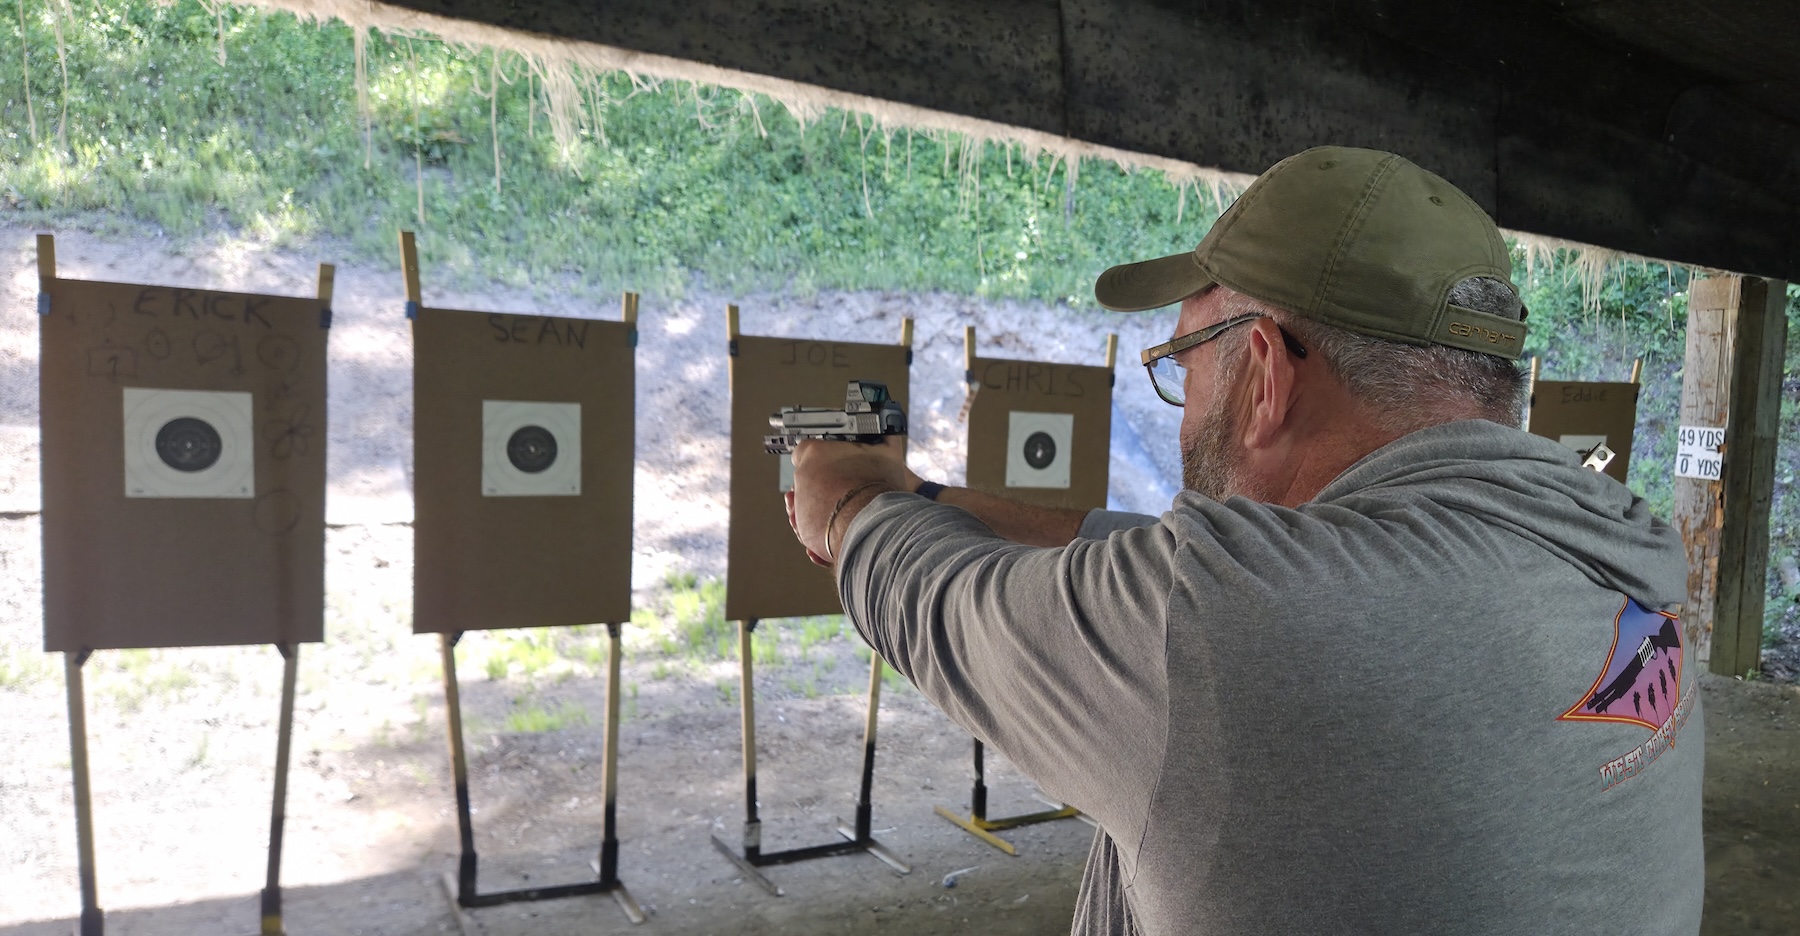
feature20260628_112032a copy
"A" way to improve your ability to find your dot is to turn it off. Then work the process with an empty pistol.
There are still a few myths about red dots that persist no matter what is done to overcome them. We’re going to touch on defeating one of them that doesn’t take a whole lot of time or, quite frankly, effort.
Having put my first dot on a pistol in 2010, I’m sixteen years into my journey with them. Not as long as some, longer than a lot.
This week’s myth? That finding the dot is hard, and it takes too long.
Most Critical Task
Dave Spaulding is a phenomenal handgun instructor. While he has pretty much retired from teaching, his lessons are still solid. With the acknowledgment that you must have positively identified the threat, he has identified the most critical task for anyone involved in a shooting, a gunfight. That is to get your sighting system into the line between your eyes and what you need to hit as soon as possible.
Everything else is either secondary or tertiary.

The second step: bringing the pistol up into the eye/target line after the hands have met. Those drawings on the backer? How various dots and reticles with stigmatisms.
Evolution
Historically, the draw (aka presentation) has been taught by starting to move both your shooting and support hands. The shooting hand defeats any retention devices before establishing a full grip. Meanwhile, unless your support hand is holding a light or moving something, it goes to the center of your upper chest.
The rest of the process continues from there.
Variation One
In late 2018, I took a red dot class from Modern Samurai Project because I needed to restore my trust in the reliability of optics. And I wanted to see if there were better ways to work with it.
The key takeaway from a teaching perspective was teaching the draw backward. It allowed for more repetitions of seeing the reticle, the dot superimposed on what you wanted to hit.
With attribution, I’ve included it in my classes and curriculum since then.
When needed, I’ll use this with an occluded optic as well.
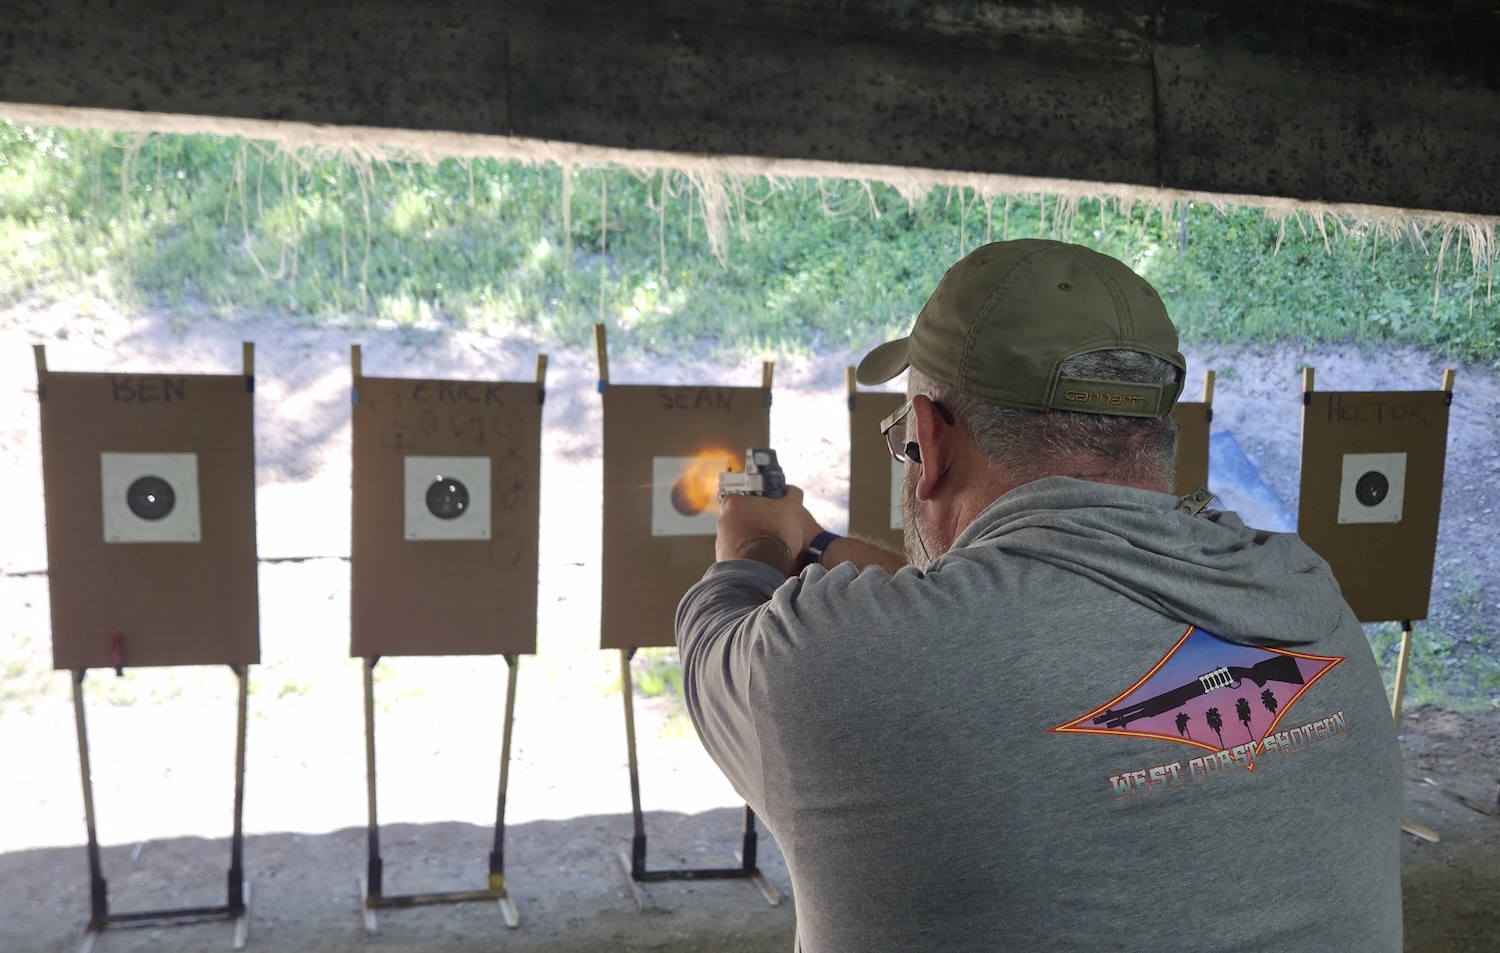
Demonstrating how that works when carried over to live fire.
Current Variation
About 18-24 months ago, I was having my every-few-days conversation with Sentinel Concepts’ principal, Steve Fisher. During that chat, we got onto this topic. Steve asked if I had ever experimented with turning the dot off during this portion.
Now, I do a fair amount of dot off work via my broken & blocked optics material – so the idea wasn’t foreign to me. However, this application was new.
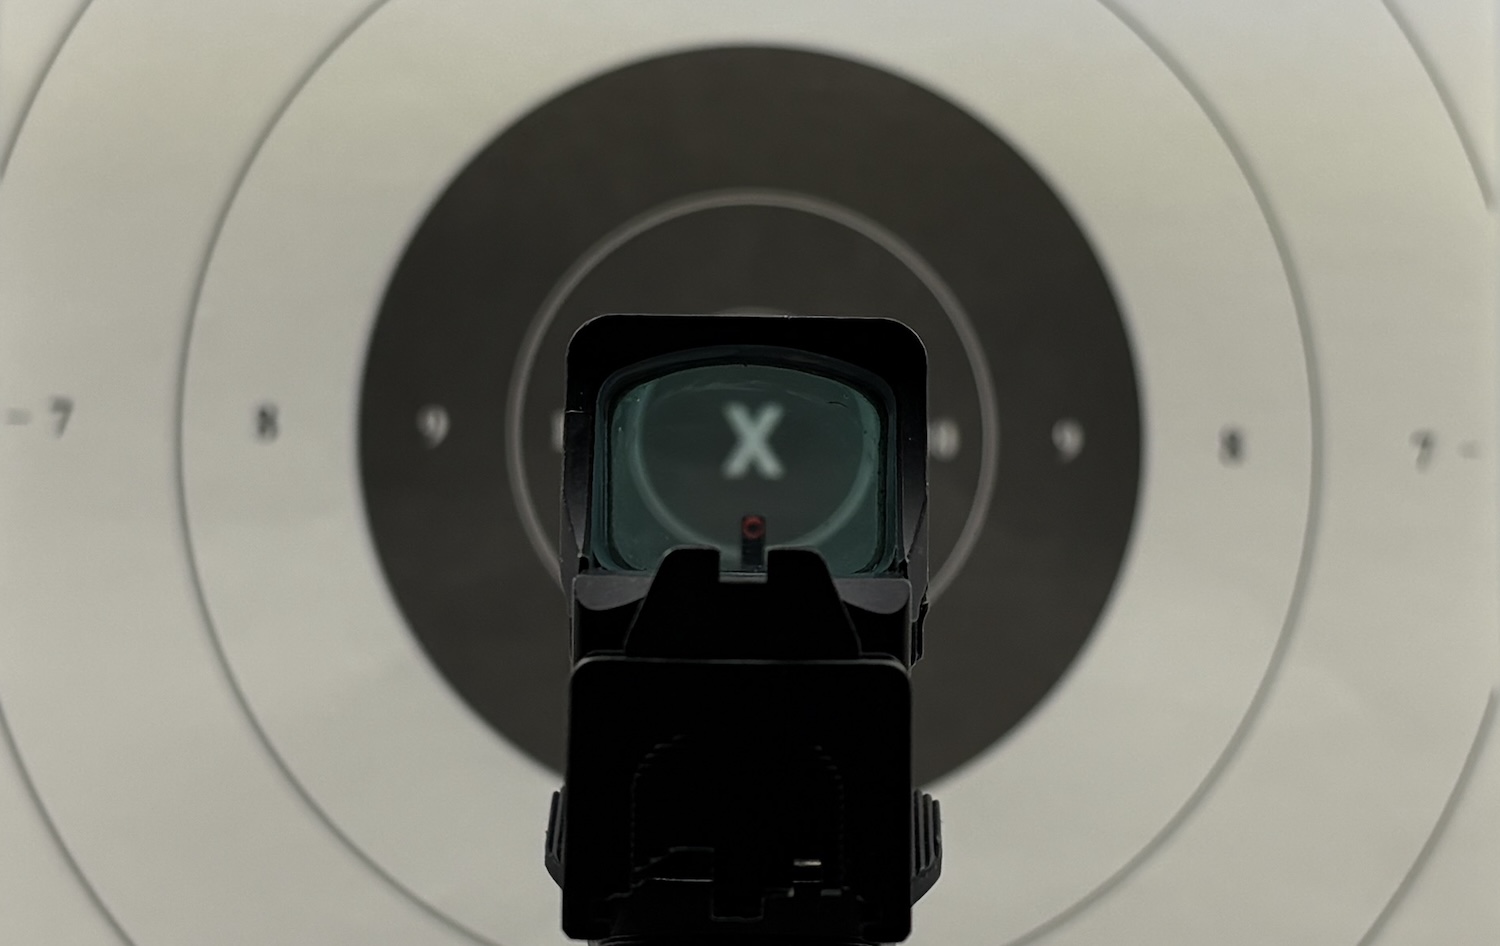
What I’m looking for within the glass, after turning the dot off. Here, the X from a B-8 is very roughly centered in the optic’s glass.
Evaluation
After that call, I started my practice protocol. I unloaded & cleared the pistol, left all ammunition in another room, rechecked it before moving to my practice area, and ensured there weren’t any hazards.
Then, I powered down the dot. Which, to be honest, is easier with some optics than others.
I point in on a business card from nine to ten feet away, about three yards. And began the process. Guess what, it made sense. And it has continued to.

Powering down the optic, so you aren’t distracted by seeing the dot.
Process
I demonstrate this the same way I teach it.
Start with an unloaded pistol, then ensure the optic is powered off. Neither dot nor reticle is visible if possible.
Direct your visual attention to a specific spot. At home, it’s a business card. On the range, I usually use a B-8 repair center with my attention on the X, specifically the intersection.
With a solid two-handed grip on the pistol, I bring it up into my eye/target line. I am looking for the X to be in the optic’s window. While I’d prefer it be close to the center, I’m not trying for a very refined sight picture. I only want the X in the glass.

After unloading the pistol, they’re confirming the dot is off.
From there, I bring my triceps back to my torso. Then I raise and extend the pistol with the goal of the glass being in my line of sight. And the X is visible within it. Repeat that several times.
Once the above has been successfully done, I start with the pistol where my hands meet up during the draw. I repeat the process from here. After several successful repetitions, I move on.
The third portion is to work on the complete presentation from the holster. If I am not seeing the X through the window, I tighten both hands, rather than just a digit or two. I have found that, regardless of my position or angle, tightening both hands produces the most consistent results.
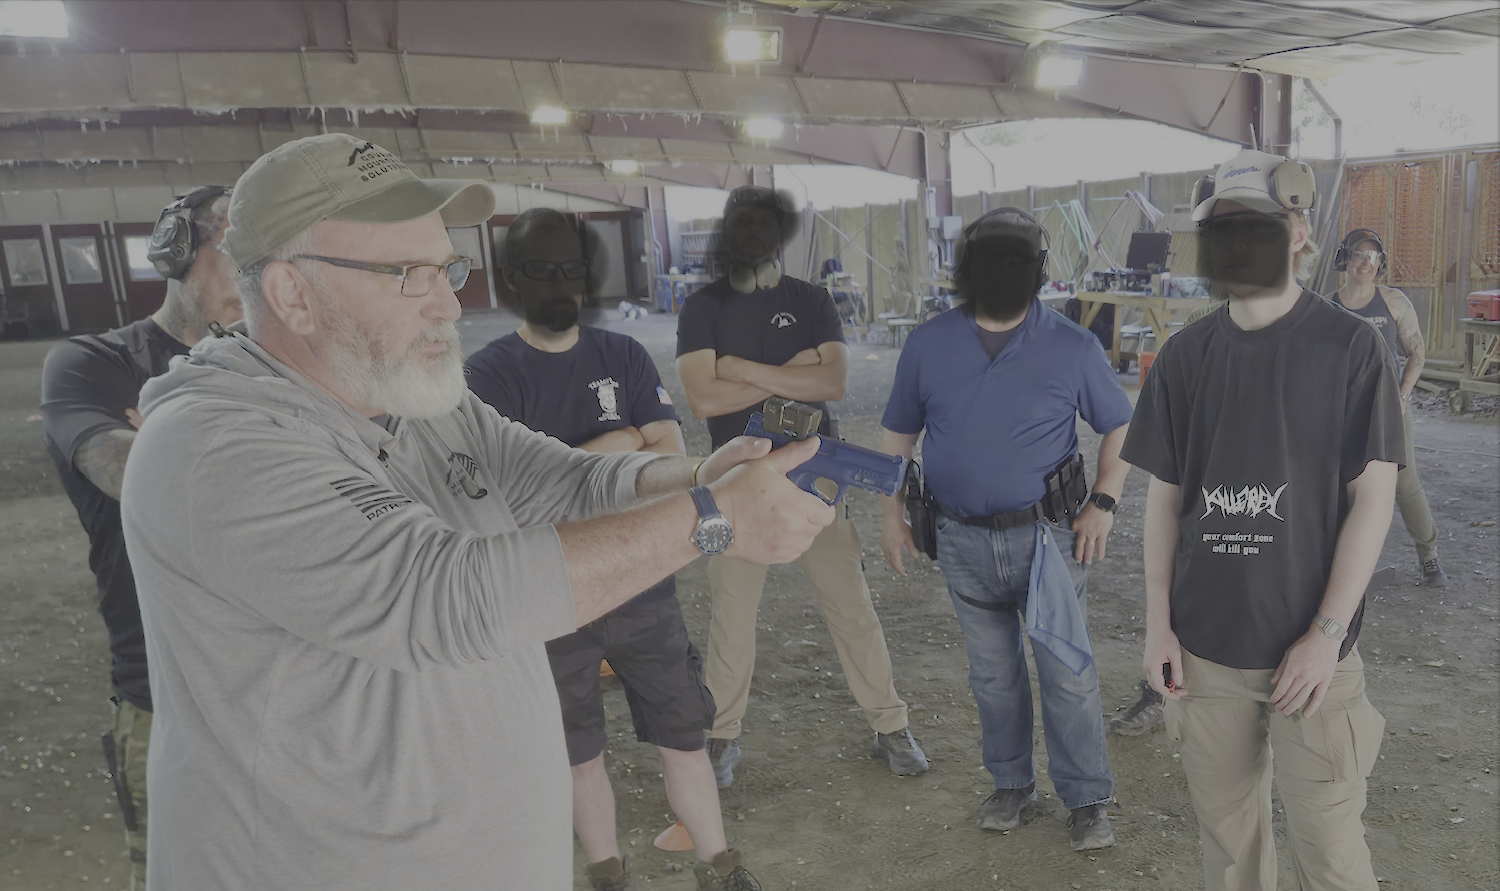
This method also works with your chosen ready position. The downward bend of the elbows is a modification specific to pistol-mounted optics.
What About A Ready Position?
I use this same method with various ready positions to get repetitions. My preferred option is a low-ready position with my elbows bent downward rather than out.
Sustainment
I start my dry practice sessions with this. Five reps each from being pointed at the “target,” from where my hands meet, from the holster, and from the ready. You can easily do the same.
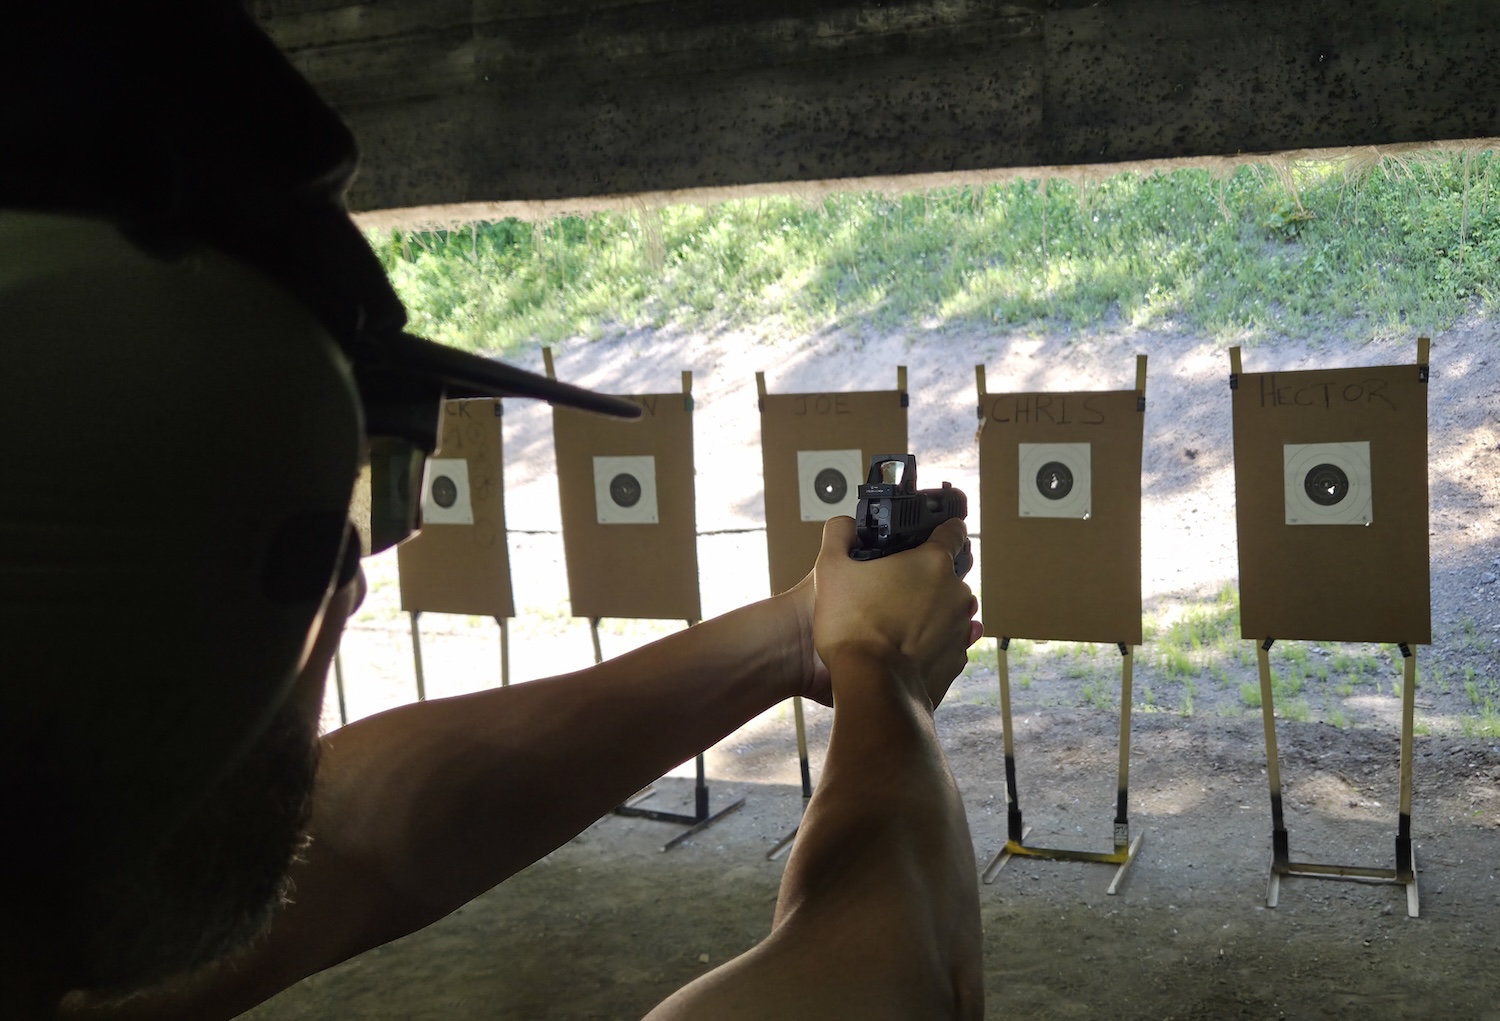
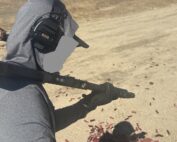
After turning the dot back on, students are validating the work in live fire.
Closing
This is “a” way to work on consistently getting your pistol-mounted optic into your eye-target line. It does require your time and attention, but very little else in terms of resources.
If you try it out, let us know how it works out for you.